Some soapers’ pictures look so awesome, and I was increasingly frustrated by my own photographs. I decided to make a soap photograph studio, and while I was at it, I thought I’d share my process.
I started with the following materials plus a roll of tape that I forgot to put in the picture.
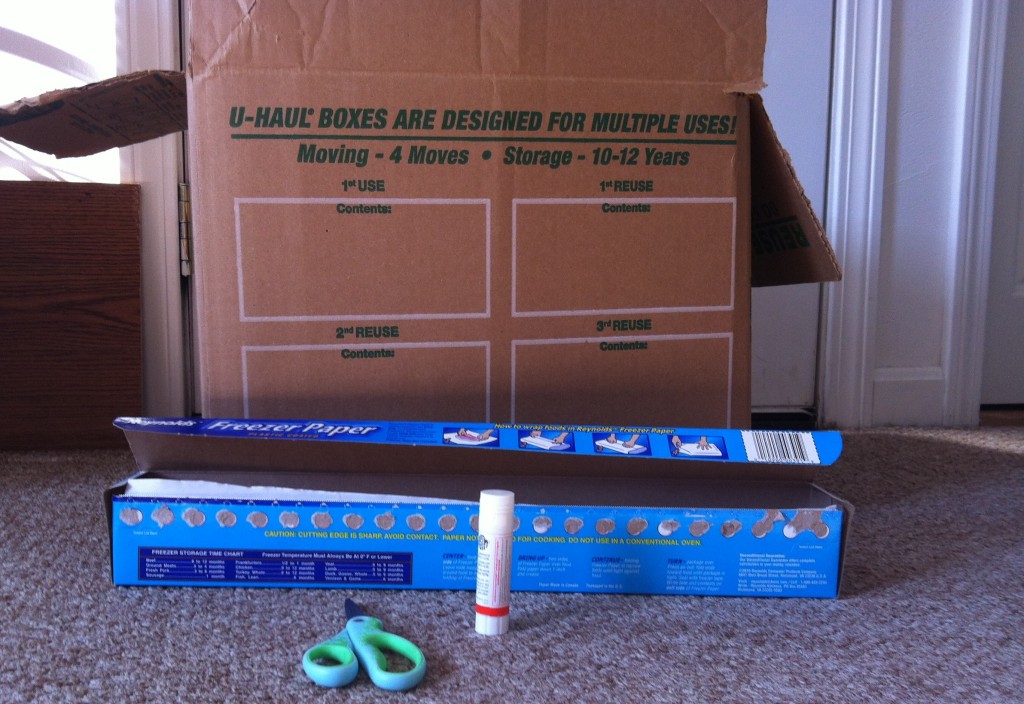 I recently moved from Georgia to Massachusetts, so we have a ton of boxes around. The other necessary items include freezer paper (which you probably have on hand to line your molds), a glue stick, and scissors. I like how my box informs me it’s designed for multiple uses. This use is probably one that U-Haul didn’t have in mind. (Yes, I know, they meant you could use it more than once.)
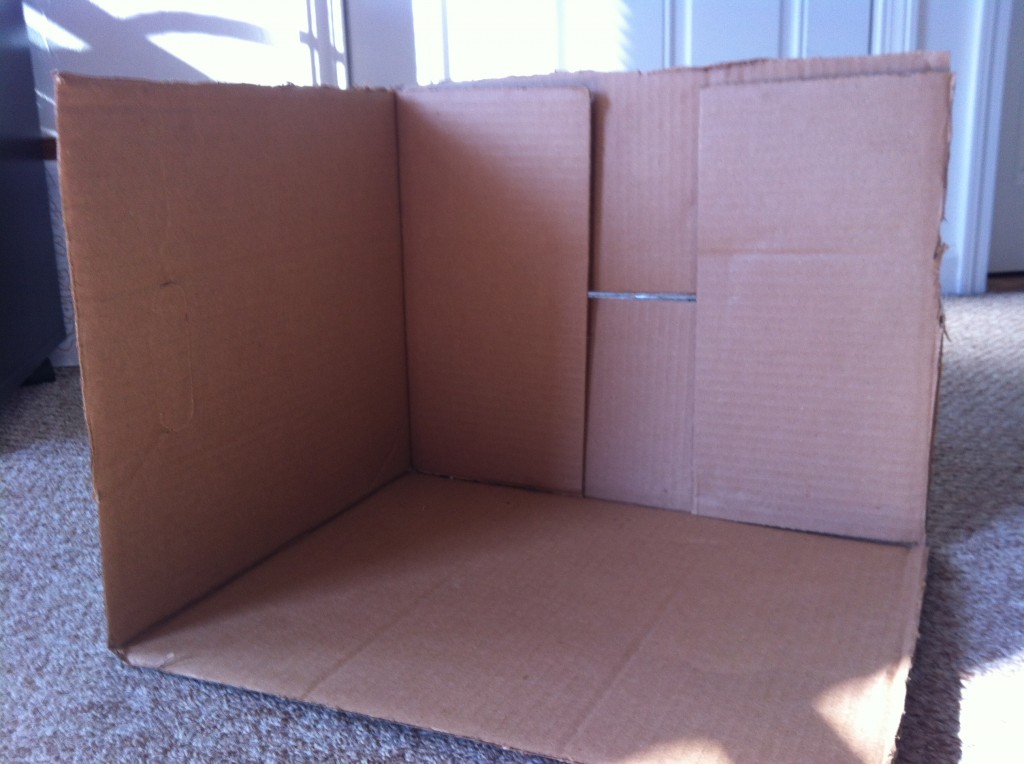 Next cut two sides off the box so you have three sides left.
 Rub your glue stick on the cardboard and line the box with your freezer paper.
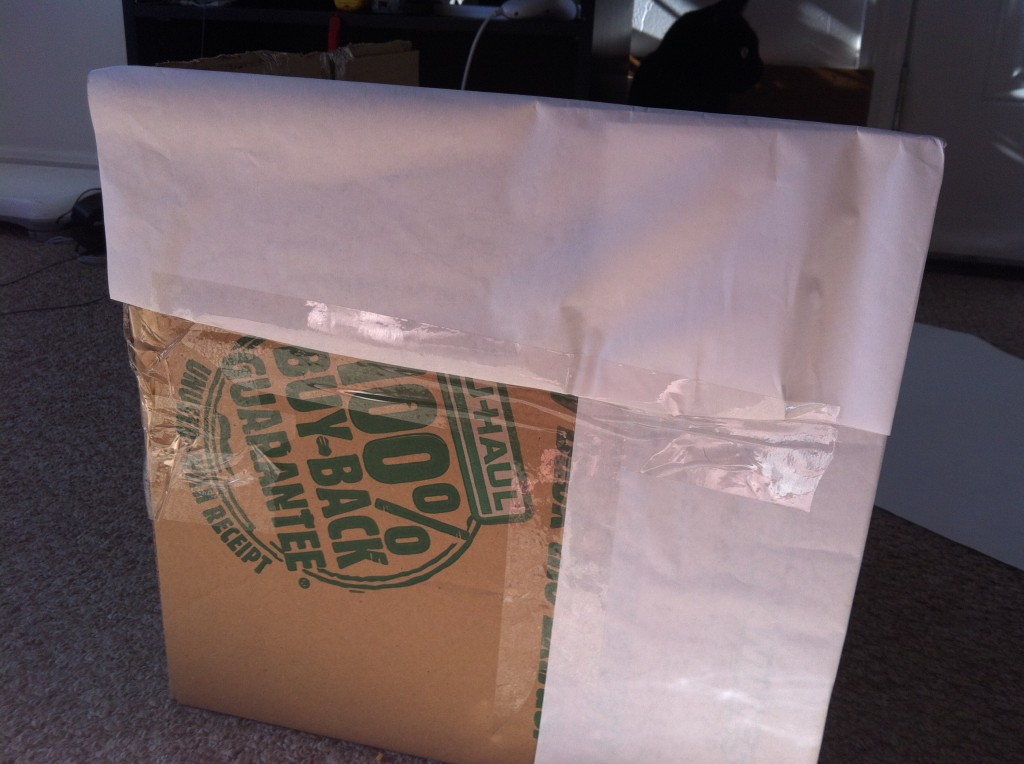
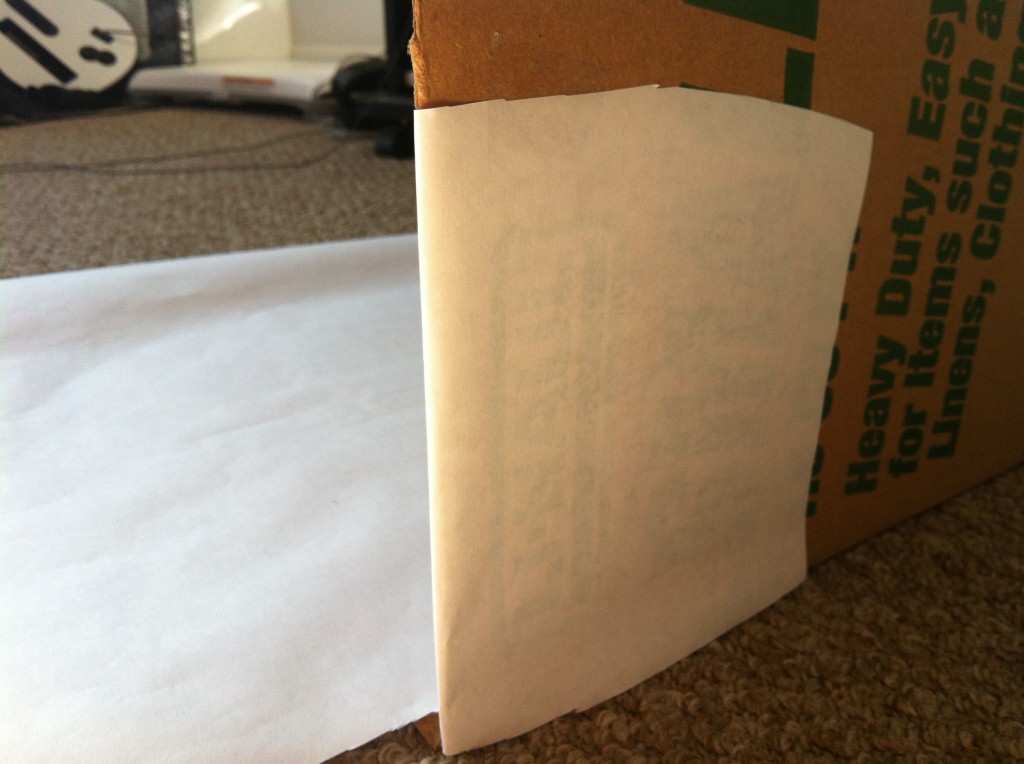 Fold the sides over the box and glue them down. I also used tape to fix the ends. It doesn’t have to be pretty. That part of the box won’t show in your pictures.
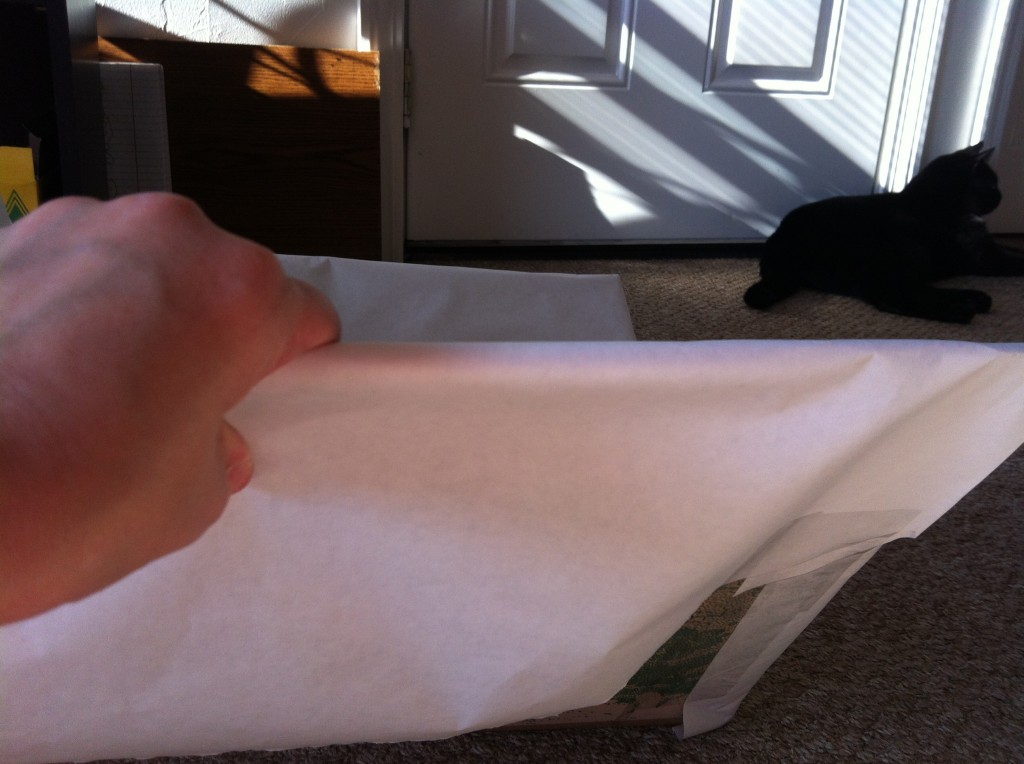 Fold the paper over the top and bottom. You will need to cut the paper to get it to fold over corners. If you look hard, you can see my kitty Bella in the background.
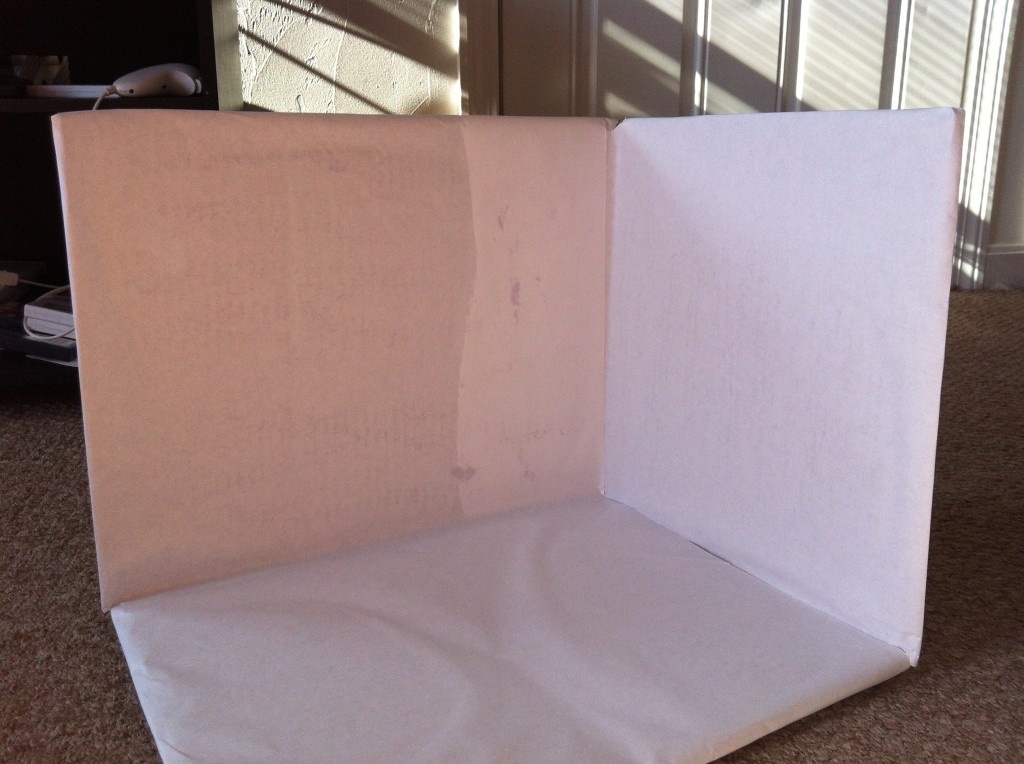 Now you’re finished. You can see the purple glue stick hasn’t dried on my soap photo studio yet, but that kind of glue stick turns clear when it dries. I think they make it like that so kids using it have better aim.
Here are some pictures of my soap using my new soap photo studio. Full disclosure: I did neaten up a few spots and cropped the images in Photoshop, but this is not by any means a complete retouch.
 I considered using this one for my new banner image. My need for a new banner image prompted me to create my photo studio in the first place.
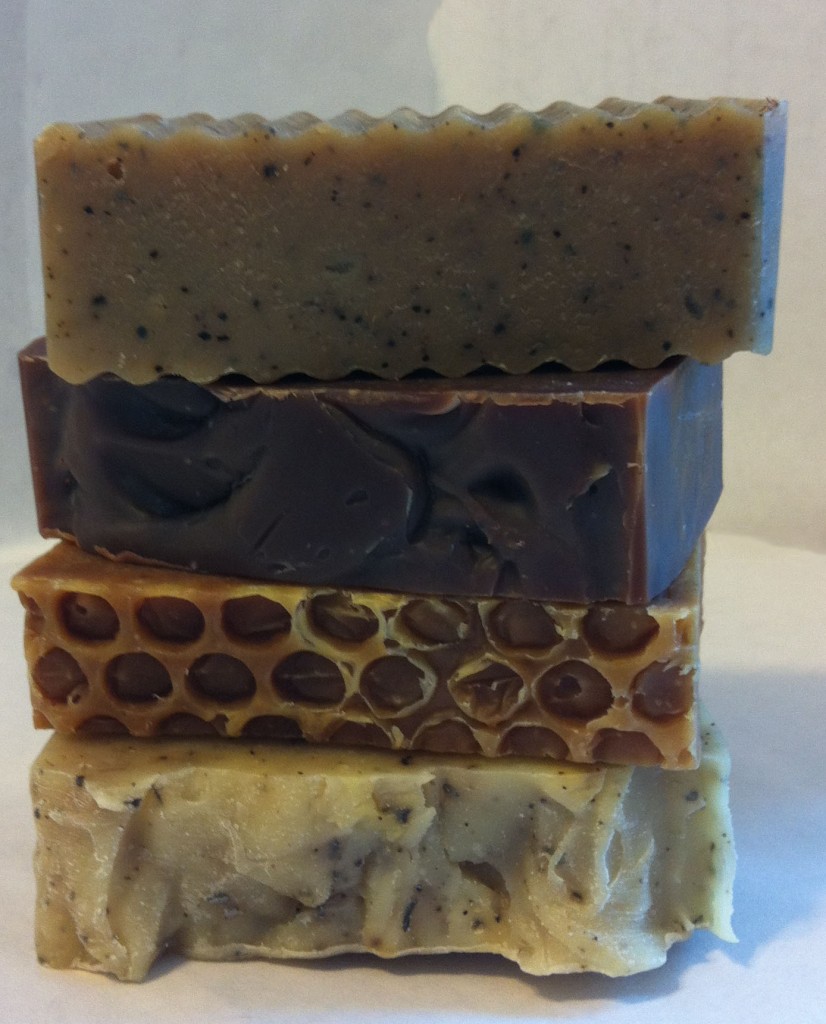 I love how this one came out. Pretty soap! And for once, I’m not distracted by what’s in my background.
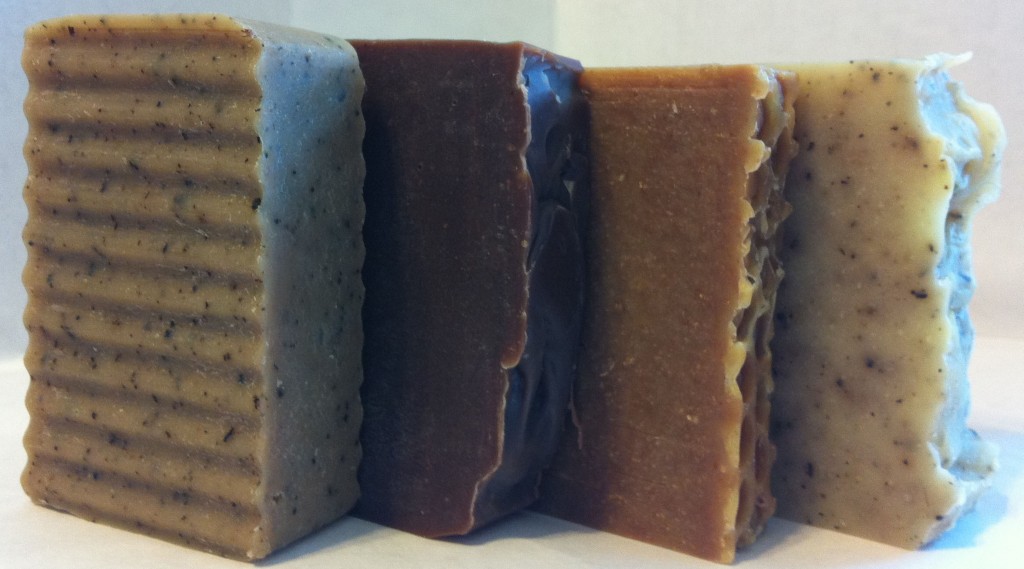 A cropped version of this photo is my new banner image. I love the way the shadows look in this one. I took these in the late afternoon/early evening near my kitchen window with just my overhead kitchen light on. It looks like natural morning light.
So that’s it! Now you can make your own soap photo studio so you can take awesome photos of your soap. You can use whatever color paper you want to line the box. I chose white so that the background would draw as little attention to itself as possible. Plus it’s easy since I had it. I took the pictures with my iPhone, so no fancy camera tricks, lights, or techniques.

Good job!
Those bars of soap look deliciously edible! It would be a shame to wash with them, nice.
Tip; put your ‘studio’ near the window, nothing beats nice bright natural light.