More Pure Soapmaking

I truly have been enjoying inspiration from Anne-Marie Faiola’s Pure Soapmaking: How to Create Nourishing, Natural Skin Care Soaps, which I reviewed recently on this blog.

I have also enjoyed watching other soapmakers experiment with Anne-Marie’s ideas and recipes from the book. I spent a few minutes today watching soapers try Anne-Marie’s recipe for an Aloe Vera Hanger Swirl soap as shown on pp. 177-181 in the book. I admit to being drawn to that soap as well.

First up, I watched the wonderful Holly of Missouri River Soap try out the recipe with her own tweaks—she uses different oils— and a slightly different technique.


Next, I watched the incomparable Zahida Map of Handmade in Florida give the recipe her own flair.

Both of these women are talented soapmakers whom I admire a great deal. Watching these videos made me anxious to give this soap a go.

Like Holly, I used my own soap recipe. Holly is absolutely right in that as you become a more experienced soapmaker, you come to formulate your own recipe that you like. You know how it will behave under normal conditions, and you know how it will feel to use, what the lather will be like, and what its various properties will be. I experimented quite a lot with a variety of recipes, but I have gradually settled on one recipe that is my mainstay for almost all of my soaps now.

I used the same colors as Anne-Marie in her book: chromium oxide, hydrated chromium green oxide, and titanium dioxide. I didn’t have any aloe vera leaf or gel or any cedarwood essential oil. Anne-Marie (and Holly and Zahida) used the lavender and cedarwood essential oil combination, which I’m sure smells divine. In fact, I’m kind of wondering if it smells like Bramble Berry’s Lavender & Cedar fragrance oil. I bought some Green Irish Tweed fragrance by BeScented from a friend recently, and I had been wanting to try it. This technique of Anne-Marie’s looked like a good opportunity.

Aside from using my own oil recipe, changing up the fragrance, and deleting the aloe vera leaf/gel, I basically followed Anne-Marie’s advice, with the exception of not spooning the soap into the mold. Like Holly, I opted to pour at thinner trace so that I could get more swirls. I used aloe vera liquid at perhaps just a bit more than the amount Anne-Marie did.
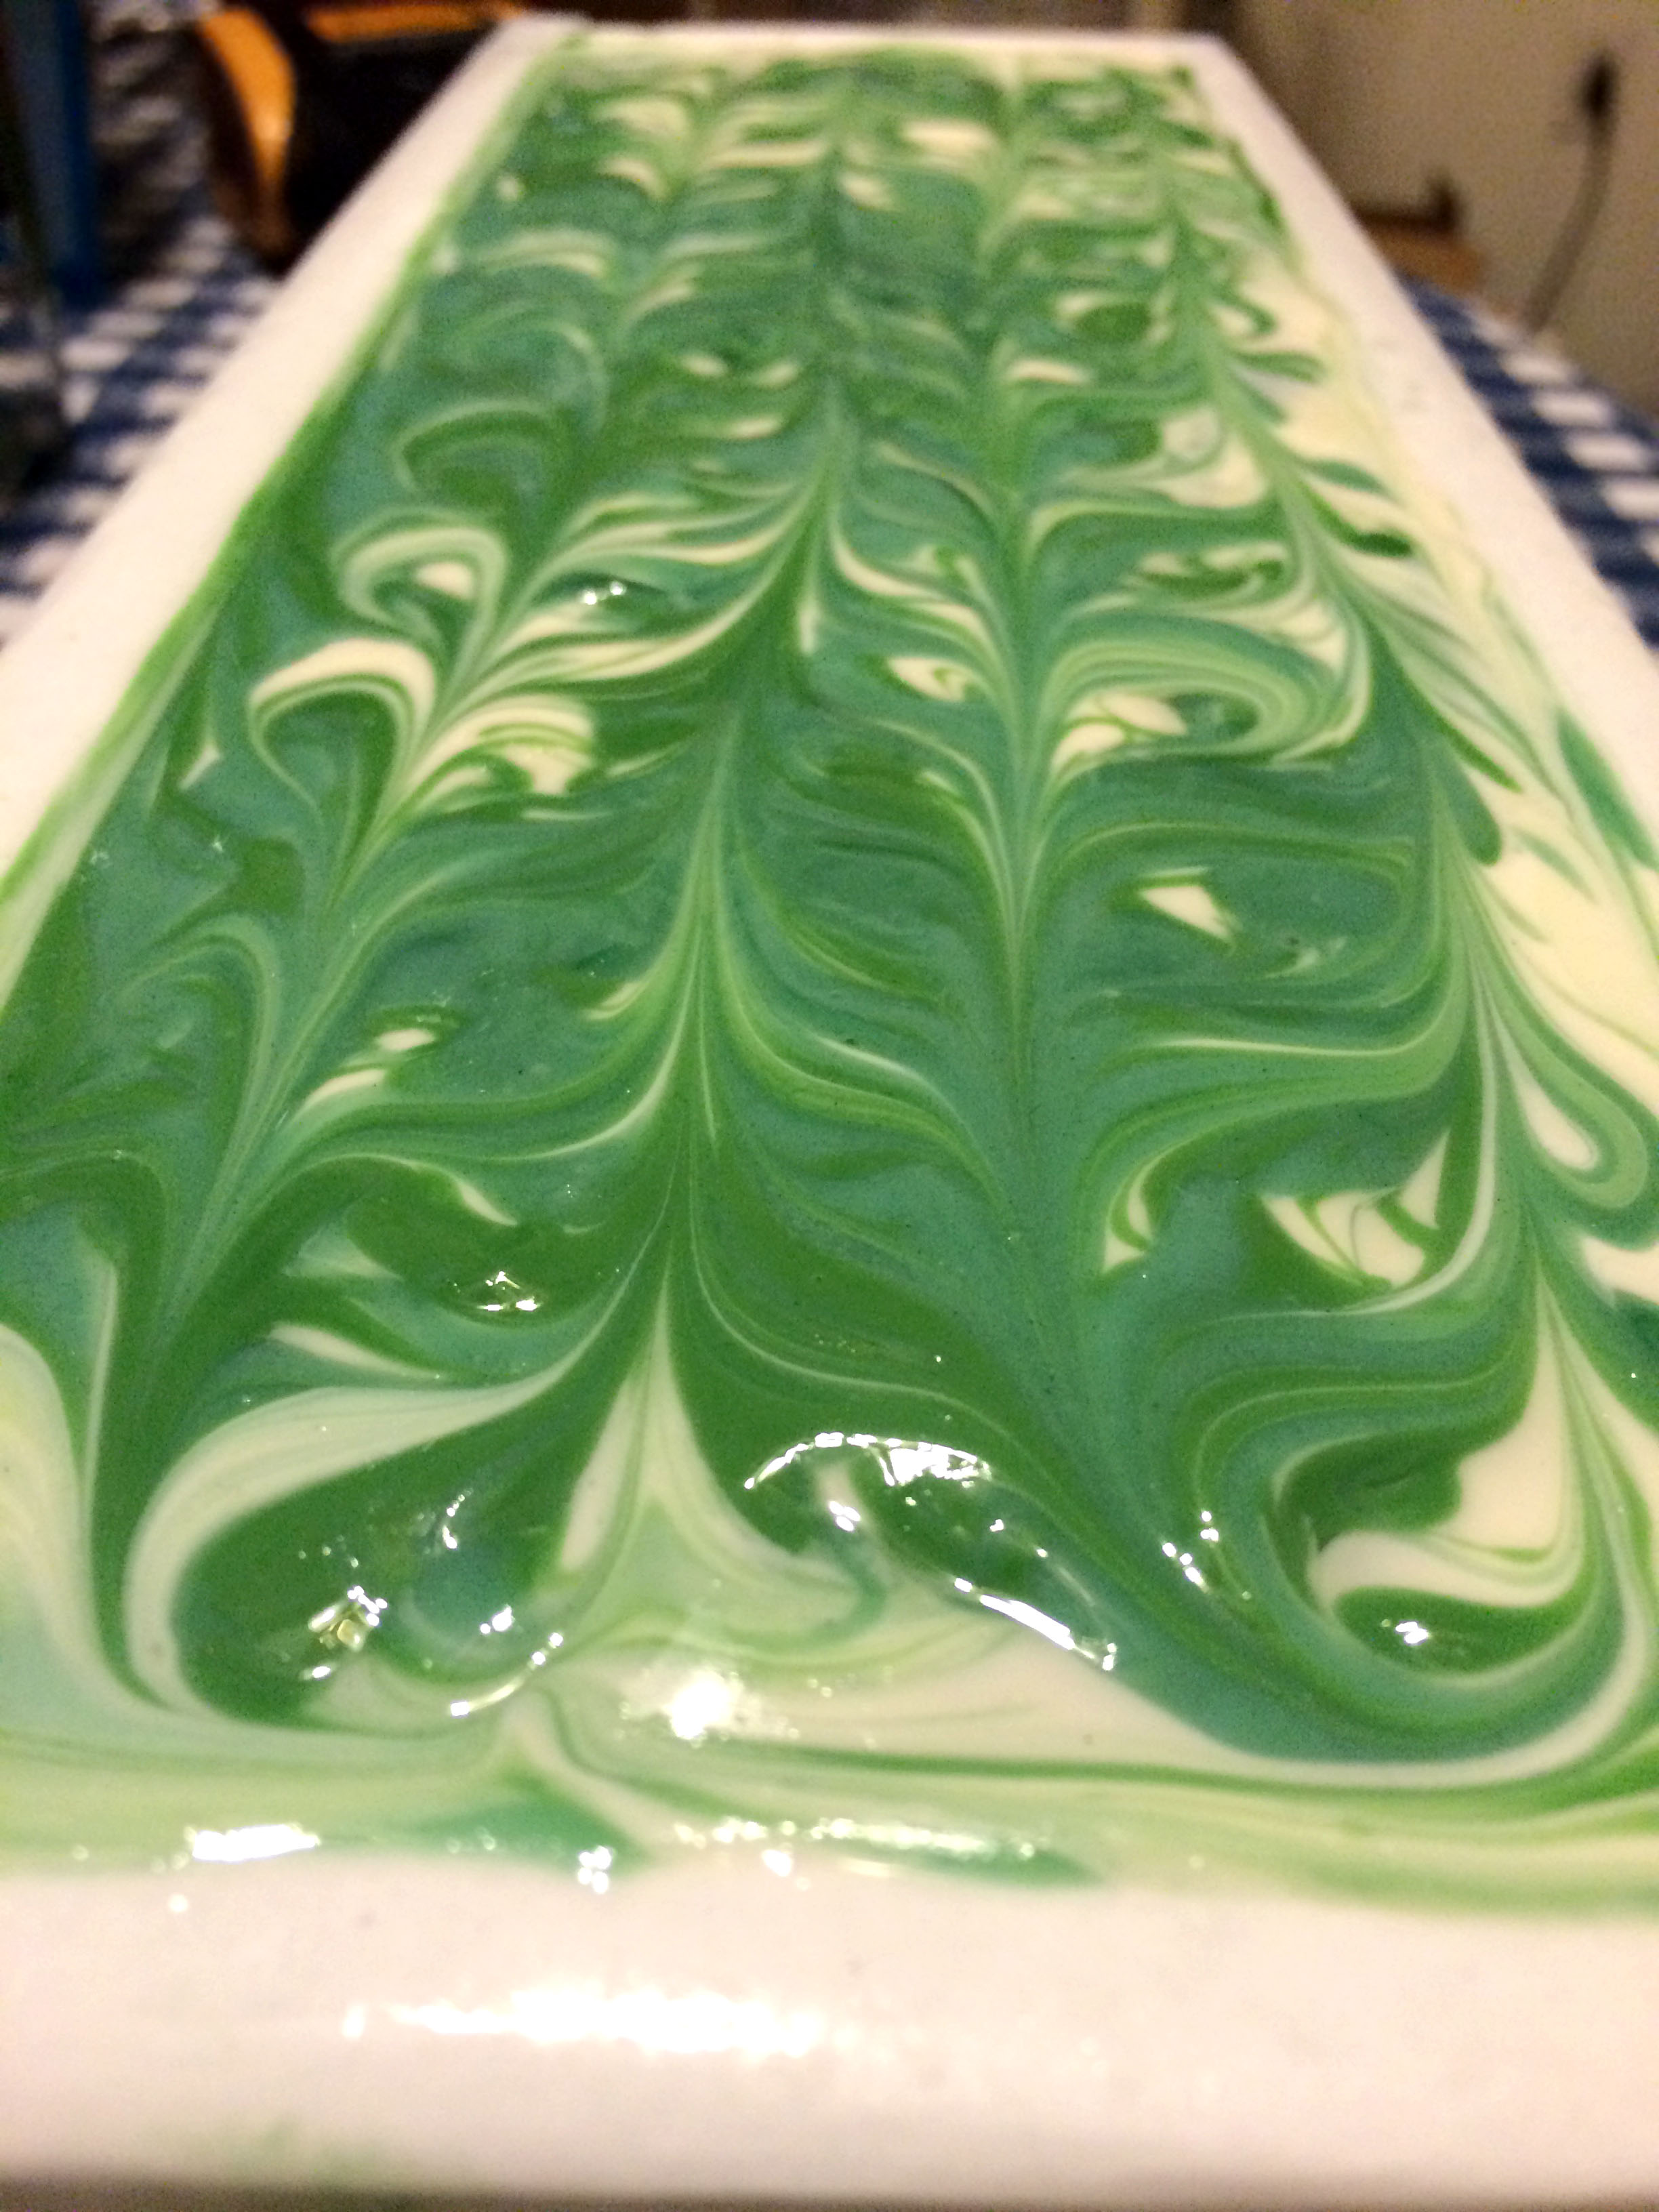
Emerald IsleI divided the soap, but not into precise thirds. I have a 3.5-4-pound mold, and I poured about 1.5 cups of soap into two measuring cups for each of the greens and colored the rest of the soap white. I find that I like the way my soaps look better if they have more white rather than equal numbers of each color. The Green Irish Tweed fragrance doesn’t accelerate, and even though it looks a like it’s a bit dark in the bottle, it doesn’t seem to discolor.

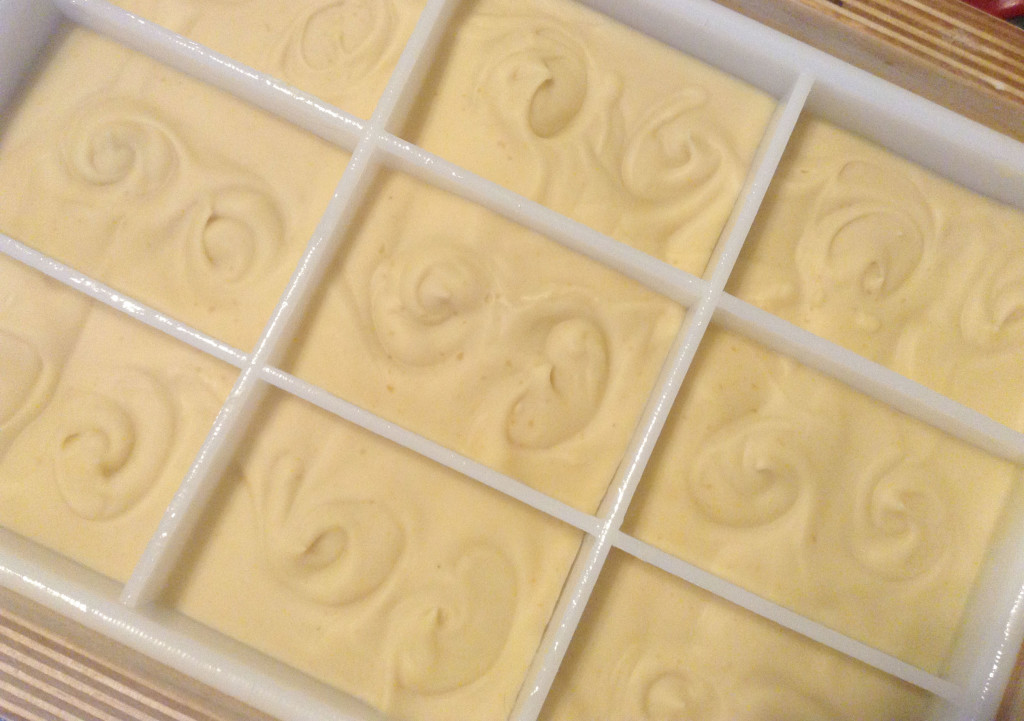
I poured a layer of white soap and then swirled in each of the greens, very similar to the way Holly did in her video. I repeated until most of the soap was gone. I kept some to do a swirly top. I used my new hanger swirl tool (man, did that make this easier!) to add the hanger swirl.

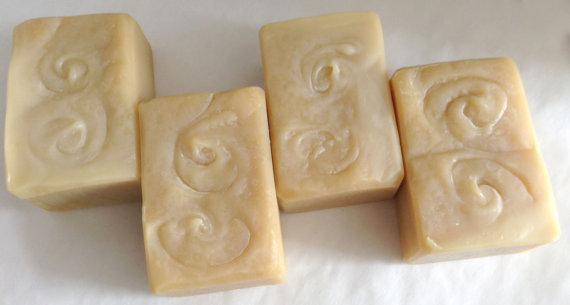
Based on suggestions from Twitter and Instagram friends of New England Handmade Artisan Soaps, I’ve decided to call this soap Emerald Isle. Isn’t it beautiful? And it smells absolutely divine. I haven’t ever smelled Green Irish Tweed by Creed, but it reminds me a bit of Irish Spring. I am definitely sending some along to my daughter, who loves fresh unisex scents like this one.
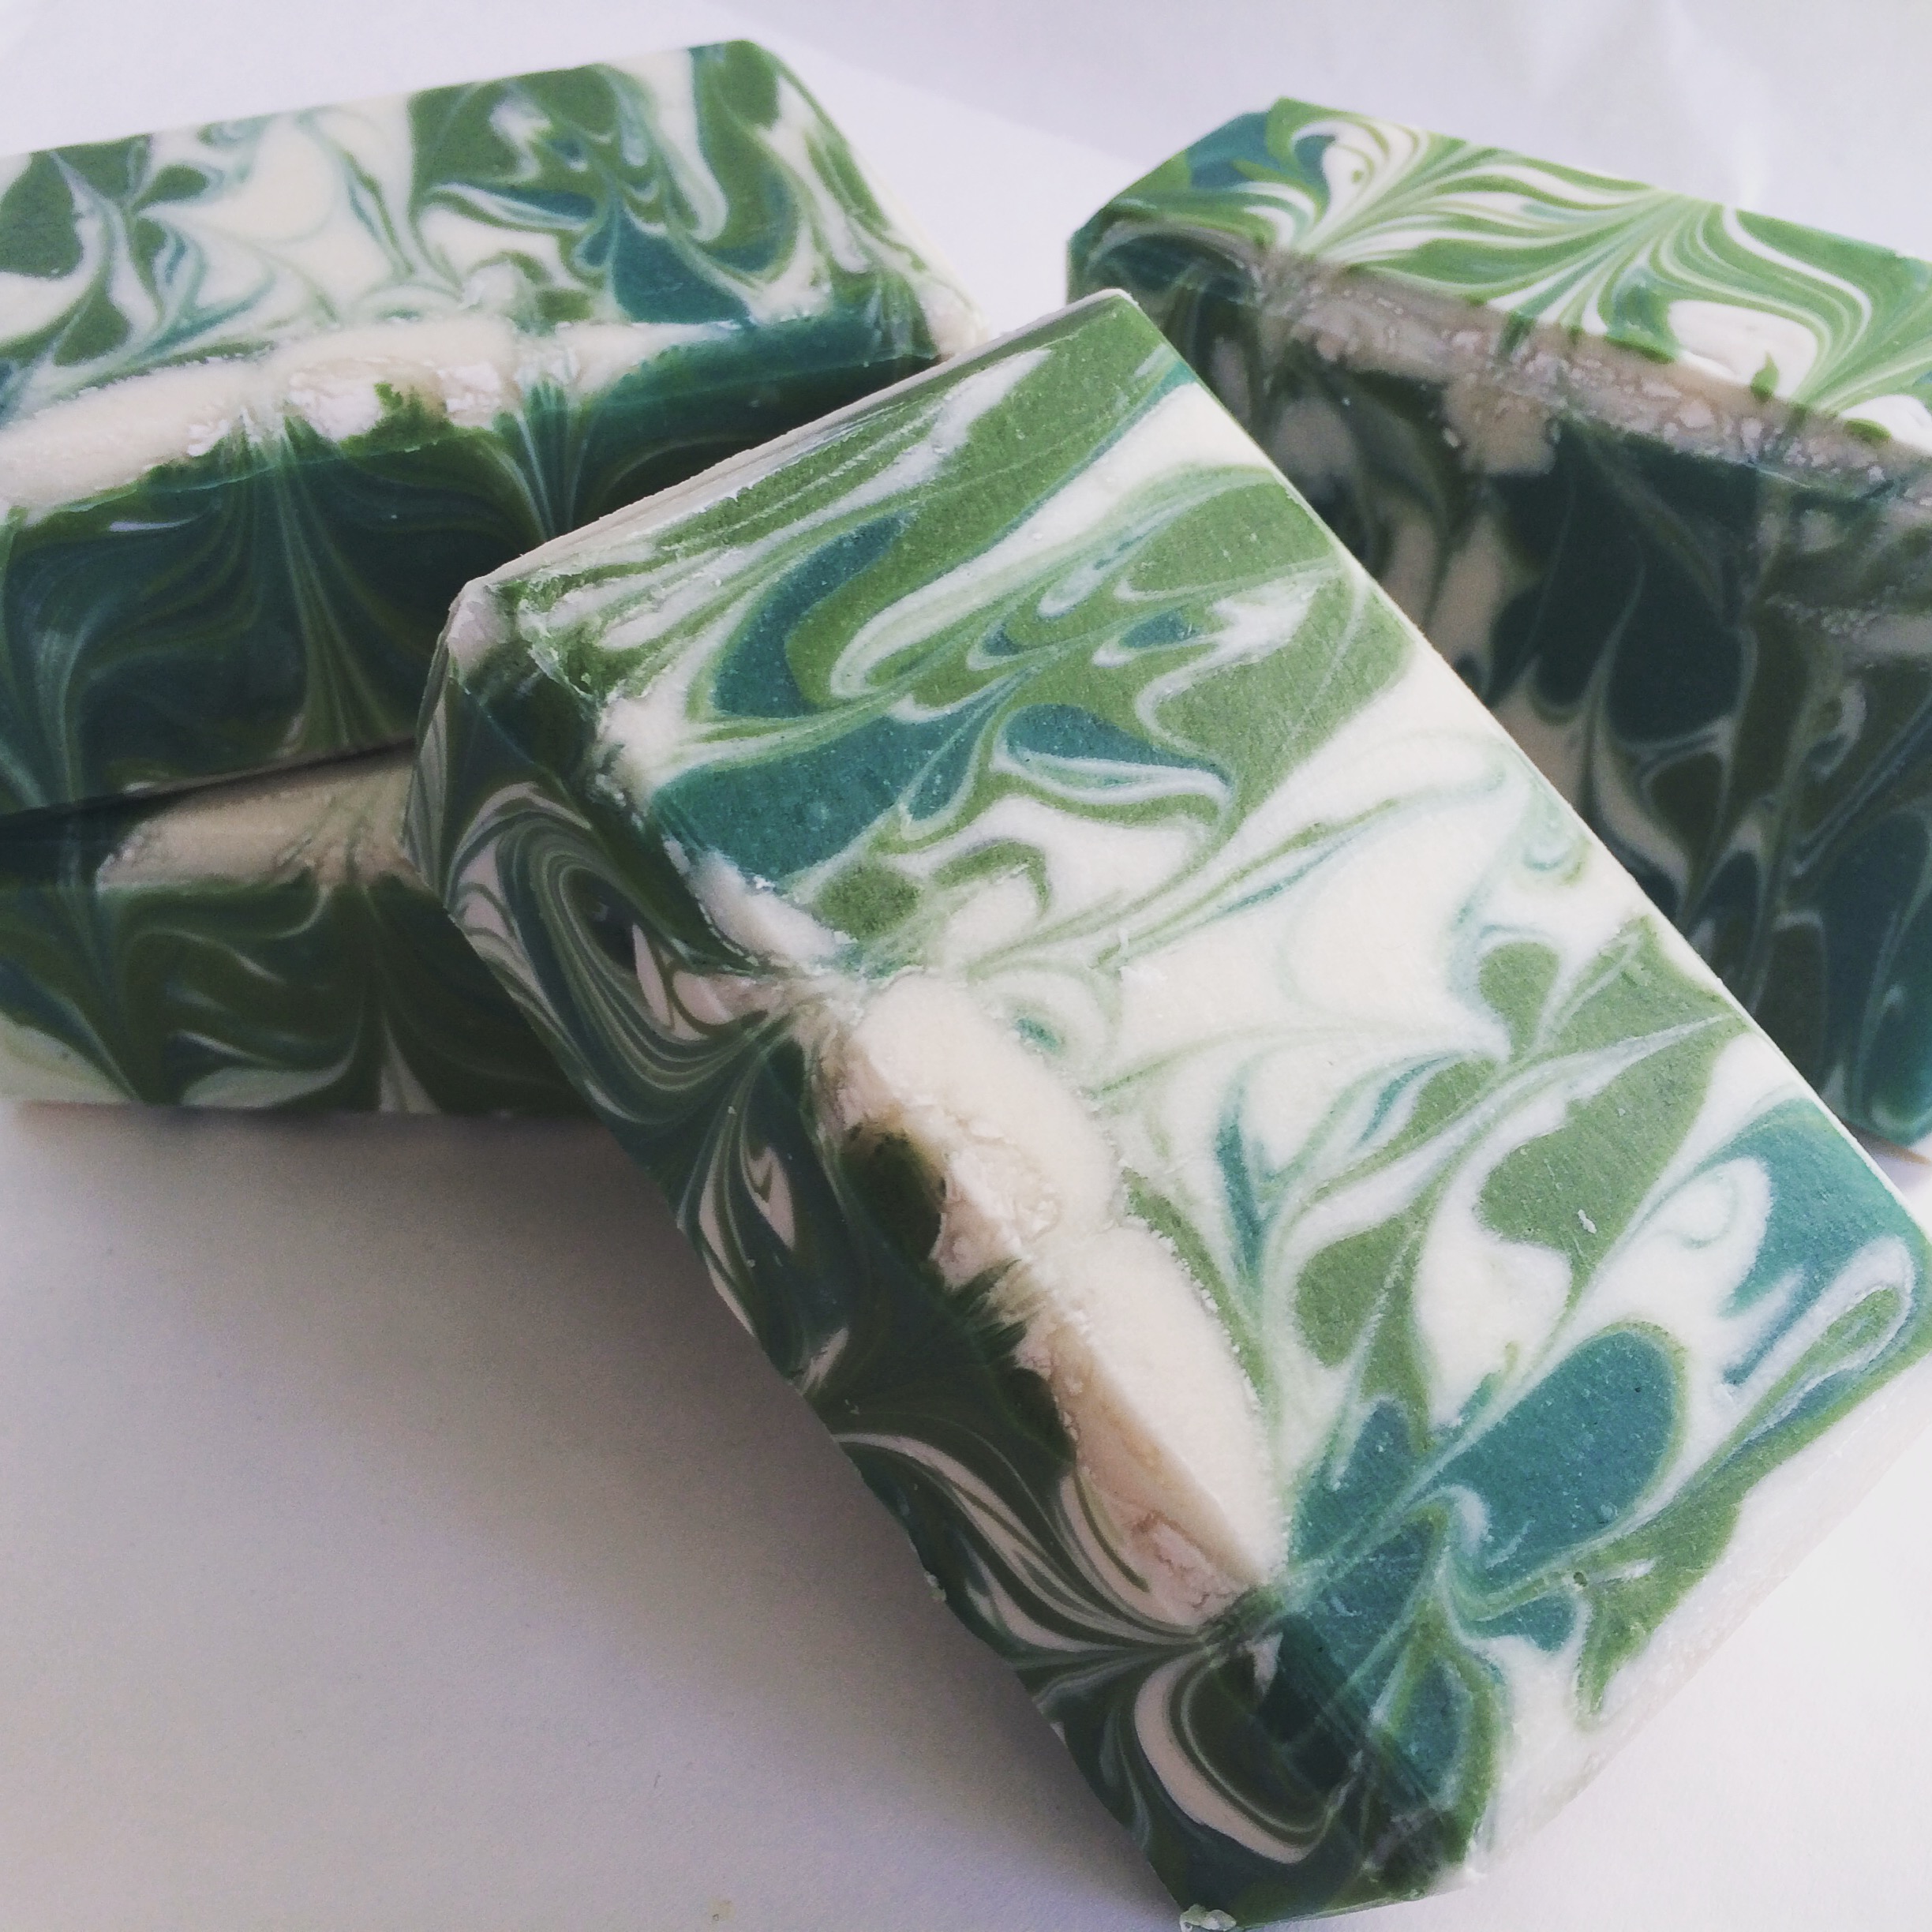
Emerald IsleI’m really happy with how it turned out. I am using a new brand of titanium dioxide, and I noticed some fine dots near the tops of the bars. I’m not sure if it’s something like glycerine rivers. You can probably see the dots in the image above. It’s funny, but I might have been really disappointed about those white dots in the past, but over time I have come to accept that sometimes titanium dioxide does funny things, and you just have to roll with it. I’m not sure why the titanium dioxide would only be temperamental at the top of the soaps because my experience with glycerine rivers is that they are usually threaded throughout the soap and are less prominent, if anything, at the tops. In any case, the greens really popped after gelling.

Recently, I also tried Anne-Marie’s recipe for Oatmeal Soap for Babies on pp. 78-81. I used her exact recipe, though sized for six bars in my round silicone mold. I also opted to swirl with purple Brazilian clay, so I didn’t add bentonite clay to the whole batch—just the uncolored half. I added lavender essential oil to the soap. Aside from these adjustments, my soap was made with the same recipe as Anne-Marie’s.

I should mention that I don’t really make a clay slurry, either with oils or water, when I use clays in my soap. I just add the clay right to my oils before I add the lye water. I have never had any issues with clay when I have added it in this way, but I have had issues when I have added clay as a slurry. Go figure.

Babies could likely still use this soap, even with the lavender essential oil added, but I plan to suggest it for people with sensitive skin who want to use a gentle, natural soap.

Lavender ChamomileYou can see the specks of oatmeal in the soap. The purple Brazilian clay really is a muted lavender shade that is perfect for this soap. I found this cute video of Katie from Royalty Soaps making this soap exactly as described in the book:

I have to recommend Anne-Marie’s book again. I think beginners will find a great deal of information in it, and so will advanced soapers.

Trying Bubble Bars

I have been wanting to branch out a bit and try some other products for a while. I have made lotion with great success, and if you’re looking to try lotion yourself, I can’t recommend Anne L. Watson’s book Smart Lotionmaking highly enough. Her recipes have all worked well for me, and I am especially in love with her Almond & Cocoa Butter lotion.

I had been wanting to try making bubble bars for a while, but I wasn’t sure how to go about it. The recipe can take a lot of experimentation, and I wasn’t excited about wasting a lot of ingredients trying to get it right. I have watched Anne-Marie Faiola’s tutorial on making bubble bars, and hers seemed to have come out all right. If you are looking for a recipe to start, you might try hers. Here is a video tutorial.

However, after watching this tutorial by Katie White of Royalty Soaps, I was convinced to try the recipe she used in the video.

The recipe is copyrighted, but you can purchase it from Nicole Gallagher of Two Wild Hares on Etsy.

The first time I tried to make the bubble bars, I used too much glycerin, I think. One thing I will say about the instructions provided by Nicole is that they are very thorough. While it’s impossible to account for every variable someone might experience, one suggestion Nicole makes is to adjust the wet ingredients if you are finding your bubble bar dough is too wet (I’m being a bit cagey here out of respect for Nicole’s work, but if you purchase her recipe, you’ll see what I mean). I also couldn’t stop myself from fiddling overmuch with the bubble bars while they dried, the end result of which was that it took a long time for by first batch of bubble bars to harden, and they were lumpy and not very pretty. However, I tried them in the tub, and each time I’ve tested, they’ve produced lots of bubbles that last for a pretty good while.

I used less of one of the wet ingredients in my second batch, and I have told myself to leave them alone. I snapped a picture of them. The light is not too good because it was 10:00 P. M. when I took it, but I think this second batch turned out really pretty.

Pikake Flower Bubble Bars

I scented them with a sample of Pikake Flower fragrance and colored them with Nurture micas.

In my testing, I found I could use half a bubble bar to get a pretty good amount of bubbles. And much cheaper (and with a few nicer ingredients) than the bubble bars made by a certain large artisan cosmetics company.

Using Infused Oils in Soap

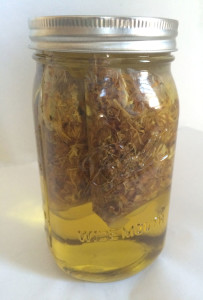
Calendula-Infused Olive OilUsing herb and flower infusions in soap can add a little something extra special to your soap. I love using both chamomile and calendula (marigold) infusions in my soap. Both impart a pretty butter yellow to the finished soap. There is a slight scent in the oils, too, but I find that scent doesn’t usually survive the saponification process, and I have used fragrances and essential oils successfully in soaps with infused oils.

There are a couple of techniques you can use for infusing oils. You can put the flowers or herbs in a jar, pour your oil over them, and let them infuse for several weeks, but I like the slow cooker method, mainly because it’s quicker, and I’m impatient.

I purchased these handy “tea bags” from Bramble Berry (who is not sponsoring me; I just like the product). While you can pour the oils directly over the botanicals, I have found it is pretty messy, and you have to strain the oil later. The tea bags allow the botanicals to infuse the oil without making a mess. I try to use about ½ to 1 ounce of botanicals (which is a lot more than you’d think—they are light). I put the botanicals in the tea bags and seal them closed with an iron. Then I put them in a jar, I pour olive oil over the filled tea bags. I put a few inches of water in my slow cooker, turn it on low, and gently lay my jar in the water. I let the oil infuse in the heat of the slow cooker for about five hours, turning the jar over every once in a while (be careful; it’s very hot). The jars can be hard to open afterward, but I have a nice infused olive oil to use in my soap when I’m done.

Aloe & Calendula Soap
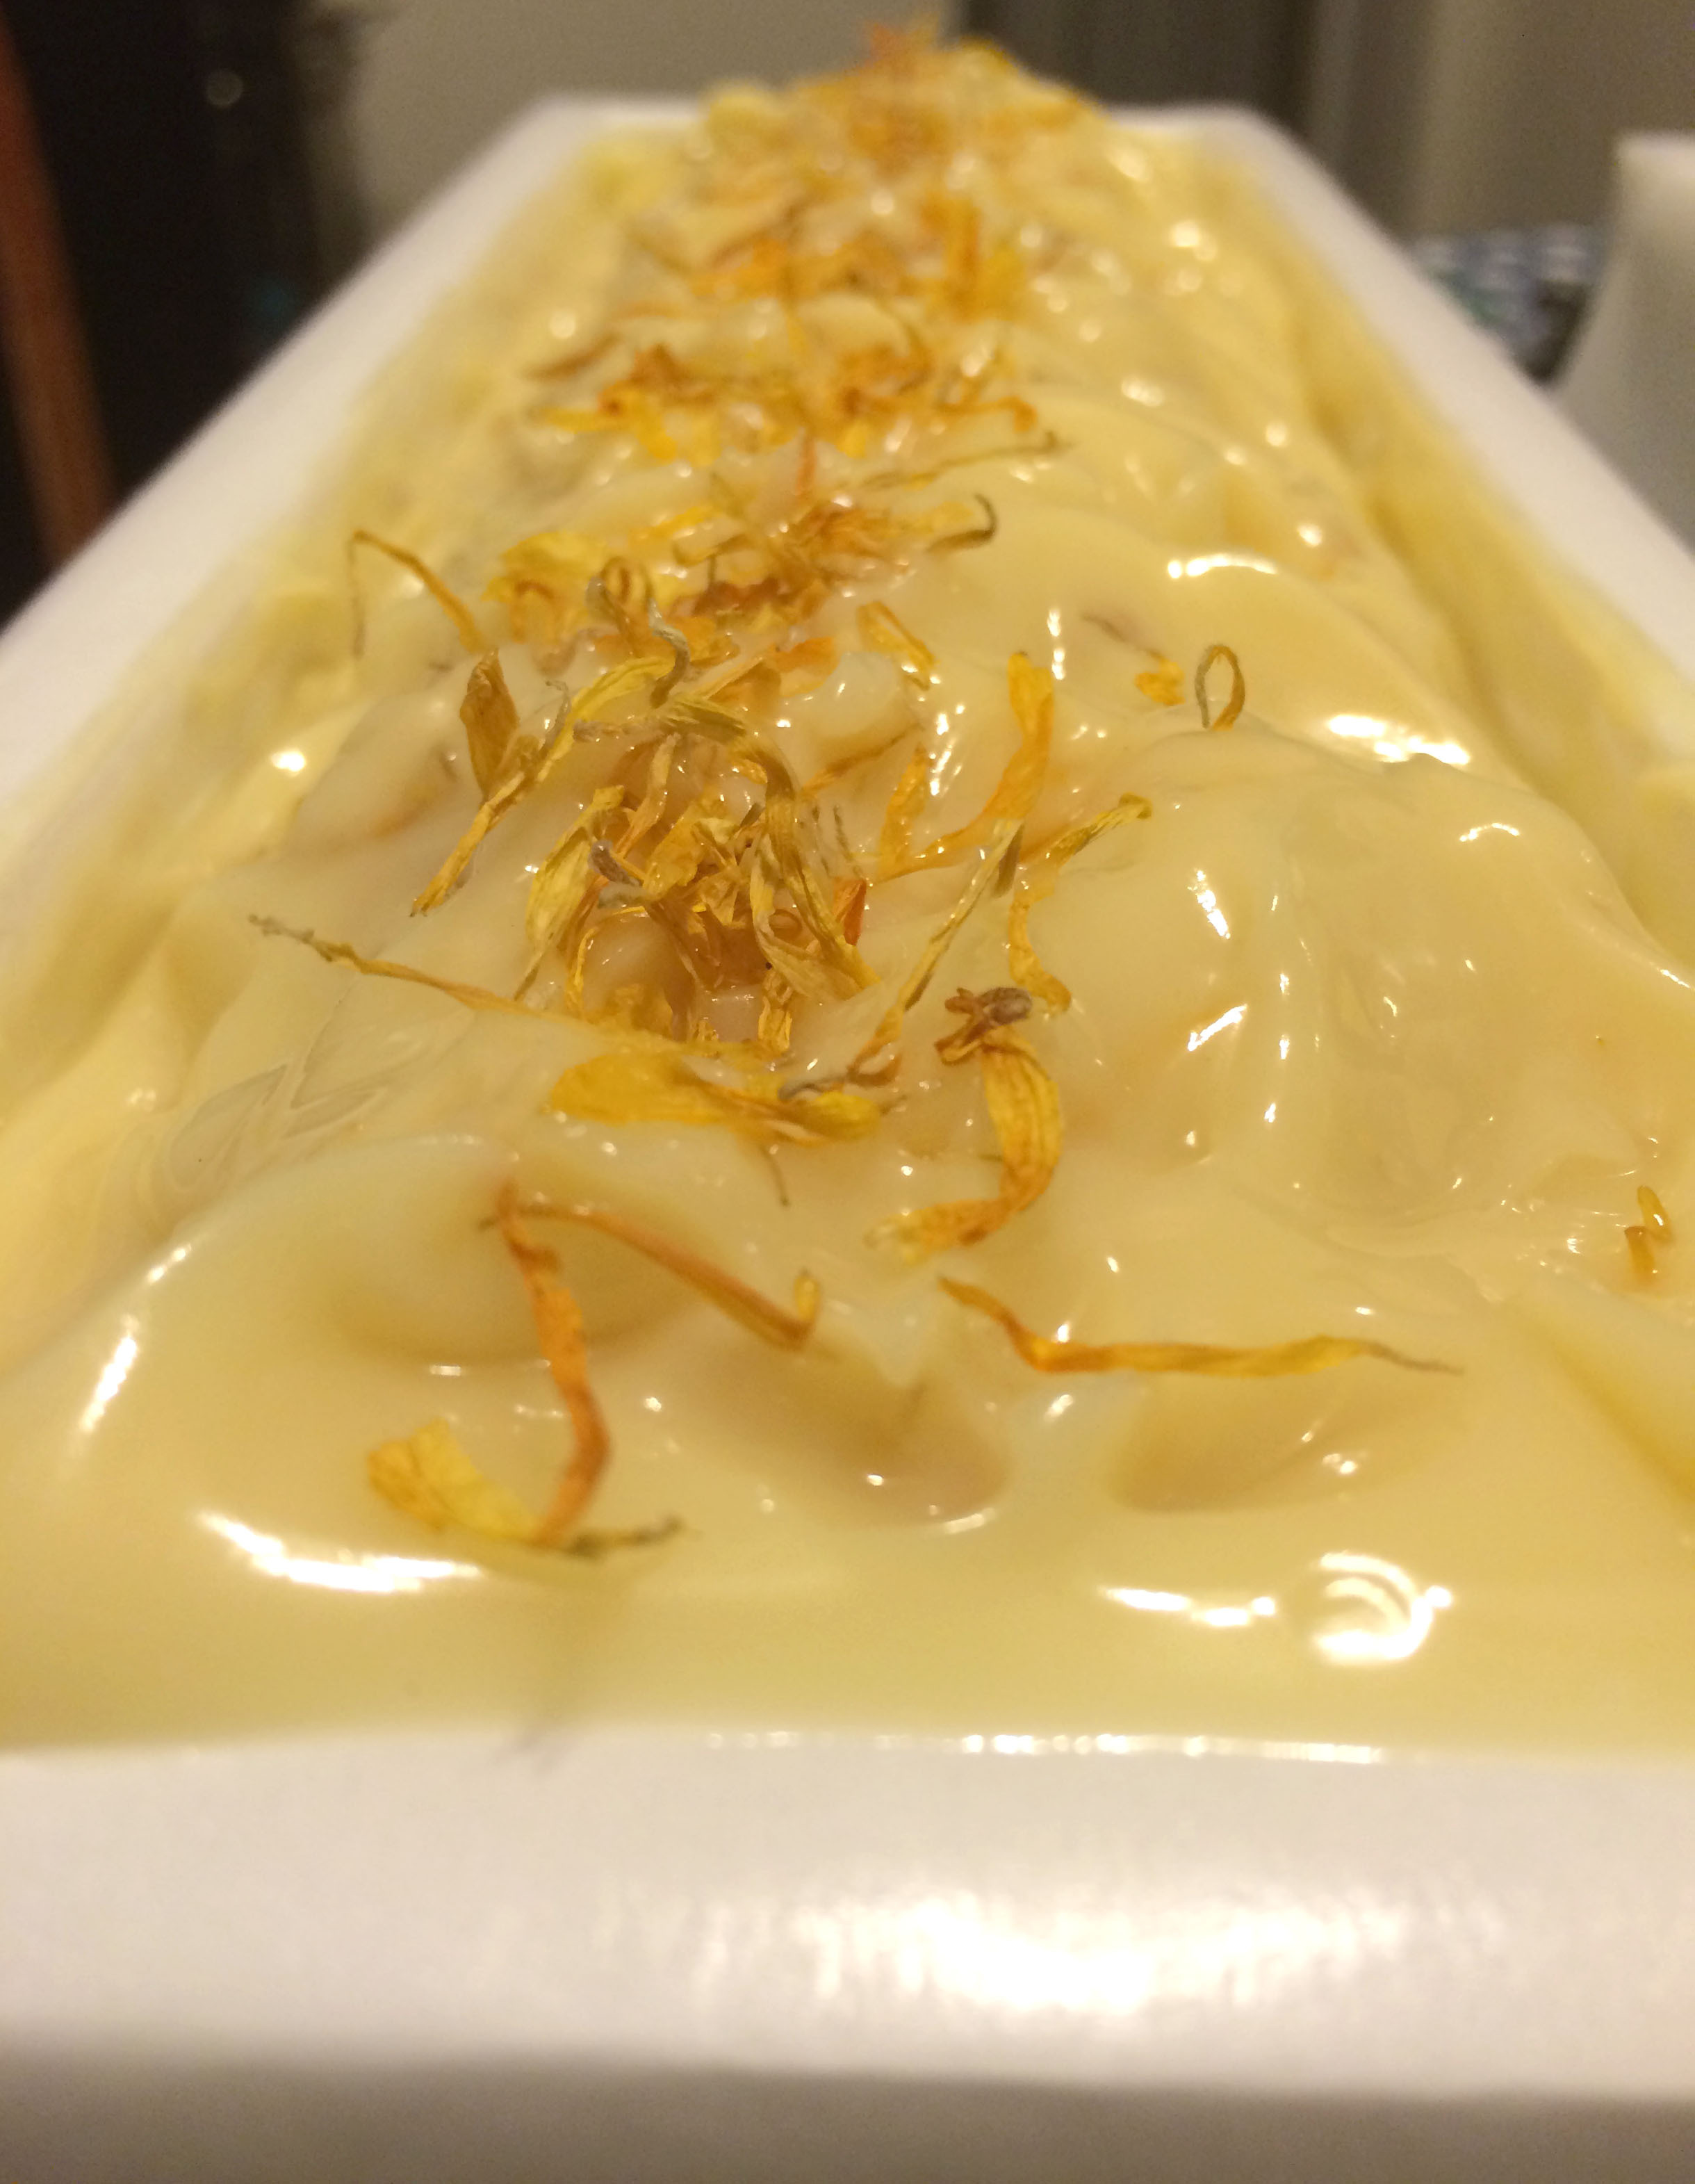
This soap is made with calendula-infused olive oil and decorated with calendula petals.

If you want to try out infused oils in your own soap, check out this recipe for a one-pound batch.

Calendula Soap
Print Recipe
Infuse dried calendula flowers in olive oil for this conditioning soap. This soap is superfatted at 6%.
Servings
1 pound
Cook Time
1 hour
Servings
1 pound
Cook Time
1 hour
Calendula Soap
Print Recipe
Infuse dried calendula flowers in olive oil for this conditioning soap. This soap is superfatted at 6%.
Servings
1 pound
Cook Time
1 hour
Servings
1 pound
Cook Time
1 hour
Ingredients
Servings: pound
Instructions
  1. Put the calendula petals in the tea bags and iron edges to close.
  2. Place the calendula bags into a large jar.
  3. Put the jar on a scale and tare the scale. Add a bit more olive oil than you need. This recipe calls for 170 grams, but some of the oil will be soaked up by the calendula petals and the bags; it will be hard to get every last drop out again.
  4. Screw the lid tightly on the jar and place it in a slow cooker on low. Let the oil infuse from 2-5 hours.
  5. Set the infused oil aside to cool. It will be too hot to soap with right after the infusion.
  6. When your infused oil is cool, prepare your water and lye. Measure out 162 g distilled water and set aside. Measure out 59 g lye in a separate container and set aside. Carefully add the lye to the water and stir until it is dissolved. Set the lye solution aside to cool.
  7. Measure out your hard oils (106 g coconut, 106 g palm, and 22 g shea butter) and melt them down.
  8. Add 170 g infused olive oil and 21 g castor oil to the melted hard oils.
  9. Once your lye water has cooled (I usually combine my oils and lye water at about 100ºF), add the lye water to the oils and blend to a light trace.
  10. Add your fragrance (optional) and either whisk in or stick blend carefully.
  11. You can add calendula petals to your top for extra decoration. Calendula petals keep their color in cold process soap, so you can even add it to the soap itself.
Recipe Notes

Whether or not the soothing qualities of calendula survive the saponification process is up for debate, but the infusion does impart a nice, light color to the soap. Why not try it and see if it works for you?

Share this Recipe
 
Powered byWP Ultimate Recipe

Spotlight on Ingredients: Heavy Cream

Cream Drop
Cream Drop by Kyle May

Do you ever read over recipes or watch soaping videos and wonder why soapmakers use the ingredients they use? After all, the only essentials for a good bar of handmade soap are oils, water, and lye. However, certain additives do impart some nice qualities to your soap, and in a series of posts, I wanted to share some of the “extra” ingredients I use in soap and why I use them.

Heavy cream has a lot of fat in it—36% fat or more. Goat milk typically has 4-5% fat. Cream is very rich and smooth. While the benefits of milks—especially goat milk—are widely known, not as many soapers use cream, possibly because of the expense. I wouldn’t try substituting all of the water in a recipe with cream, and not only because of the cost, but also because of the high fat content. The cream will likely congeal fairly quickly, even if you freeze it first, because the lye will react to the fat in the cream. If you have made milk soaps, you may have noticed that if you set the milk and lye mixture aside for a few moments, it does start to thicken as the lye reacts to the fats in the milk. Another reason you might not want to use cream as a total water replacement is that the high fat content might really throw off your superfat percentage.

So how do I use cream in soap? I usually add about 4-5% of the amount of oils to a batch of soap. So, for example, if I make a batch of soap that is 500 grams (I always measure in grams; it’s more precise than ounces and easier to convert), then I would add about 22 grams of cream to the batch. I admit this is approximate because I usually add a round number of grams of cream to my soap. For example, my typical batch is about 2.5 pounds of oils, or 1120 grams, and I usually add about 50 grams of cream to a batch that size. I would recommend using heavy cream at a rate of about 3-5%. You really don’t need to use a lot. When I use cream in my soap, I remove the same amount of water from the recipe. For example, in my batch with 50 grams of cream, I remove 50 grams of distilled water from the recipe. If you use full water and cream, you might find your soap takes a little longer to harden. I have not experimented with using full water and cream.

Before I add the cream to the oils, I warm it up a bit so that it is the same temperature as the oils (more or less). Then, I add my cream directly to my oils and stick blend it before adding the lye. I have noticed that it will not emulsify completely with the oils. Typically there are tiny white flecks of cream floating on the top of my oils. I usually give the oils one more quick stick blend before adding the lye water, but it probably isn’t necessary because once the lye water is added, it will all blend.

I first noticed the benefits of using cream in soap by accident. I made a batch of Creamy Coconut soap with coconut milk and cream.

Creamy Coconut

I mainly added the cream because I felt it would be in keeping with the name of the soap to have both real coconut milk and real cream in it. When I used it in the shower, I noticed how smooth the bars felt. If you can believe it, I didn’t immediately realize this smoothness was because of the cream. I thought it might have been the coconut milk.

I started noticing that other soapmakers used cream in their soaps, and when I ordered soaps from these soapmakers, I noticed how smooth their bars were. At first, I wasn’t sure why their soaps were so much smoother than mine either because there are so many variables—oil recipes, other additives, and the like. But eventually I realized it was the cream in the soap that added smoothness. I have used cream in almost all of the soaps I have made since that discovery (I typically do not use it in milk soaps, with the exception of Creamy Coconut).

In addition to smoothness, cream adds some of the same benefits as other milks in soap—extra conditioning being the main benefit imparted by heavy cream. I mainly enjoy the feel of soap with cream in it. It is definitely smoother than soap made just with water. It feels silky on the skin. I typically do not have to use much lotion at all because of the conditioning oils and butters in my soap, but I have noticed even less of a need to use lotion in those soaps made with cream.

Adding just a little bit of cream can add some great qualities to your soap. With my recipe of just 50 grams, I am adding 18 grams of fat, so my superfat percentage will not be drastically different from my calculation.

As usual, David Fisher has experimented with cream and shared his results. You can see what will happen if you add lye to cream in his tutorial. I personally have not found it necessary to freeze the cream I use in my own recipes. In addition, I have never noticed any discoloration as can happen when you use goat milk in place of water. I actually haven’t tried using just a small amount of liquid goat milk and adding it directly to the oils as I do with heavy cream, so you might find that solution works just as well for you.

Creamy Soap
Print Recipe
Make your own version of my creamy soap.
Servings Prep Time
1.4 pounds soap 1 hour
Servings Prep Time
1.4 pounds soap 1 hour
Creamy Soap
Print Recipe
Make your own version of my creamy soap.
Servings Prep Time
1.4 pounds soap 1 hour
Servings Prep Time
1.4 pounds soap 1 hour
Ingredients
Servings: pounds soap
Instructions
  1. Dissolve the lye in the distilled water and set aside to cool.
  2. Melt coconut oil and palm oil.
  3. Add olive oil and castor oil to melted hard oils.
  4. Add heavy cream to oils and blend.
  5. Combine lye water with blended oils when both reach about 100ºF. The temperature doesn't need to be exact, but it should be close.
  6. Blend with stick blender until you reach trace.
  7. Add fragrance or essential oil and stir well until thoroughly combined.
  8. Pour into a mold, cover mold with plastic wrap, and drape with towel. One pound of oils will make approximately 1.4 pounds of soap.
  9. Let soap go through gel phase and saponify for about one day before unmolding.
Recipe Notes

Note: you can substitute coconut milk, like I did, for the water simply by using 151 grams of frozen coconut milk and slowly adding the lye to the milk until the lye is dissolved. You can also use colorants. I have not had issues with this soap overheating or acting strangely in gel phase, but keep and eye on it, and remove some insulation if it appears to be getting too hot. Also, you can opt not to gel this soap and instead put it in the freezer overnight. The cream might make the soap heat up in the refrigerator, so it might need the additional chill of the freezer to prevent gel phase if you choose not to gel.

Share this Recipe
 
Powered byWP Ultimate Recipe

Recipe and Giveaway: Dead Sea Mud Spa Bar Soap

The very first bar of handmade soap I fell in love with was a Dead Sea mud bar I used to buy at my local farmer’s market in Georgia before I moved. In fact, it was my love for this bar of soap that drove me to try making my own soap because I wanted to continue to use it, but I didn’t want to have to special order it from my new home in Massachusetts. I started studying the craft of soapmaking, and eventually I formulated several different Dead Sea mud soap recipes, but for some reason, I never tried making them.

At first, I studied the ingredient label on my remaining farmer’s market soaps and tried to replicate the recipe, even in my other bars of soap, but as I learned more about oils and butters over time, I developed my own Dead Sea mud spa soap recipe, and I decided the time was finally right to create my own version of this soap.

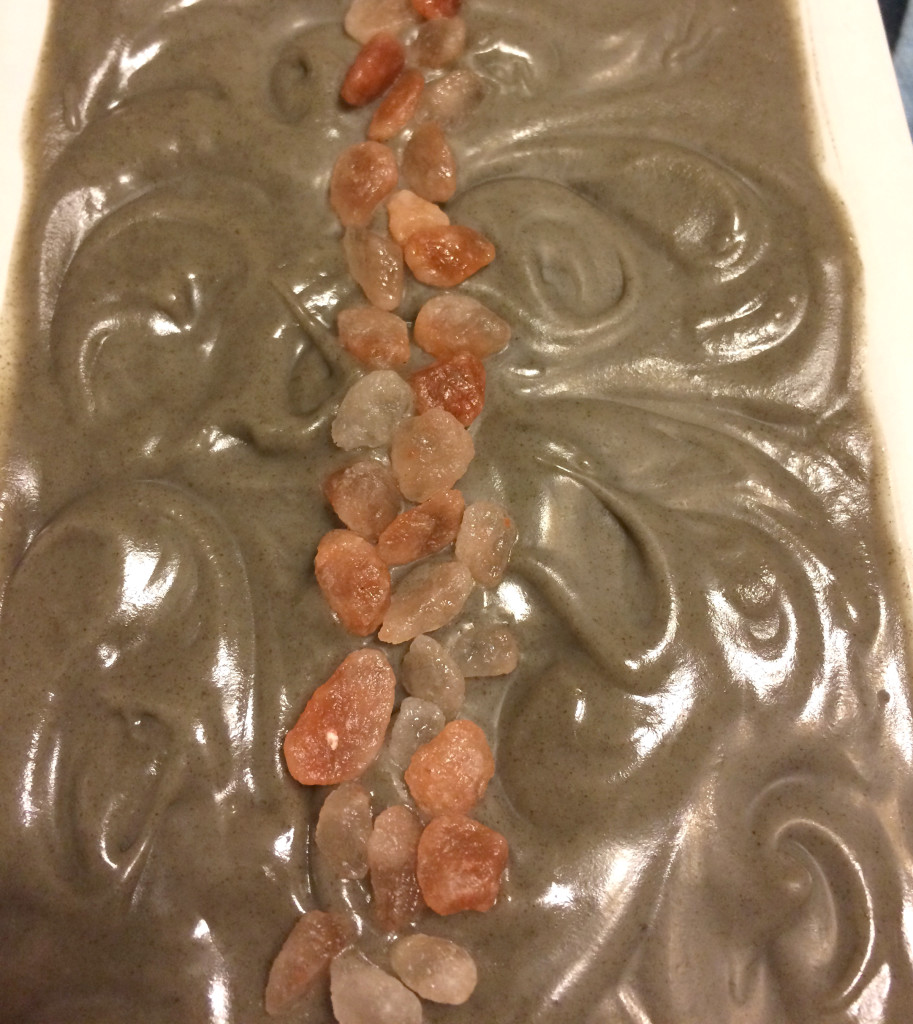
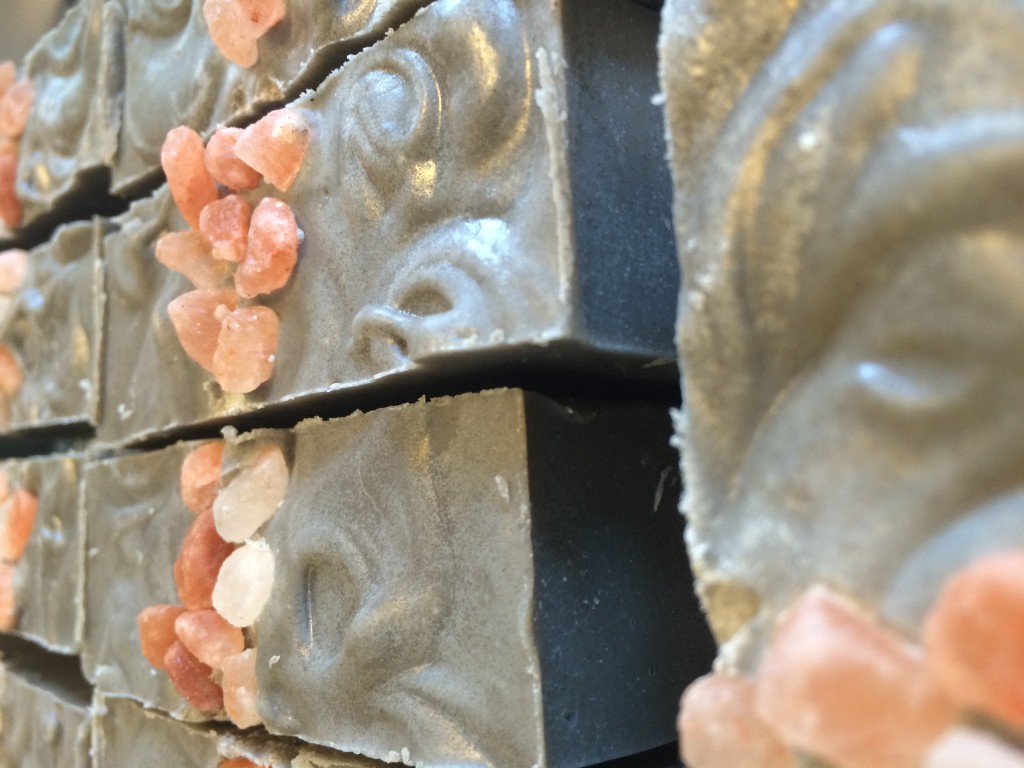
Dead Sea Mud Spa Bar

Why use Dead Sea mud in soap? Dead Sea mud is rich in minerals and salt that are good for your skin. Many expensive beauty treatments have Dead Sea mud among their ingredients. I purchased my Dead Sea mud from SoapGoods, but you can buy it many places.

I used a 33% water weight as a percentage of oils when I formulated my recipe in SoapCalc. You can use more, but be mindful of the fact that you have Dead Sea mud in your recipe, and make sure you don’t use too much. I used a 6% superfat for the lye.

  • 40% olive oil
  • 25% coconut oil
  • 15% palm oil
  • 7% shea butter
  • 7% castor oil
  • 6% apricot kernel oil

I used a fragrance ratio of 50 grams per kilogram, or 5%. At this point, I should explain that I usually use grams instead of ounces because they are more precise. You can still use the same percentage if you are using ounces.

You can use between 1 and 2 tablespoons of Dead Sea mud per 500 grams of oils. My recipe is 1,100 grams of oils, and I used 3 tablespoons of Dead Sea mud.

You can use whichever fragrance or essential oil you like for this recipe. I used an essential oil blend of lavender and spearmint. I also put a pinch of tussah silk in my lye water (I usually do this with all my water-based soaps, but I find it too hard to dissolve the silk in milk-based soaps). I also topped my soaps with Himalayan pink salt. You could easily omit the salt.

Dead Sea Mud Spa Bar

Unfortunately, I didn’t take photographs of my process. Note: The reason I use percentages in recipes I post on this blog is that your mold may be smaller or larger than mine, and using percentages allows you to use SoapCalc to adjust the recipe for your own mold. I wish more soaping books also used percentages, but I have noticed that many soaping blogs do. If you want to figure out how much oil will fit in your mold, use this formula for a rectangular mold, check out this link for more information on how to do that.

And now seems like a good enough time for a giveaway, so if you’d like to win one of these bars of soap, enter the contest. Please remember that soap takes four weeks to cure, so the soap will not be shipped out until June 5, 2015. Good luck! Open only to residents of the United States (shipping costs are high; sorry!).

a Rafflecopter giveaway

Matching Colors with Fragrances

I decided to use the last of my S.O.A.P. Panel freebies, Mandarin Oasis. I didn’t test this fragrance on the S.O.A.P. Panel—it was not one of my eight fragrances, but it was one of the fragrances tested by the second panel last year. Testers received two ounces of each of the fragrances that were ultimately selected for sale.

Bramble Berry describes the fragrance as follows:

This fragrance smells great for both kids and adults! Similar to Energy, one of our top selling fragrance oils, Mandarin Oasis has a sweet orange top note but with a sophisticated undertone. Mid-notes of papaya, ginger and thyme really hold this fragrance together giving it a sweet and sultry aroma. Crisp notes of cotton, teakwood, and neroli make this fragrance extremely versatile for projects ranging from personal perfume, laundry soap, or sugar scrubs. Take your senses on a mini-vacation!

I don’t smell the similarity to Energy myself, but I do smell the sweet notes in the fragrance. I’m not sure I pick out a mandarin orange scent. It doesn’t smell spicy to me at all. I think I do detect the neroli. My nose is not the most sophisticated in terms of making distinctions among all the layers in a fragrance. However, Mandarin Oasis does smell absolutely gorgeous. It’s very feminine.

I’ve written before about using the color wheel to create soap designs. But I don’t use the color wheel alone when thinking about which colors to use. I also think about what colors match the fragrance. When I think mandarin, the first color that comes to mind is orange. I toyed with the idea of an orange, black, and white color scheme for this fragrance, but the more I thought about it, the more I didn’t think it fit this particular fragrance. I think quite a lot about colors that match the fragrances I use. The image Bramble Berry attaches to this fragrance is black palm trees at sunset. It’s pretty, but it doesn’t quite evoke the fragrance for me either. It seems a little too dark. However, it did give me an idea. What about using sunset colors?

Sunset
Photo credit: Luis Medina

The beautiful oranges, pinks, purples and yellows could work well with this fragrance, and pops of white could help bring the whole look together.

The first thing I did was make an orange embed to represent the setting sun. I neglected to take a photo of it.

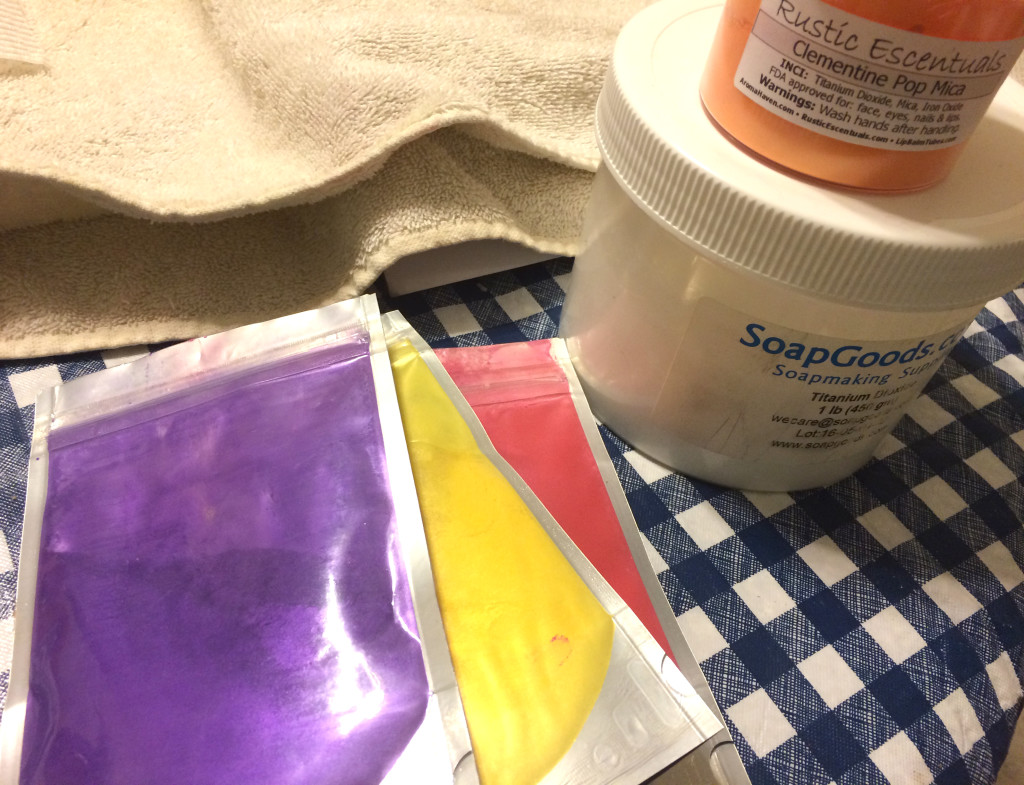
I put together my colorants: Rustic Escentuals’s Clementine Pop Mica, Nurture’s Purple Vibrance, Yellow Vibrance, and Pink Vibrance, and titanium dioxide.

Colorants

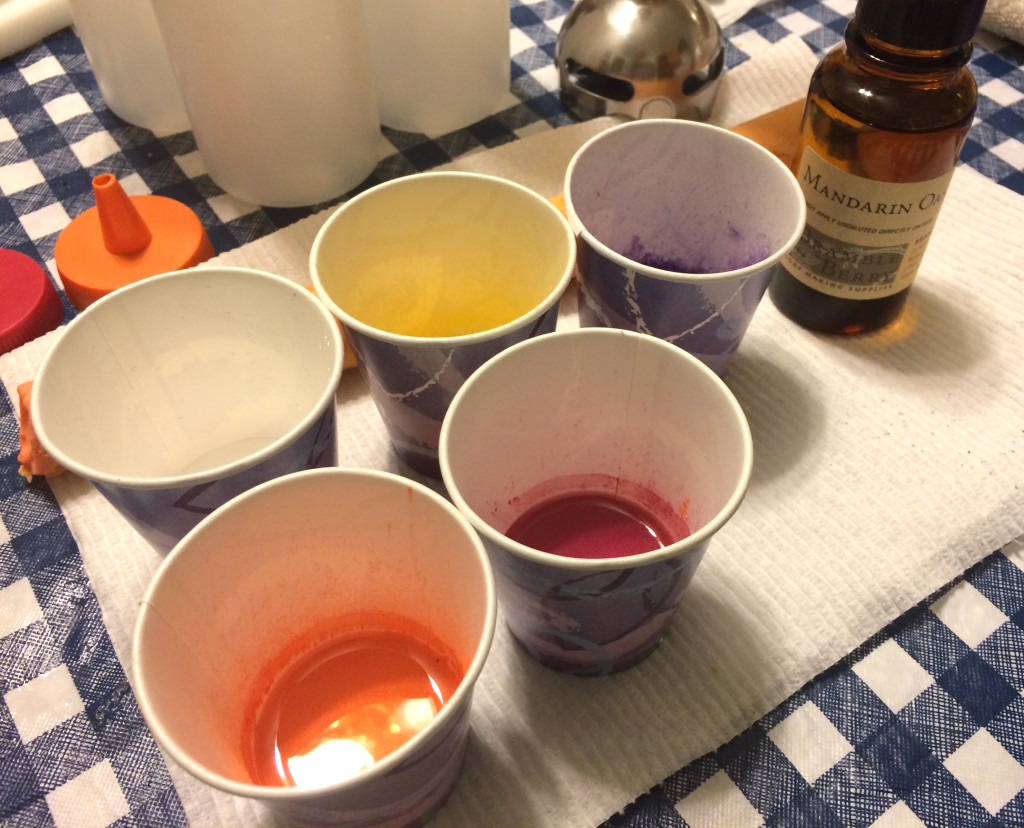
I mixed the colorants up and decided to use squeeze bottles to make a layered design. I would not do this again. The soap set up a little bit fast, perhaps because of the floral notes in this fragrance or perhaps because of my recipe, but it was very difficult to squeeze by the end.

Mixed Colorants

I attempted to create a video of the process, but it wound up being too long and difficult to capture. I took a picture of the top before I put the soap to bed, but the lighting was not too good by that time (it was after 10:00 PM).

Top of Mandarin Oasis

The next day, I cut the soap. Given how it set up, I was happy with how it turned out.

Mandarin Oasis

It doesn’t look precisely like a sunset. It reminds me more of an impressionist painting of a sunset. Perhaps you can see the glycerine rivers in the titanium dioxide. I think sometimes this look suits better than a solid white, and in this case, I’m happy they happened. They look a little bit more like wispy clouds than they might otherwise have done.

If I were to do this soap again, same colors and all, I might try to use a spoon to create the same effect, as the squeeze bottles proved difficult to use, especially by the end. Truth be told, I’m not a huge fan of using squeeze bottles in soap designs because they are terribly difficult to clean. I thought they might be faster than using a spoon, but I’m not so sure. I took about two hours to make this soap from start to clean-up. It wouldn’t look exactly the same if I had used a spoon.

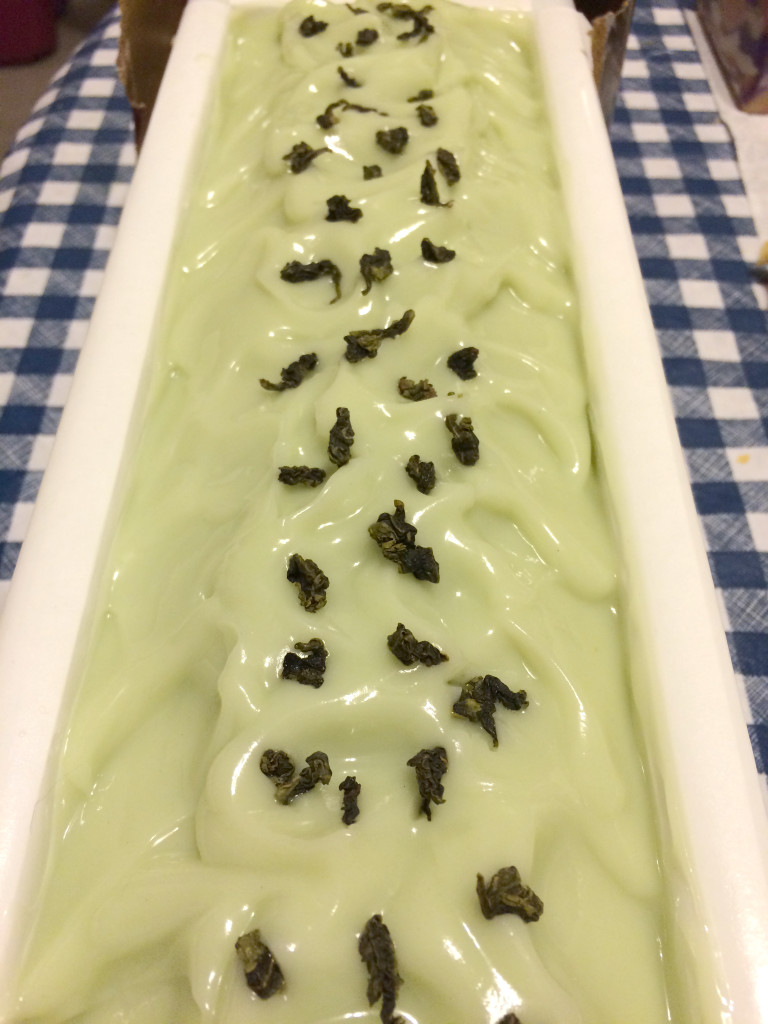
On a less complicated note, when a wholesale customer of mine asked for Green Tea & Cucumber, it seemed like a no-brainer to create a soap with a subtle green hue, much the same shade as cucumber flesh. How to get that hue, however? Chromium green oxide might have been a good choice, but it tends toward a moss hue. I wasn’t sure I wanted to use a mica either, as they tend to be more vibrant, and I needed something subtle. Hydrated chromium green oxide is not quite as dark as chromium green oxide, and it has a teal note to it that I thought might work well. The trick is to use just a scant amount. I think I may have used less than 1/8 teaspoon to color this whole batch.

Green Tea & Cucumber

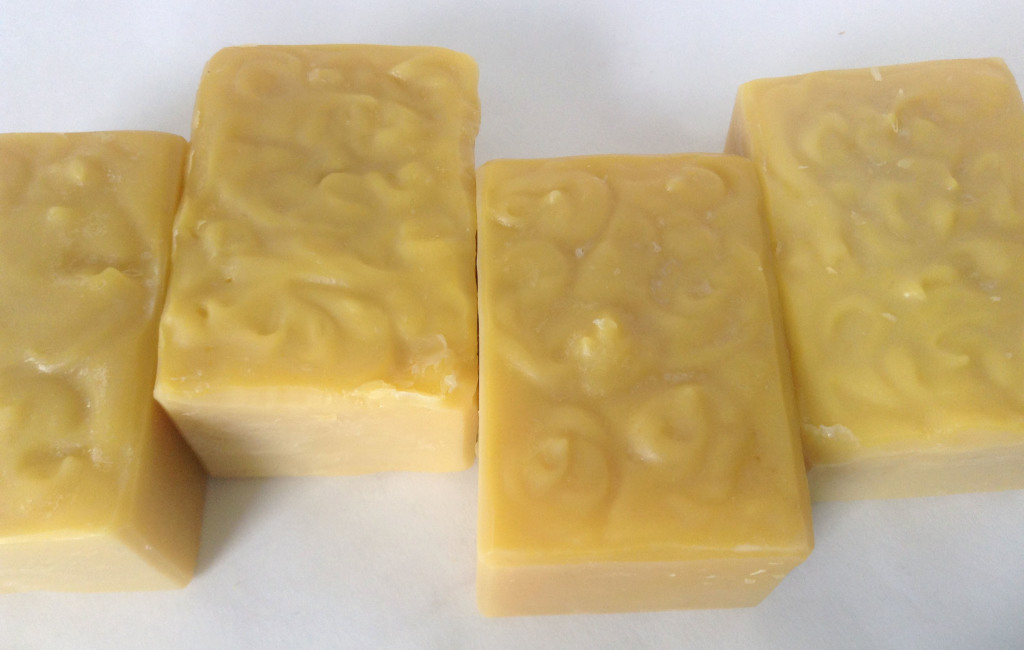
The pureed cucumber in this recipe may also have contributed to the green shade, but it’s mostly the hydrated chromium green oxide because cucumber alone (unless you include the peel) will not result in even this much color. The leaves on top are Chinese green tea leaves—the green tea was a gift from one of my Chinese students. I didn’t think she’d mind if I sacrificed a little bit of the tea for soap. This one hasn’t gelled yet, so I’m not sure what the final color will be, but I don’t think it will stray much from this light, cool green. If anything, it might pick up some yellowish undertones, similar to the color of green tea. It’s exactly the shade of green I wanted, and it complements the fresh green scent of of the Green Tea & Cucumber fragrance oil I used:

This fragrance smells just like freshly steeped green tea with a hint of cucumber. It isn’t your typical sweet cucumber fragrance. The earthy green tea is the most upfront aroma in this fragrance oil giving cosmetic products a fresh and clean scent.

The beautiful thing about soap is that you can use whatever fragrances and scents you want, and you can match colors with fragrances, or you can use whatever colors you want with fragrances.

What do you do? Do you try to match colors with scents? If you have tips, feel free to share in the comments.


Experimenting with Australian Washed Blue Clay

I have admired the way soaps made with Cambrian blue clay look for some time. Once when placing an order with one of my vendors, I decided on a whim to purchase some Australian washed blue clay, thinking it was the same thing as Cambrian blue.

As it turns out, it’s not. After doing some research, I discovered that Australian washed blue clay is actually a kind of bentonite clay. I have used bentonite clay before in shaving soaps because it adds slip, but I hadn’t tried it in a regular soap before. I know that it’s considered to be good for acne, but I decided it was probably fine since I have used a bentonite-clay based shaving soap on my legs and suffered no dryness as a result.

Australian Washed Blue Clay

I’m not sure if everyone sells Cambrian blue clay wet, but Bramble Berry does. Obviously, my Australian washed blue clay is dry. I thought it looked sort of green, but it’s hard to tell with clay until you get it wet, and even then, it doesn’t always look the same as it will in soap.

I decided I would experiment with it anyway because even if it turned out green, that would work just fine with my planned batch. I had decided to use the Lavender & Cedar fragrance oil that Bramble Berry sent me as a thank you for participating in the S.O.A.P. Panel last year. I haven’t seen too many people talking about this fragrance in soaping circles (or perhaps I’m not looking in the right places, which is entirely probable). Bramble Berry does warn that the fragrance loses some of its camphor notes in cold process, which suits me fine. I also thought that it would work well with either a green or a blue soap, so it would be perfect for my experiment with Australian washed blue clay.

I use kaolin clay in most of my soaps because it adds silkiness and creaminess and also helps anchor fragrances so they stick better. French green clay is a staple of my Provence soap. I have used pink rose clay (a form of kaolin) to color some soaps as well, and I have used rhassoul clay in my Guinness Beer soaps. I almost always just add my clay directly to my oils and stick blend before adding my lye. I have had the fewest number of problems with mixing when I have followed this method for using clay.

Another method includes adding clay to the lye water (which you would also only do if you were coloring the soap with the clay only). I have never tried adding it to my lye water.

A third method involves making a slurry with clay and water or clay and oils. I have sometimes had clumps in my clay when I have used this last method, especially if I make a slurry and then add it to a bit of the soap, and then add the colored soap to the rest of the batch and blended as David Fisher describes here. I have had the best luck with this method if I just treat the clay like any other colorant and add the oil or water and clay slurry directly to the soap and blend. If you are doing a swirl or using other colors, it’s the method to try.

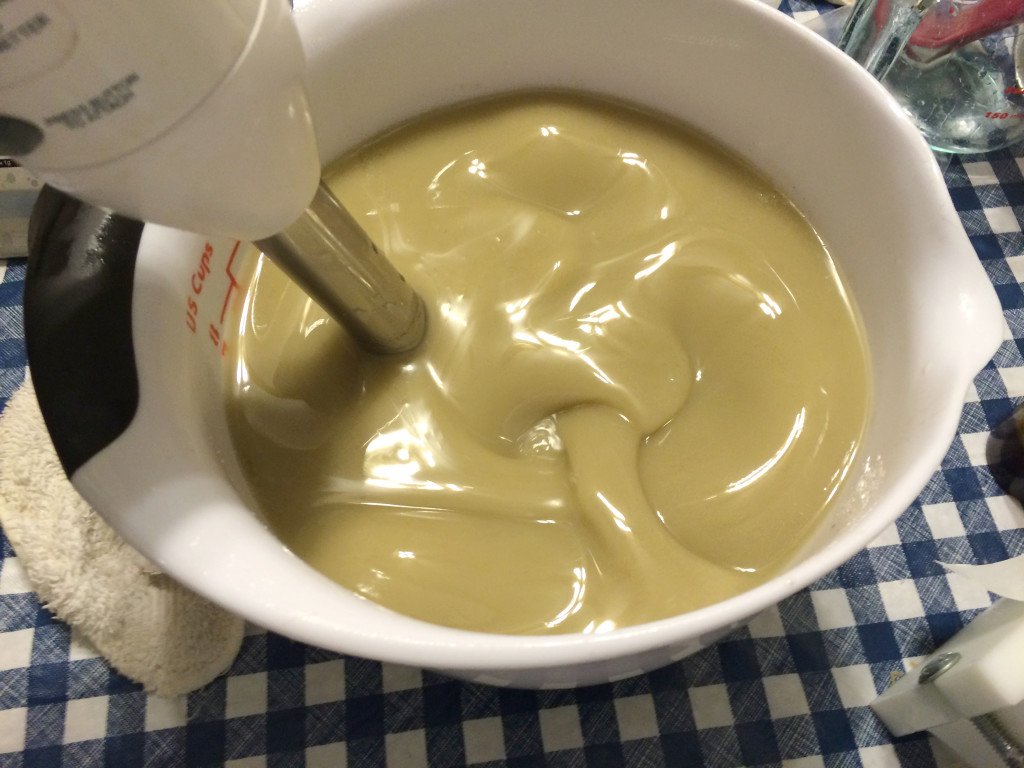
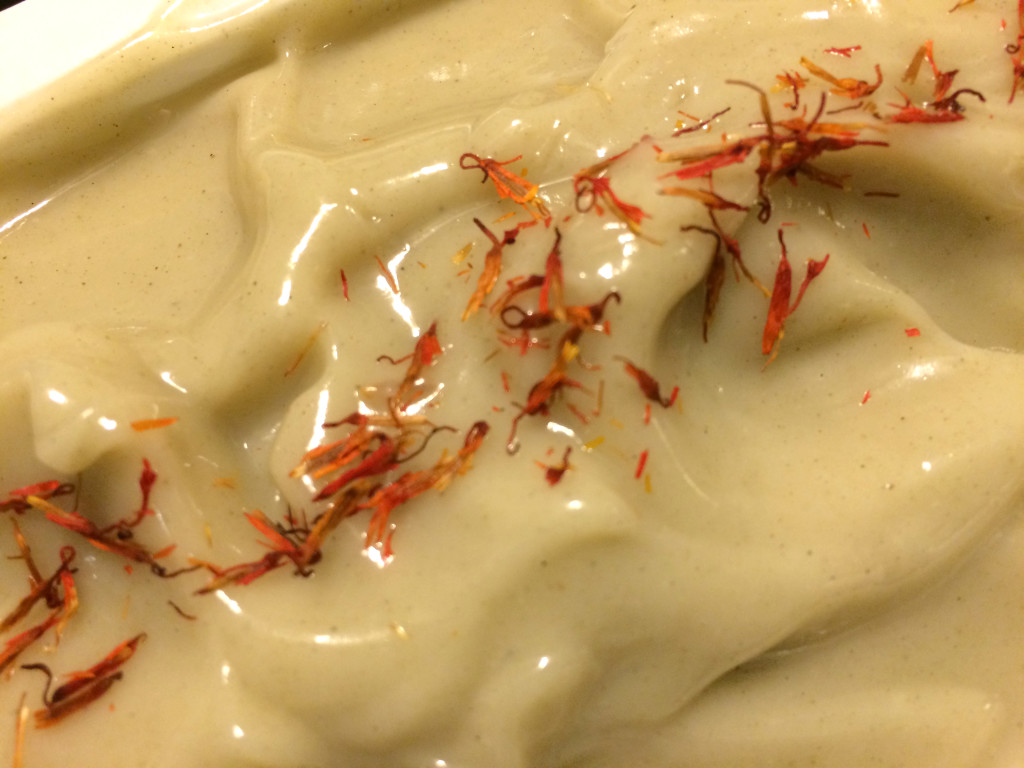
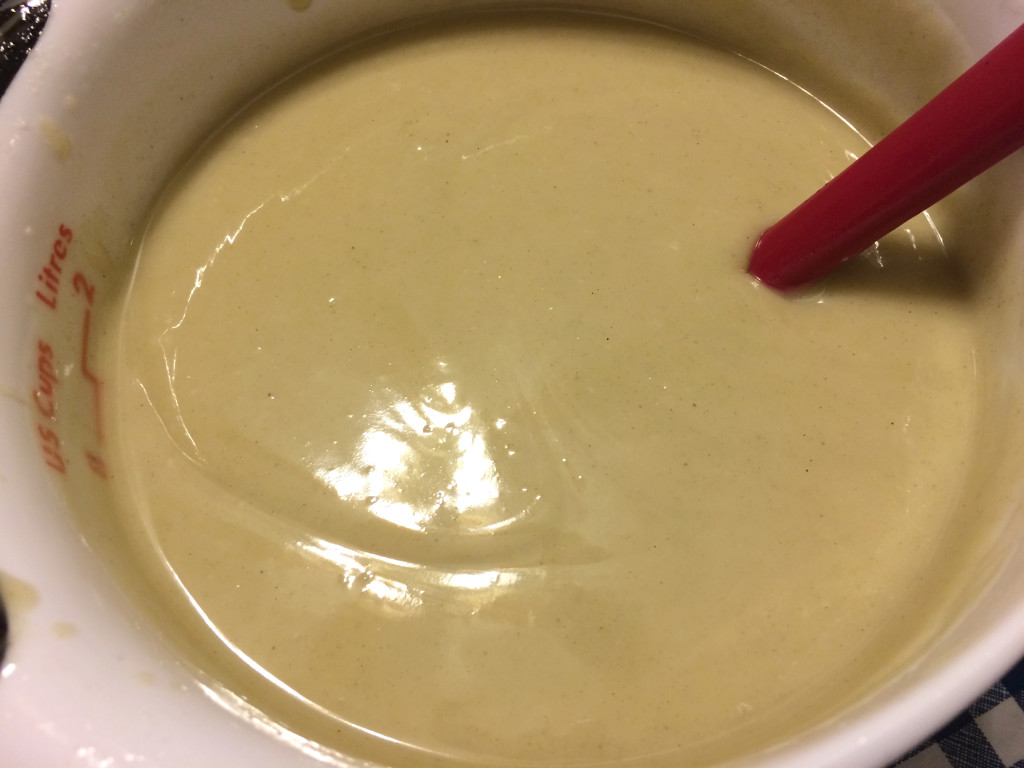
Since my Lavender & Cedar soap was going to be one color, I decided to add the clay to the oils and blend. It definitely looked green, but the final test would be adding the lye water and blending. Sometimes the color of the soap lightens once the lye is blended well with the oils.Blending the SoapIn the early blending stages, it looked a lot like French green clay to me. Once I was done blending, sure enough, it was still green.
Blended Soap

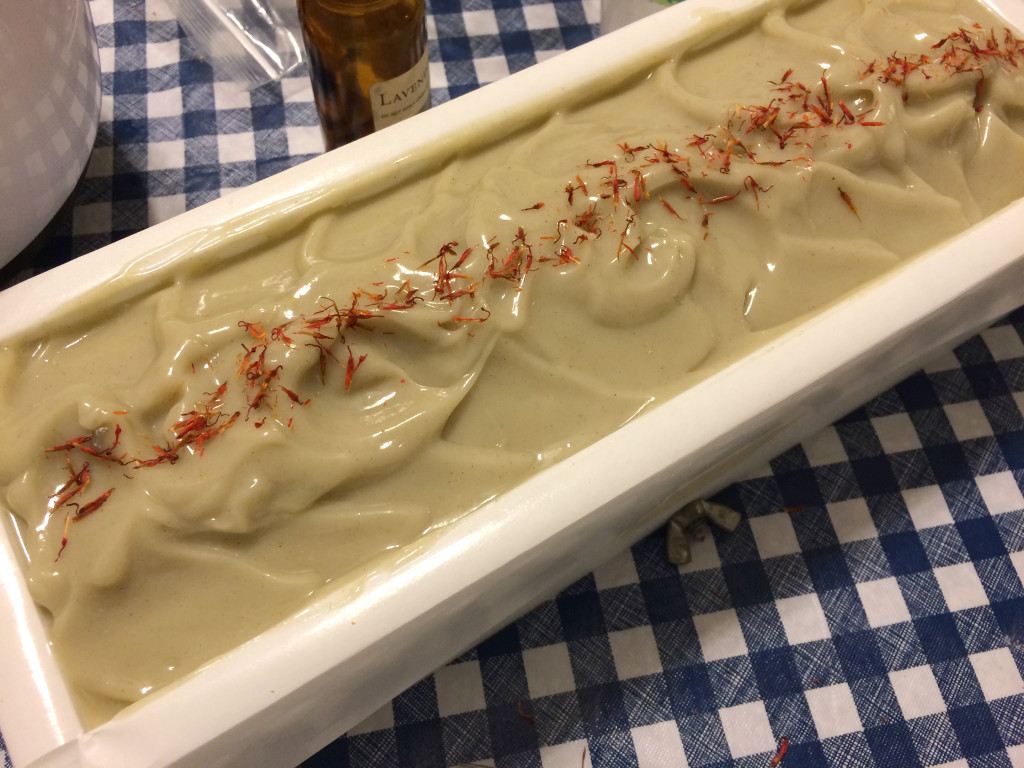
It’s pretty, but it’s sure not blue. I poured the soap into the mold.

Blue Clay Soap in the Mold

I decided to sculpt the tops a bit and add some pretty safflower petals.

Blue Clay Soap in the Mold

Here is a close-up:

Close-Up of Blue Clay Soap

In the close-up, you can see the soap has tiny flecks in it. Neither bentonite or French green clay does that (at least in my experience), and I really like the look of it. It’s not quite the same shade as French green clay, but it’s not far off. The safflower petals set it off nicely, but they would also have looked nice with a blue soap.

I would just have to wait for the unmolding and cutting to see what the soap would ultimately look like. So what happened in the end?

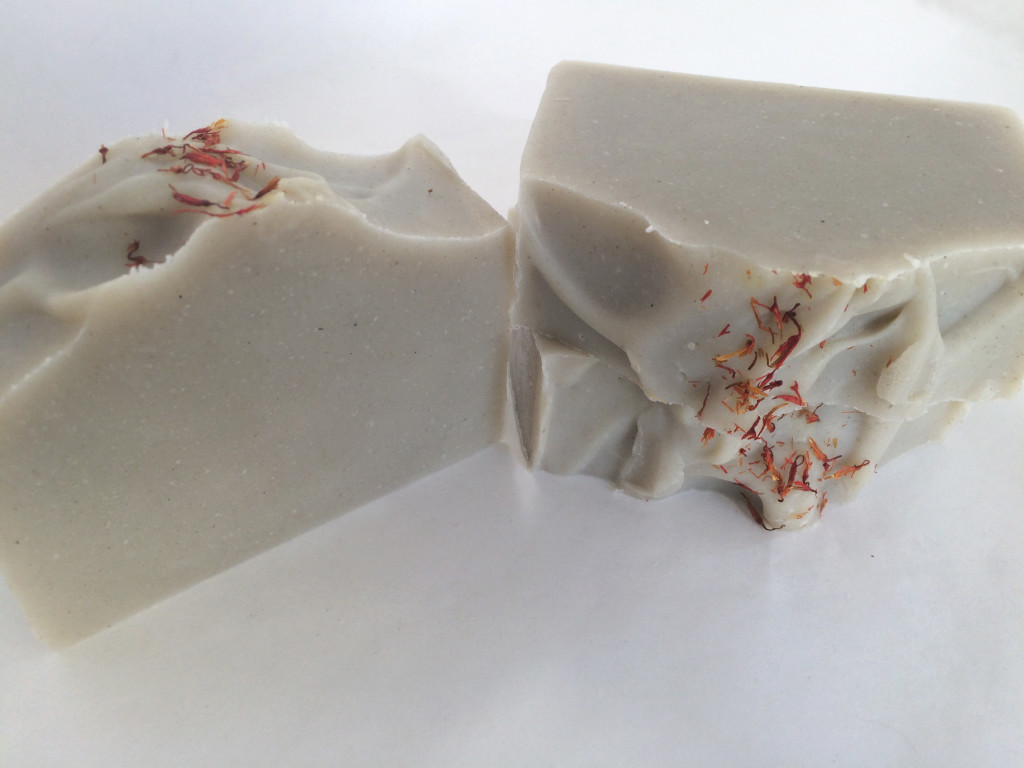
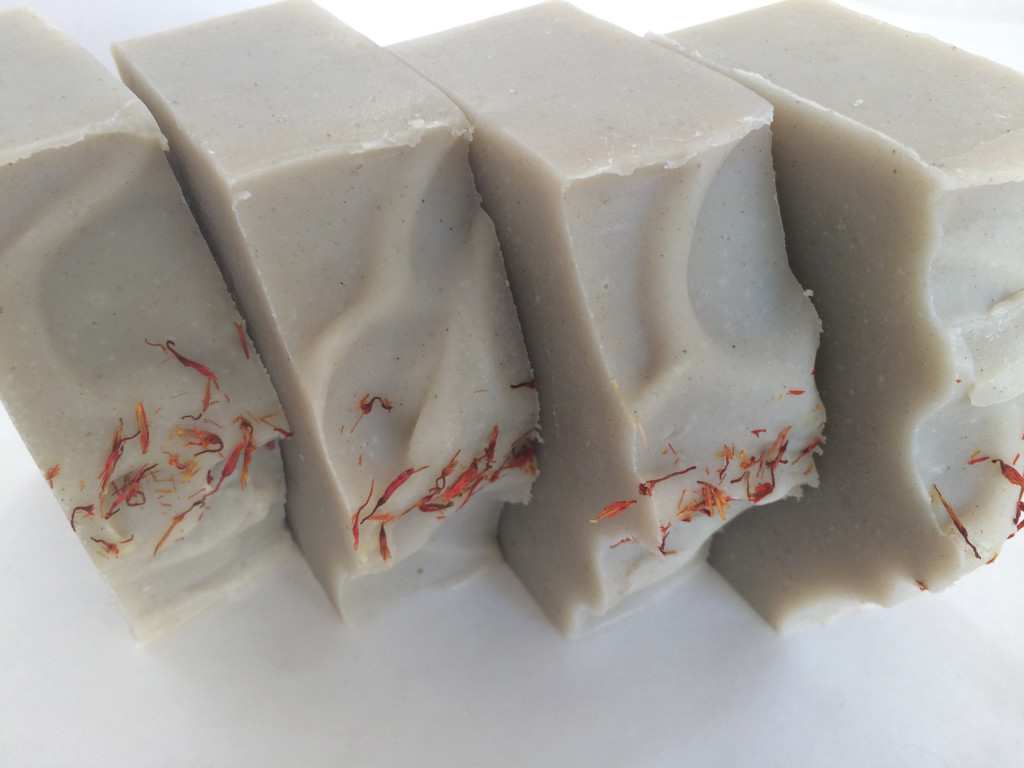
Lavender & Cedar Soap

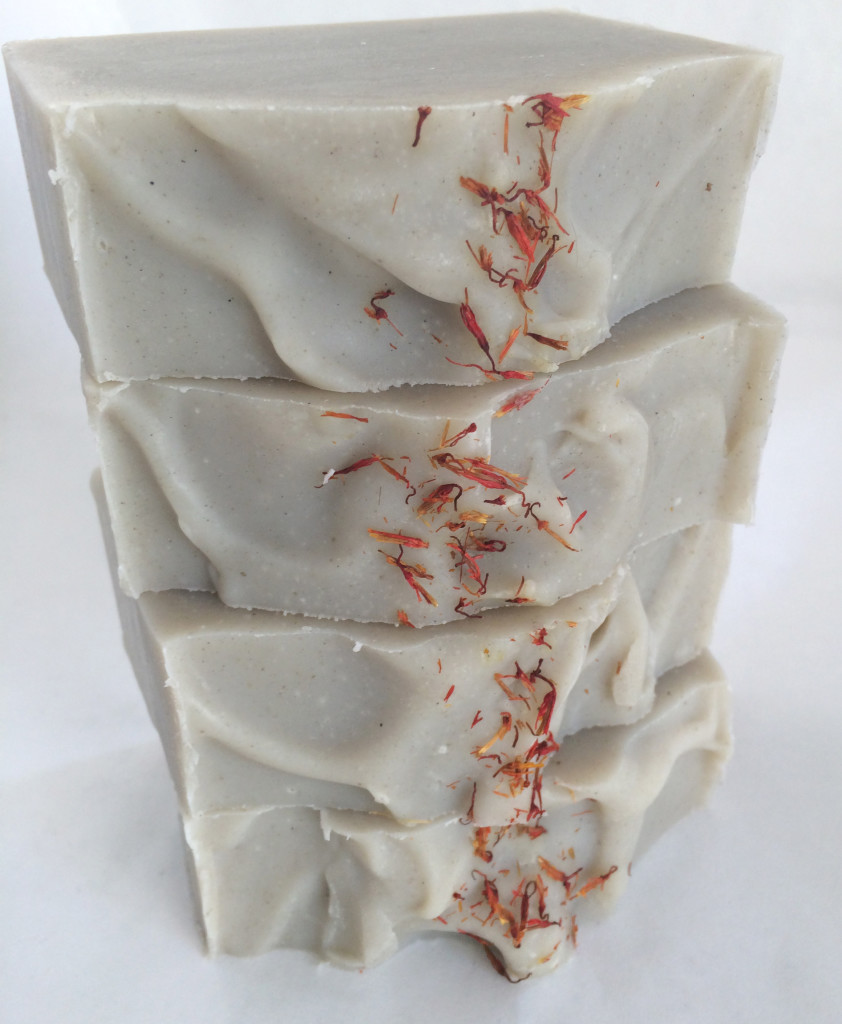
A lovely shade of green. Definitely nothing remotely close to a blue. For the record, I gelled these soaps, too, so if it were likely to morph or change color at all, it would have done so.

Lavender & Cedar Soap

The real shame here is that you can’t smell them, looking at them on your computer screen. Oh my, do they smell good. A nice scent of cedar underlaid with the floral lavender and some other more complex woodsy notes I can’t quite pick out. Ultimately, I think the color is perfect for the fragrance.

Lavender & Cedar Soap

It doesn’t quite look like French green clay, either. The flecks in the soap are quite pretty, and the color does look nice with the safflower petals. The soaps have a nice, silky feel.

Even though the results of my experiment were not what I had anticipated (a blue soap along the shades of a Cambrian blue clay), I’m still quite happy with them. I love the fragrance, and really hope my customers enjoy the soaps.

Spotlight on Carrot Buttermilk Soap

Carrots are great for your skin. They contain beta-carotene, which is believed to relieve dry skin and reduce fine lines. Buttermilk is also great for dry skin and has alpha-hydroxy acid, thought to remove dead skin cells. Many beauty products on the market contain alpha-hydroxy acid.

I originally tried a carrot-based soap well over a year ago, and I wasn’t 100% happy with the results. It was a fine soap, and those who tried it even complimented me on it and said they loved it. It just didn’t look like it had carrots in it.

Carrot Silk

I made this soap based on a recipe I found at Soaping 101. To be honest, I think I combined the carrot soap recipe in the video with a facial soap recipe. I suspect it was another Soaping 101 recipe, but I am just not sure anymore where I found it. I do know I didn’t formulate the recipe, though I may have tweaked it. My recipe for this soap was as follows:

  • 35% olive oil
  • 30% palm oil
  • 15% coconut oil
  • 10% palm kernel oil
  • 5% sunflower oil
  • 5% castor oil

I used full water, which probably wasn’t necessary, and a superfat of 7% (I typically use 6%). I also added kaolin clay and powdered goat milk, and substituted 2 oz. of water for pureed carrots. I also used tussah silk, but I use tussah silk in a lot of my soaps. The recipe has a lot more palm oil and a lot less coconut oil than I typically use. I also used palm kernel oil, which I do not typically use and have actually discovered I don’t like much.

I was happy with how the soap looked in the mold.

Carrot Silk

However, I noticed that it heated up rather a lot, and it began to look a little bit like brains. If you haven’t experienced this phenomenon in soapmaking, check it out and scroll to Alien Brains. The resulting soap, as I said, was fine. And it was hard as a rock. I just didn’t think it looked like I wanted. I was put off using carrots for a while.

I really liked the look of some other carrot soaps I had seen. For instance, Rocky Top Soap Shop has a beautiful carrot soap, and Chagrin Valley has a very nice Carrot and Honey soap. Both soaps contain carrot juice rather than pureed carrots.

I decided to try Amanda’s advice and use carrot baby food. After trying baby food, I am convinced the trick to a good carrot soap is to use pureed carrot baby food or carrot juice to replace some or all of the water instead of making your own carrot puree. It may be that when I pureed my own carrots, I was not using enough carrots as compared to water, and though I have a blender, I had trouble making a very fine puree like you might find in baby food. You have to be careful with using fruit or vegetable purees in soap. Sometimes, they go brown (strawberries, peaches). Other purees seem to be fine (bananas).

I searched for an organic baby food that listed its ingredients as only carrots or only carrots and water, and I found one. I discovered when I used the carrot baby food, the resulting color was much closer to what I was looking for.

Carrot Buttermilk I completely scrapped my other recipe. I used two ounces of carrot baby food, removing two ounces of water from my recipe and reduced the total amount of liquid in the recipe from 38% (which SoapCalc figures as “full water”) to 33%. I superfatted at my usual 6%. As I said, I am not a fan of palm kernel oil, and I decided to simplify with fewer oils. I also used two teaspoons of powdered buttermilk, removing about a tablespoon of water from my recipe before adding the lye and using it to reconstitute the buttermilk. Buttermilk is just wonderful in soaps. I used two teaspoons of kaolin clay as well. I did not add the carrots to the lye water, as Amanda described, but rather to the oils. I blended the kaolin clay, reconstituted buttermilk, and carrots well with the oils before I added the lye water.

The recipe fit well in my 9-bar mold. I left the soap unscented as I intended it to be used on the face and/or sensitive skin. In my opinion, the new recipe, which I formulated myself, is much more face-friendly than the one I borrowed—there is an excellent case to be made for creating your own recipes instead of following others’ recipes right there. Nonetheless, here is what I used:

  • 40% olive oil
  • 25% coconut oil
  • 25% palm oil
  • 5% apricot kernel oil
  • 5% castor oil

I had noticed that my old standby facial soap, Provence, which is a Marseilles-style soap made with olive oil, coconut oil, and palm oil, was making my face feel a little tight after I finished using it. I decided to pull out a bar of my Carrot Buttermilk soap to see how I liked it. I didn’t just like it, I LOVED it. It had a smooth, creamy lather that I didn’t expect to see because of the amount of coconut oil and castor oil I used, which usually produces a lather that is bubbly. Carrot Buttermilk will bubble up quite a bit more if you lather it up for a little longer. It actually feels like a soap that has more olive oil in it than it does (though it has a significant amount, and more than the Carrot Silk soap had). I suspect the difference is the apricot kernel oil. My face absolutely does NOT feel tight after I wash with it, and I am now in love with this little bar of Carrot Buttermilk soap.

You can purchase Carrot Buttermilk from the shop, and it’s even on sale for a limited time.

Creative Commons License
Carrot Buttermilk Facial Soap by Dana Huff is licensed under a Creative Commons Attribution-NonCommercial-NoDerivatives 4.0 International License.

Soaping on the Color Wheel

Some time back, I blogged about color theory as it related to selecting colors for soapmaking. In that post, I discussed that one way to create an appealing color combination is to use complementary colors, or colors that oppose each other on the color wheel.

Color Wheel
Color Wheel via Wikipedia

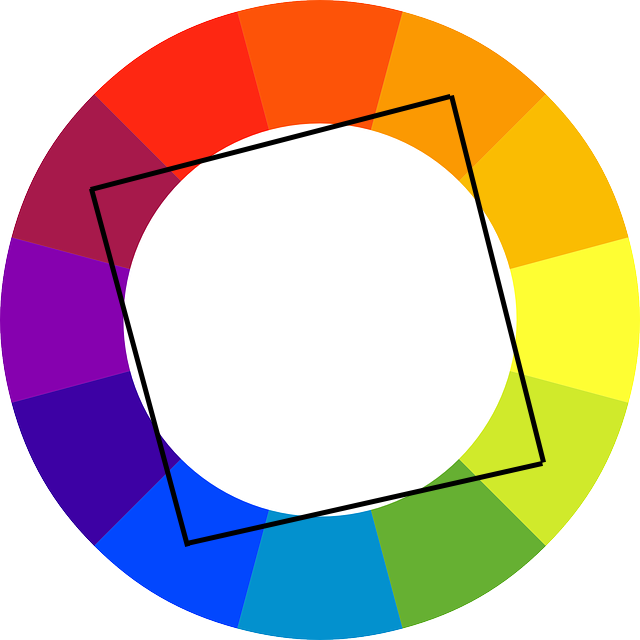
You can see that purple and yellow directly oppose each other on the color wheel. However, orange and green also oppose purple on the color wheel and form a triangulation of complementary colors. In between purple and green (the darker green), there are three colors, and in between purple and orange (the lighter orange), there are likewise three colors. There are again three colors between orange and green. These sorts of triangulations are also worth considering when you are thinking about color combinations.

Color Wheel TriangulationThis sounds interesting in theory, but in practice, how do these colors look together in soap?

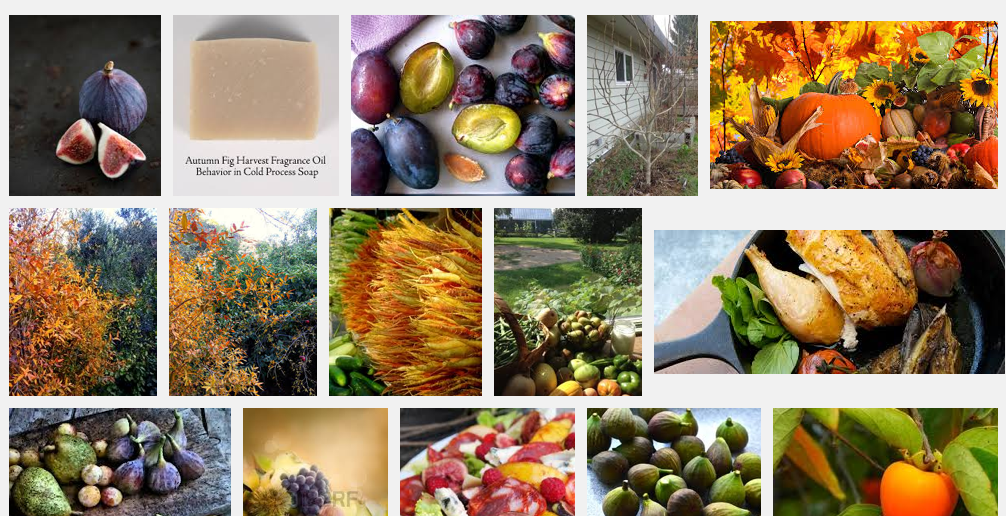
I recently made a batch of Autumn Fig Harvest, with a new fragrance from Bramble Berry (which I tested as part of the S.O.A.P. Panel). One of the first things I do if I am not sure what kind of color combination I might want to try is look for images using Google Image Search. I simply Googled the fragrance oil name, and this is the set of images that I could see (screen-captured because of the changing nature of the Internet):

Screen Shot of Google Image SearchThe images in the top and middle rows caught my eye. The first two images in row one are straight from Bramble Berry’s site. The third image, however, comes from a cooking blog called Figs, Bay & Wine. Notice the green and purple in the plums. As I said in my earlier post about color theory, turning to nature for color combinations is often a good idea because nature understands color theory. Finding that picture was a lucky accident because I was not searching for plums at all. Skipping over the fourth picture, notice the third image is a pumpkin in a fall setting. My eye was drawn to how these colors looked next to each other: purple, green, and orange. Even though those colors (with the exception perhaps of purple) have little to do with figs, I knew I had found the color combination I wanted to use.

Celine Blacow has said in her soapmaking videos that using white is often what brings a color combination together. I have noticed the difference white makes in pulling together the look of a soap. It’s not always necessary, but it often does make a huge difference in the soap’s design. So, a field of white would be important in pulling together a design with purple, orange, and green. I thought the three colors would have an autumnal look as well.

Purple can be tricky in soap if you just use oxides, but I had recently purchased a set of Vibrance Micas from Nurture Soap Supplies. I used the Vibrance Purple and Green micas, and I probably could have used the Vibrance Orange from this set as well, but elected to use Clementine Pop Mica from Rustic Escentuals. I had used it before, and I knew it would make a nice pumpkin shade in the soap.

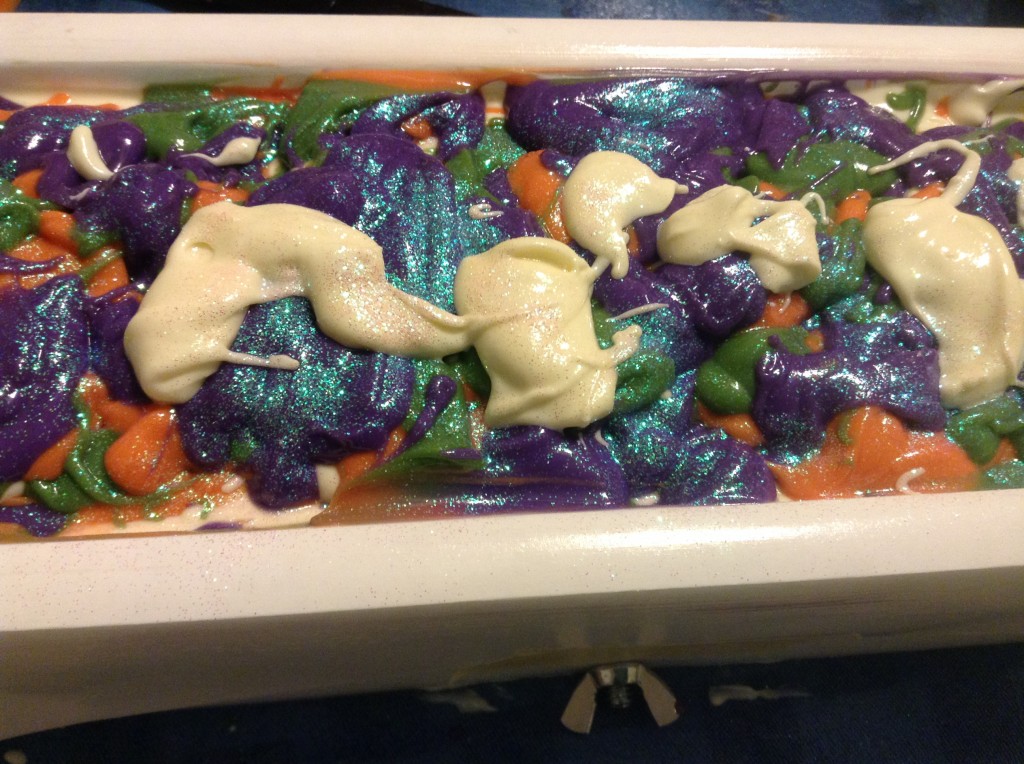
Here is what the soap looked like in the mold.

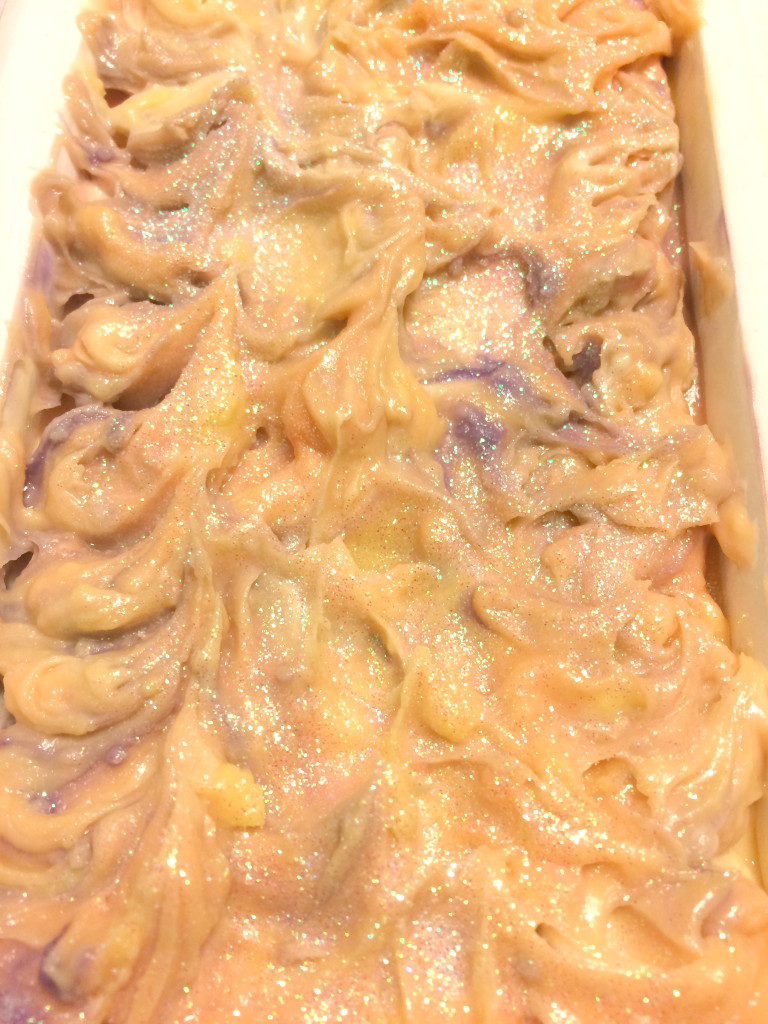
Autumn Fig Harvest in the moldFirst I poured in a layer of white, then I did a drop swirl with each of the other three colors. I decided to try the spatter-top technique (a sort of Jackson Pollock effect). Just like using white, I have found that a bit of glitter also adds something extra special to soap.

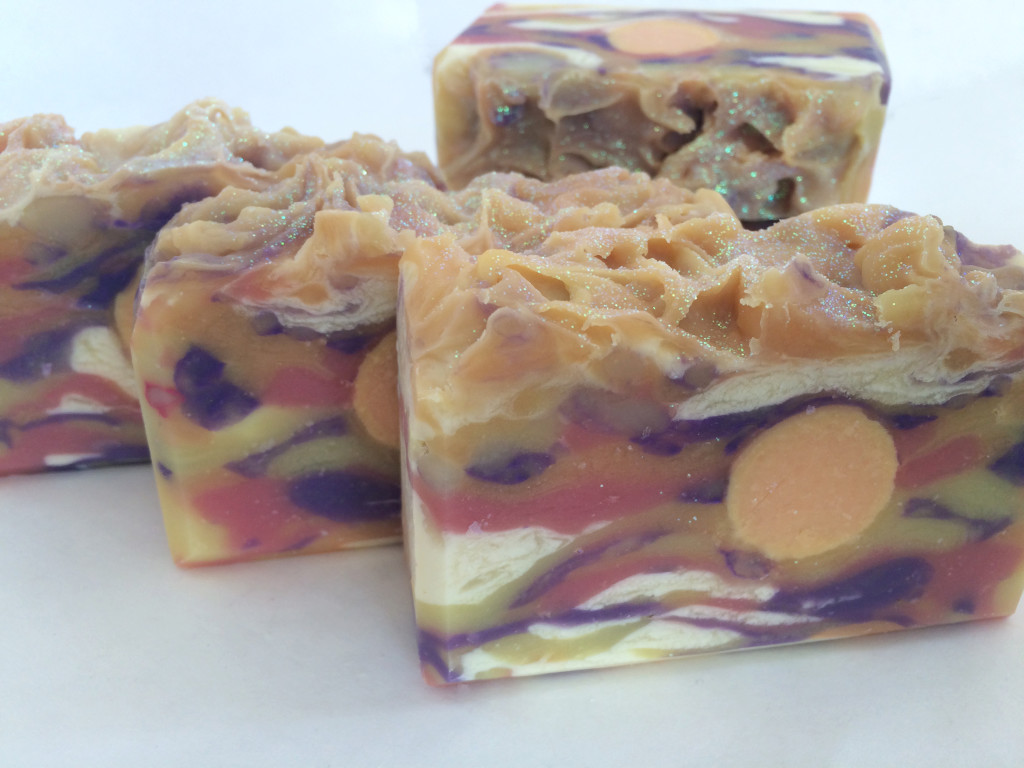
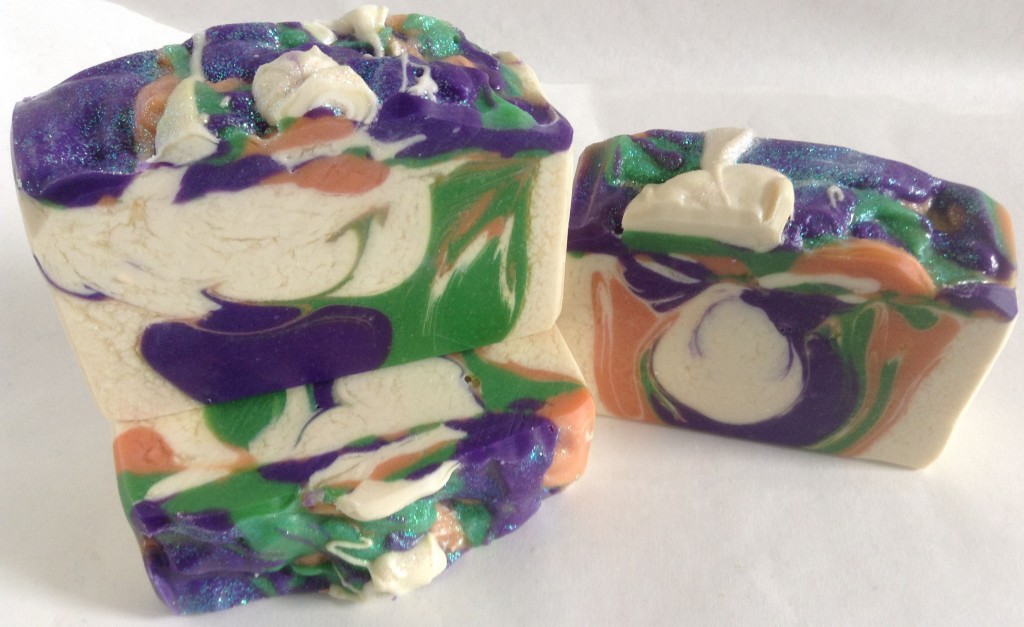
Here is what the soap looks like cut:

Autumn Fig HarvestYou will notice I have a bit of titanium dioxide crackle, also known as glycerine rivers, in the soap in the white parts. There are many intriguing theories about what causes them—the most recent interesting one I came across is the amount of water used in the lye solution—but frankly, I haven’t been able to figure out why they happen sometimes and don’t other times. I believe them to be the result of heat because when I do not gel my soaps, I never have them. However, gelling soaps produces more vibrant colors and allows soaps to be cut and eventually used earlier than non-gelled soaps, and when I can, I try to gel them. Actually, the TD crackle is an interesting look. I’m sure other soapmakers see these soaps and think of them as mistakes, but the sort of antique look of TD crackle can lend interest (of course, that’s also just my opinion, and I’ve stopped trying to fight it).

The colors do look nice together. They make a bold statement, perhaps because they are triangulating colors. Try moving the triangle around the color wheel to come up with other bold combinations: red, yellow, and blue; violet-red (cranberry), orange-yellow, and light blue. In each case, the combination is a striking mix of complementary colors.

Another combination of colors to try is the square.

Square PaletteAgain, a striking combination of colors. In the example above, orange, yellow-green (lime), blue, and violet-red (cranberry). Each of the colors is two apart, which sets them off a little more than analogous colors (think red, yellow, and orange as analogous) would do. Try moving the square around the wheel to create other combinations.

Playing with color combinations using the color wheel can help you create appealing soap color combinations. Have you used the color wheel in your soaping creations? What were the results? How do you decide what colors to use? Chime in the comments!

Making Melt and Pour Base

Update, July 3, 2014: We have had a few hot and humid days lately, and I can confirm this soap sweats. A lot. However, you might try Cee’s suggestion of reducing the glycerin to see if it results in less sweat. If MP sweat is not a concern, read on…

Ever since I read about the process of making melt and pour base on Cee’s blog, I have wanted to try it, but I knew I really needed to set aside the time because it was likely to be quite a process. I was right. If you try this, make sure you try it on a weekend or day off, when you can devote the time you will need. Mine definitely didn’t turn out like Cee’s, but it was still quite usable and worked very well when I melted it down to make MP soap.

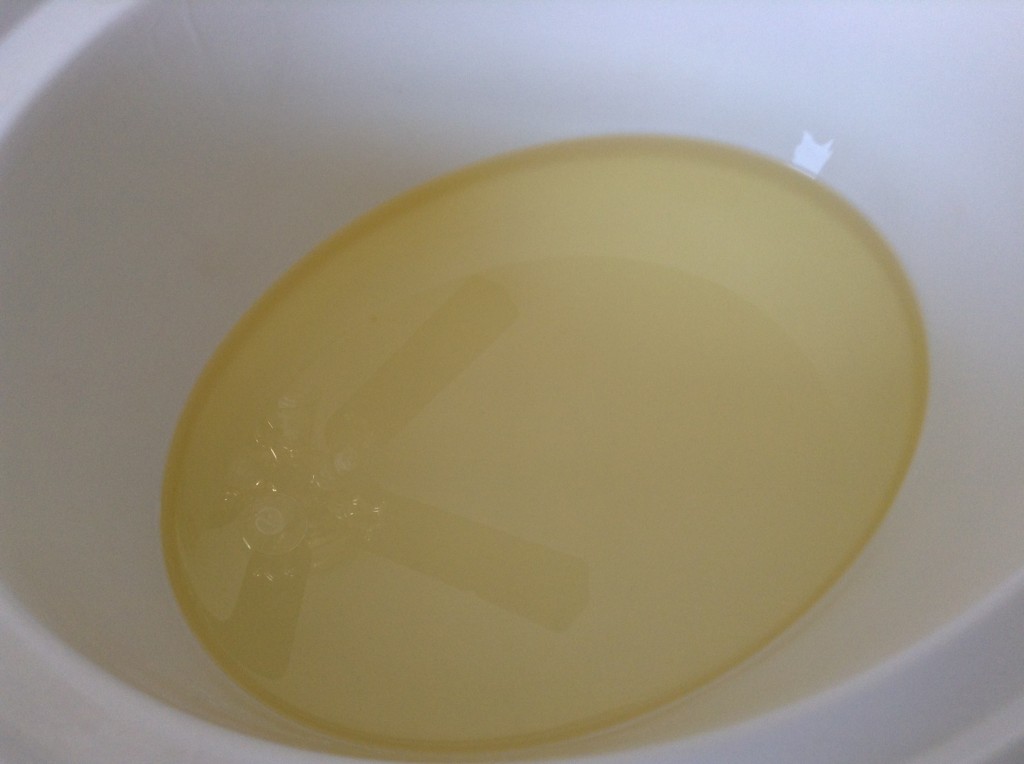
The first thing I did was put my palm oil, coconut oil, castor oil, and stearic acid into the crock pot.Oils in the Crock PotI let the oils melt.

Melted OilsI like how you can see my ceiling fan in the oils. Ha!

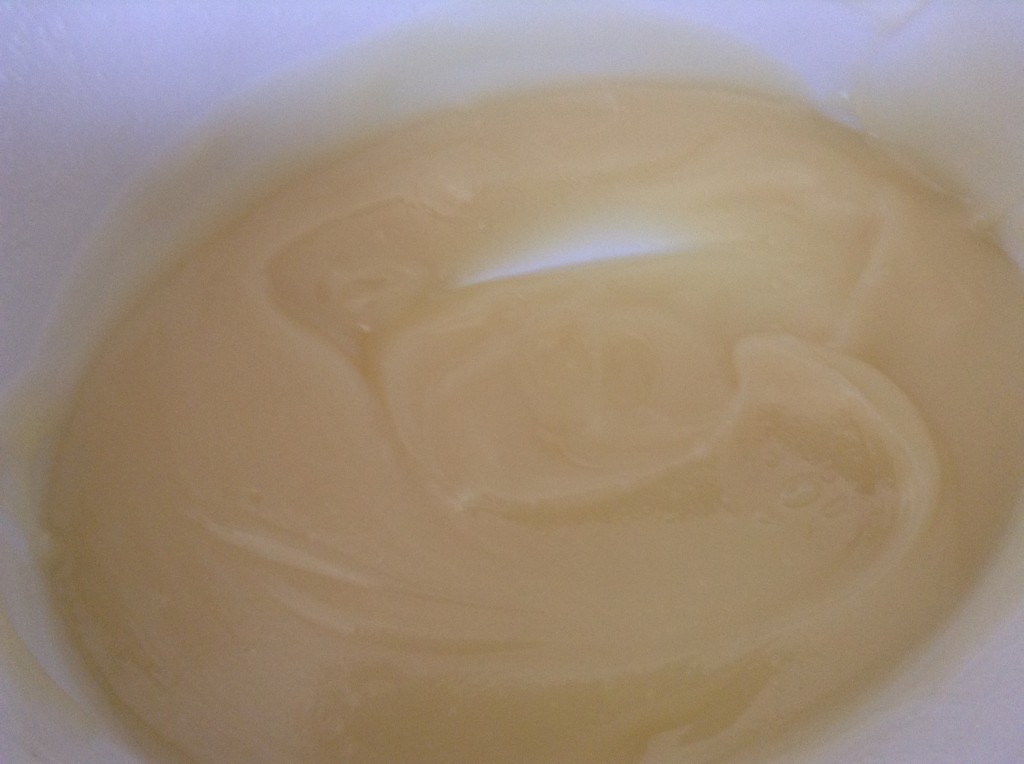
I added the lye water and stirred a bit. Here the soap is at a thick trace.

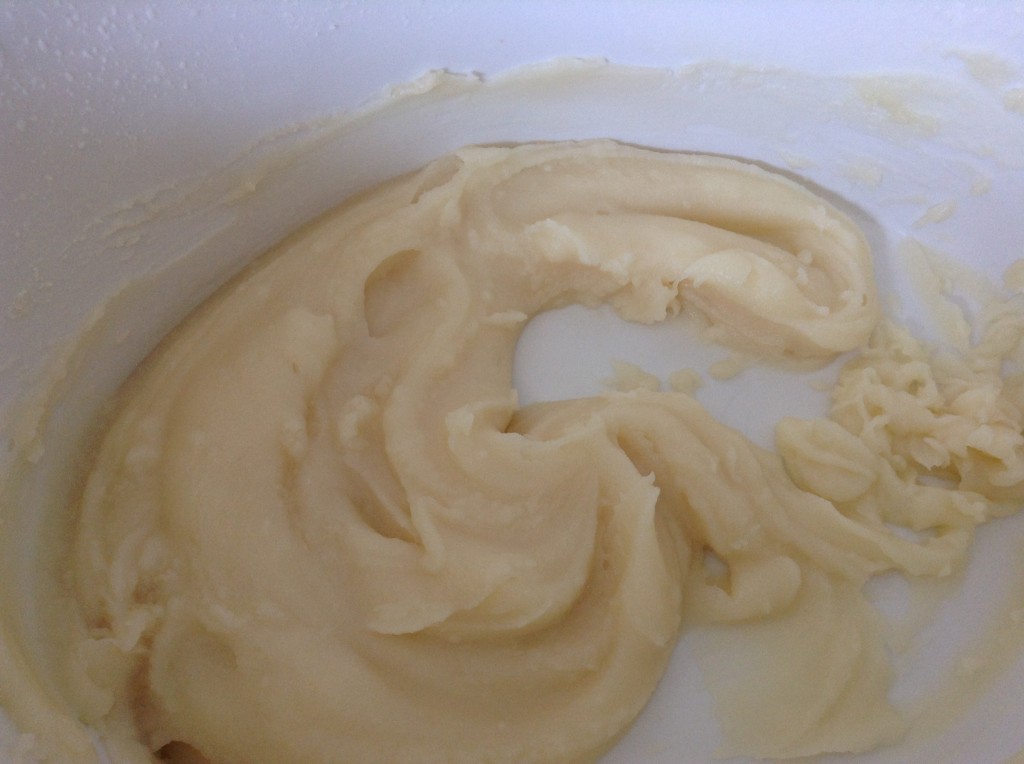
Thick TraceI let it cook for a bit. Here it is at “mashed potatoes” stage.

Mashed Potatoes StageA little while longer, and it was starting to gel.

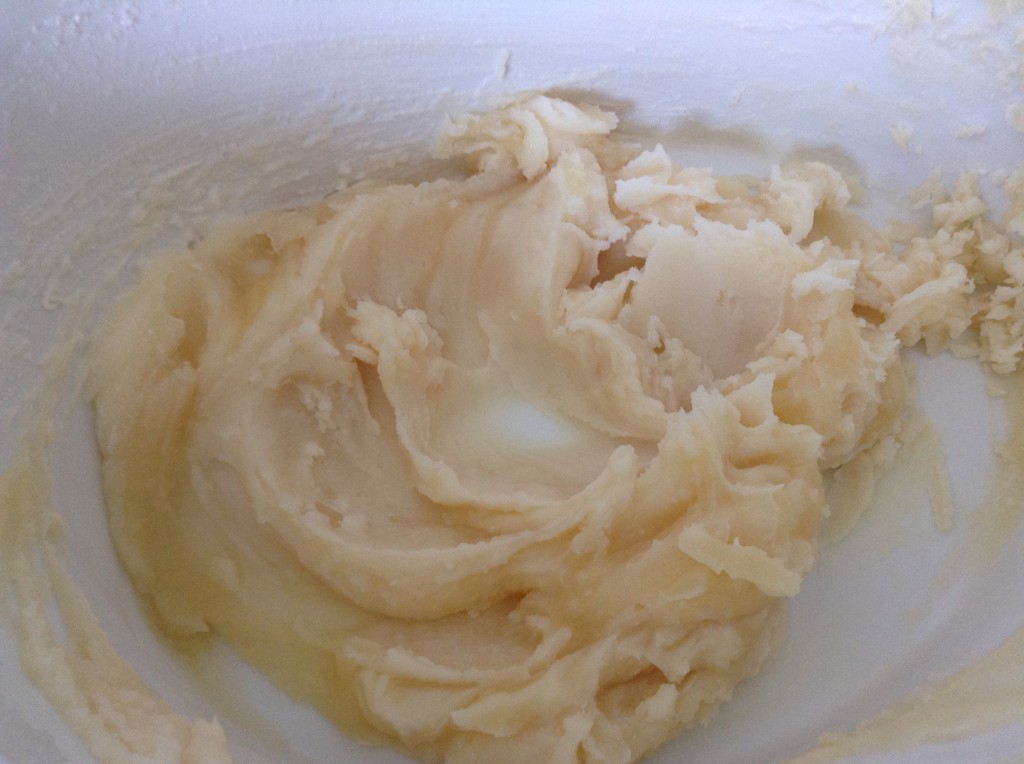
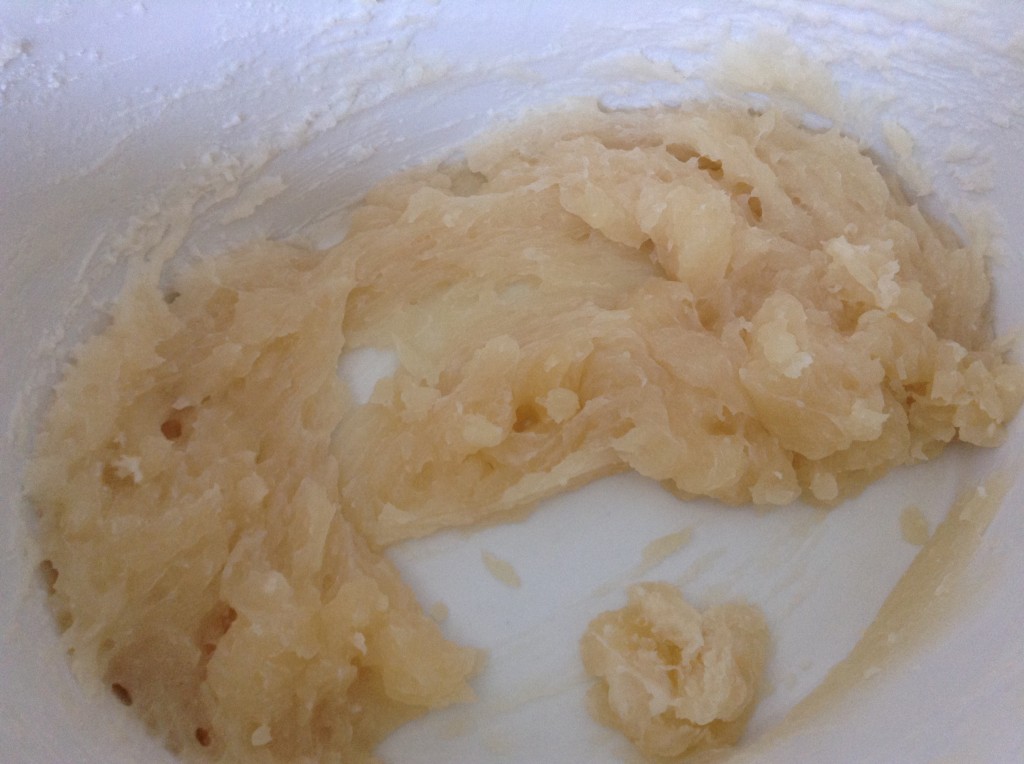
Beginning to GelI stirred it well and cooked it to the applesauce stage. Once it started to get fluffy, I tested it for zap.

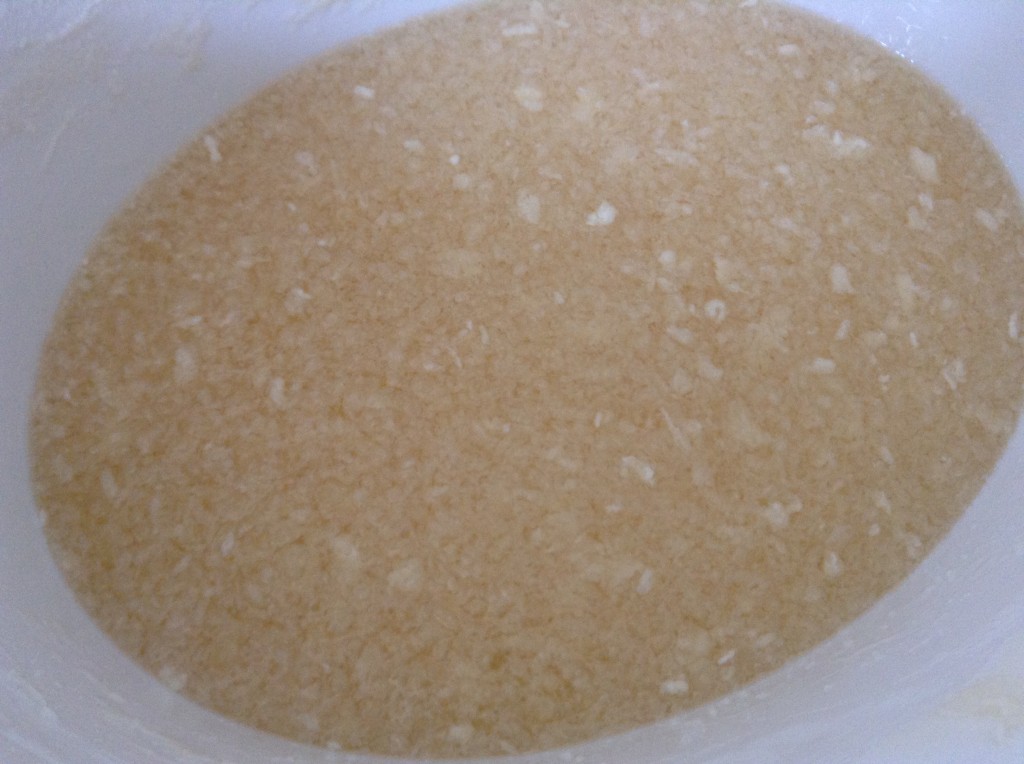
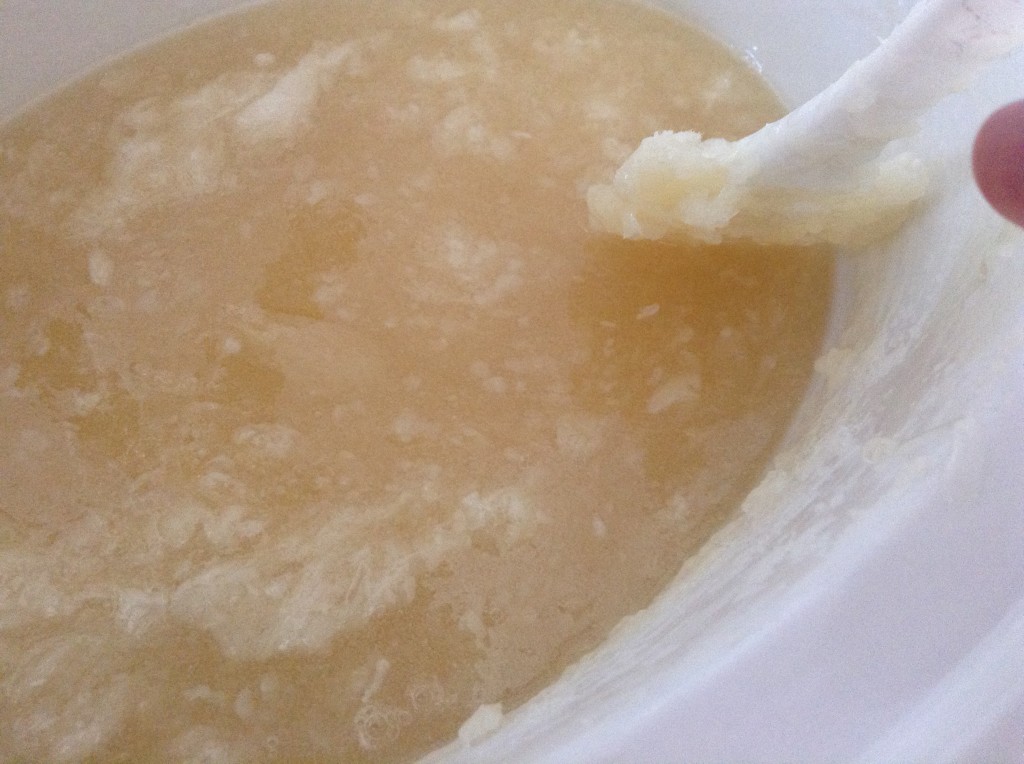
Applesauce StageAfter there was no zap, I poured in the glycerin and stirred.
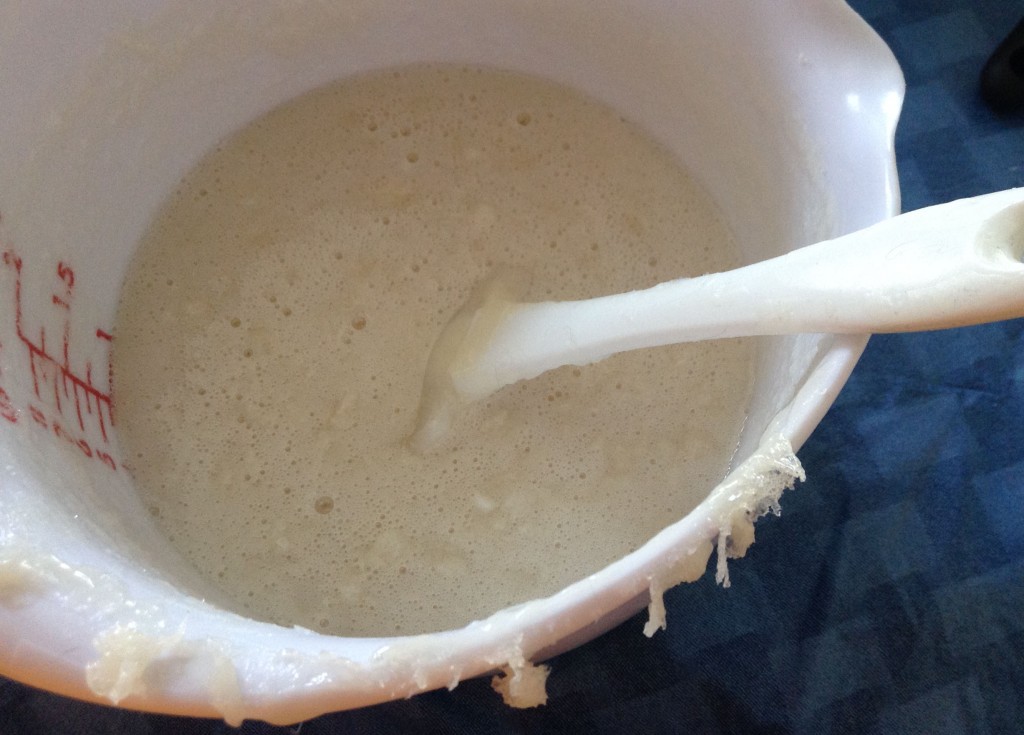
Glycerin AddedThen I let it cook and melt. Finally, this was about as clear as my batch ever got. Cee’s was very clear. Not sure if I did something wrong.

Almost ClearEach time I would go stir, I saw a skin of hard soap on the top. I never could seem to get it to completely melt into a clear liquid. I am wondering if the temp was too low. Perhaps next time, I should try turning the crock pot up on high and see if that helps.
Soap SkinFinally, I stuck it in the microwave and poured it into the mold, hoping for the best.

Microwaved SoapBut it got these sort of scummy looking bubbles on the top. And I could still see some unmelted chunks of soap. Oh well, I poured it into the mold and let it set up.

I unmolded just a few hours later. It was already perfectly hard and came out of the mold quite easily.

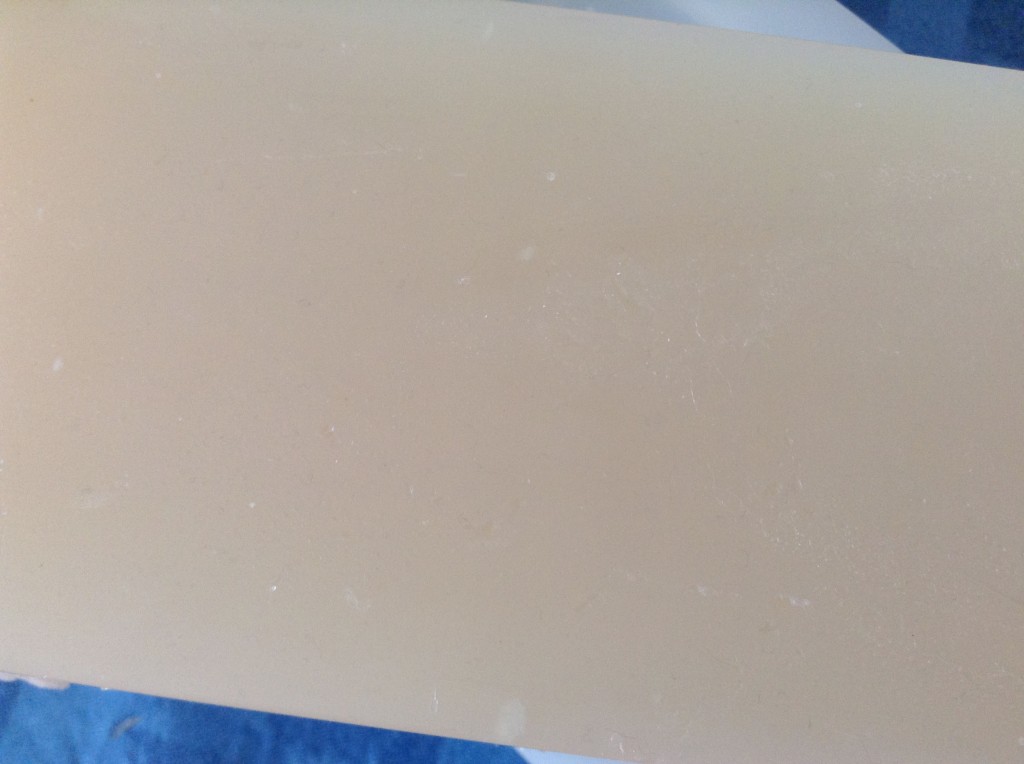
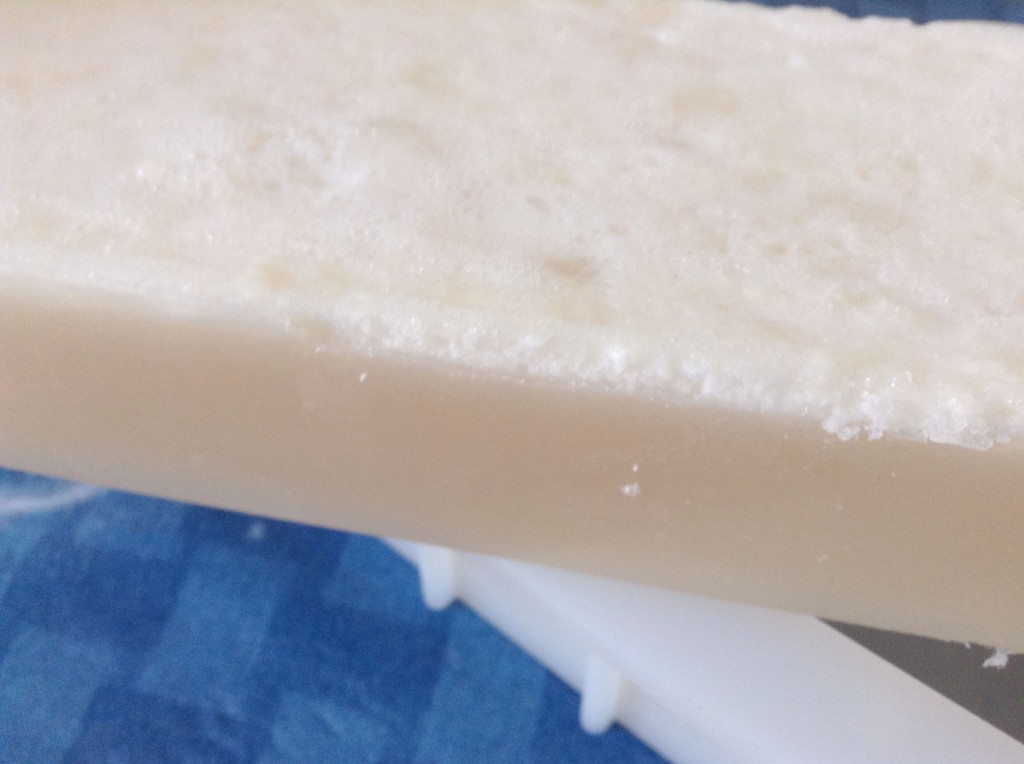
Bottom of MP Soap BaseThe bottom was translucent (but not transparent). It looks a lot like a more opaque version of a regular MP soap base to me.

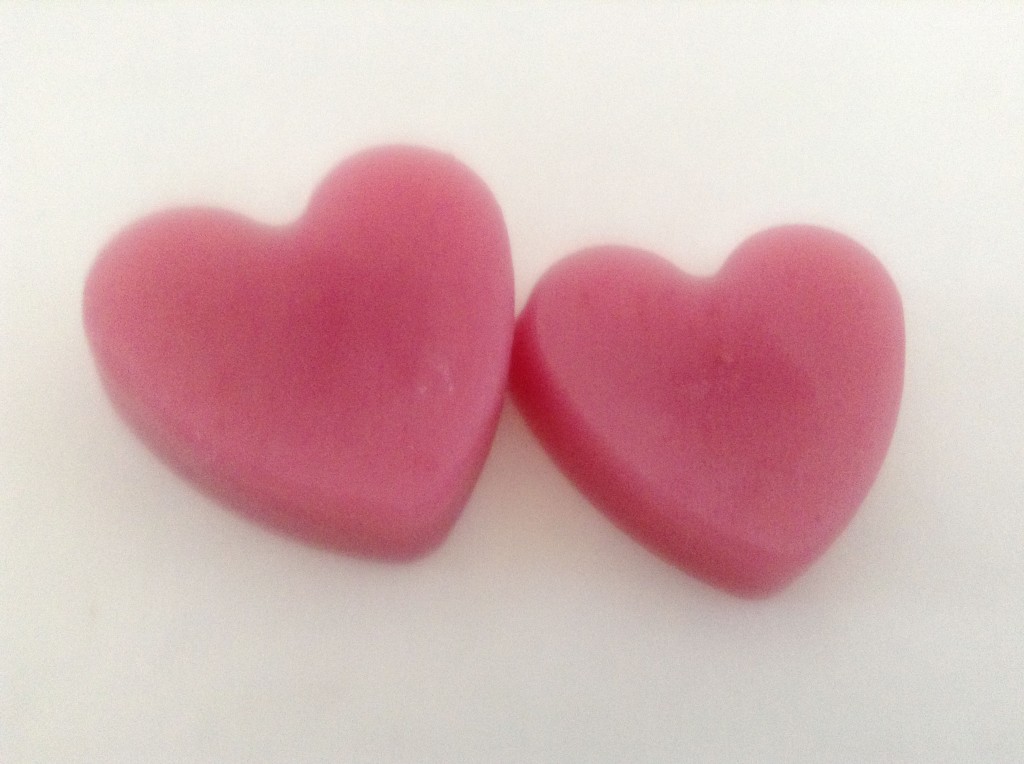
Top of MP BaseThe top had this sort of scummy white layer. I don’t know if it would hurt to use it, but I cut a slice and trimmed that top part off. Then I made these cute little heart-shaped soaps using some rose pearl mica, Pink Sugar fragrance, and Vanilla Stabilizer.

MP HeartsSo, I can report that the no-alcohol technique seems to work just fine!

Cee cautions on her blog that this recipe has a lot of glycerin, and it might sweat if used as embeds, but you can decrease the glycerin and perhaps get good results.

Here is a video I made of the process.

Thanks Cee (and Zacil) who shared this technique on Cee’s wonderful blog.