The Great Chocolate Milk Soap Experiment

The chai tea fragrance oil I ordered to make my chai tea soap this weekend didn’t arrive in time.

Boo!

But when life gives you lemons, you make lemonade, right? I could still make soap with things I had on hand or that I could easily pick up at the grocery store. I can’t find a place around here that sells essential oils or fragrance oils, so it had to be something that would be OK without added scent.

I decided that this weekend could be the weekend I experiment with using milk in soap, and I created a chocolate milk soap recipe I really wanted to try.
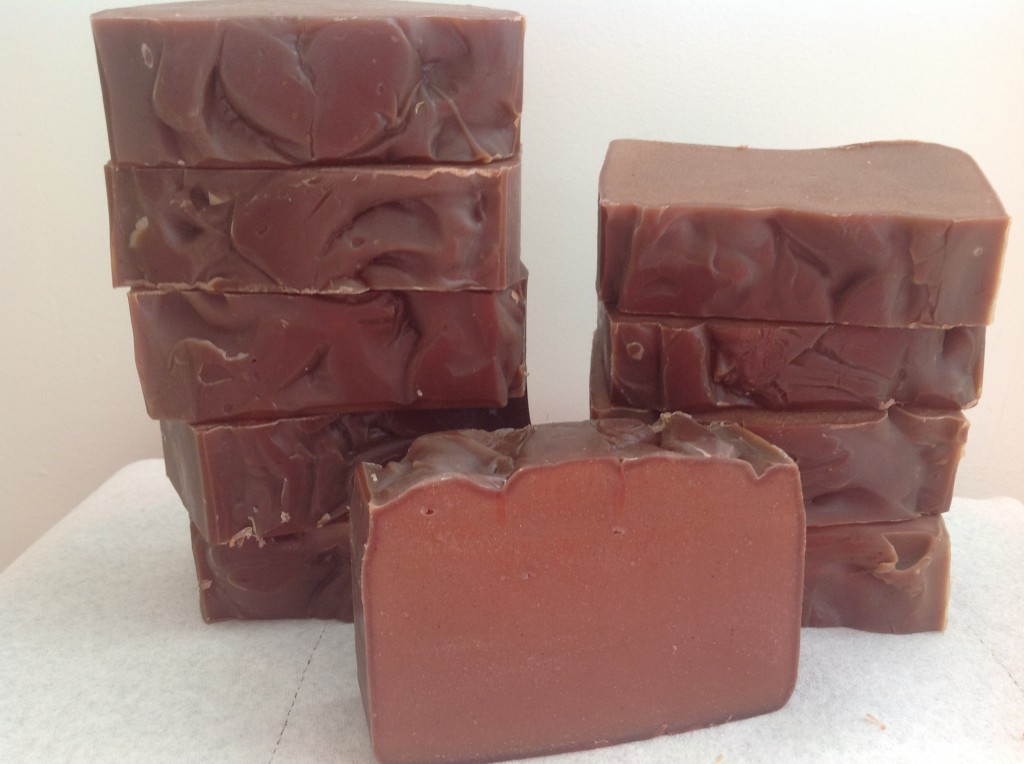
Chocolate Milk SoapWorking with both milk and chocolate can be more difficult, however, so I had to change some things about my process.

Ingredients

  • 13.2 oz. olive oil
  • 12 oz. coconut oil
  • 6.8 oz. palm oil
  • 4 oz. shea butter
  • 0.625 oz. unsweetened baking chocolate
  • 13.2 oz. whole milk
  • 5.637 oz. lye

First, I measured out the whole milk, put it in a freezer bag, and froze it. This is a suggestion for working with milk (although she mentions it with goat milk) from Heidi Corley Barto’s in The Natural Soap Chef. When you use liquids other than water, it’s a good idea to follow suggestions of more experienced soapers like Heidi, and she’s not the only person I’ve seen mention working with frozen milk. The milk should be at least a frozen slush when you use it. Make an ice bath in your sink, and put the slushy milk into the ice bath. Then carefully, slowly add the lye, stirring as you go. Add a bit, stir a bit. Go very slowly. If the temperature of the lye mixture starts to climb above 140°, add more ice to the ice bath.

Prepare the chocolate with the oils. It should be melted. You can melt it in the microwave if you’re careful. Check this link for tips on melting chocolate. When the lye/milk has reached 100°, add it to the oil mixture. The rest of the process as the same as making any other cold process soap: use a stick blender to help the soap saponify, and once it reaches trace, pour it into the mold of your choice. My recipe fits a three-pound loaf mold.

I knew working with milk would be different, but as it turned out, the main difference seemed to be the amount of time for each step. I think I put too much ice in the ice water bath, and my lye heated up, but then cooled down to about 80° and stalled there, so I put it in a warm bath. Well, a hot one. And I managed to bring it up to 98°, but it wouldn’t budge any more, so I decided maybe I should add it to the oils. It look longer than usual to reach trace. The soap didn’t feel as warm as it normally does when I picked up the mold to put it in the closet where I keep my soap. It seemed to take longer to reach a gel stage, too. I’m not sure if this is just normal for working with milk, or if it was due to the fact that I had to warm up my lye, or what.

When I poured it into the mold, it did look exactly like chocolate milk. Really thick chocolate milk. Like chocolate pudding, actually. I fretted over it because it was slower going than the other soap I’ve made, but once it started to reach gel stage, I felt better.

But it darkened up quite a bit by the time it had cooled, as I figured it would.
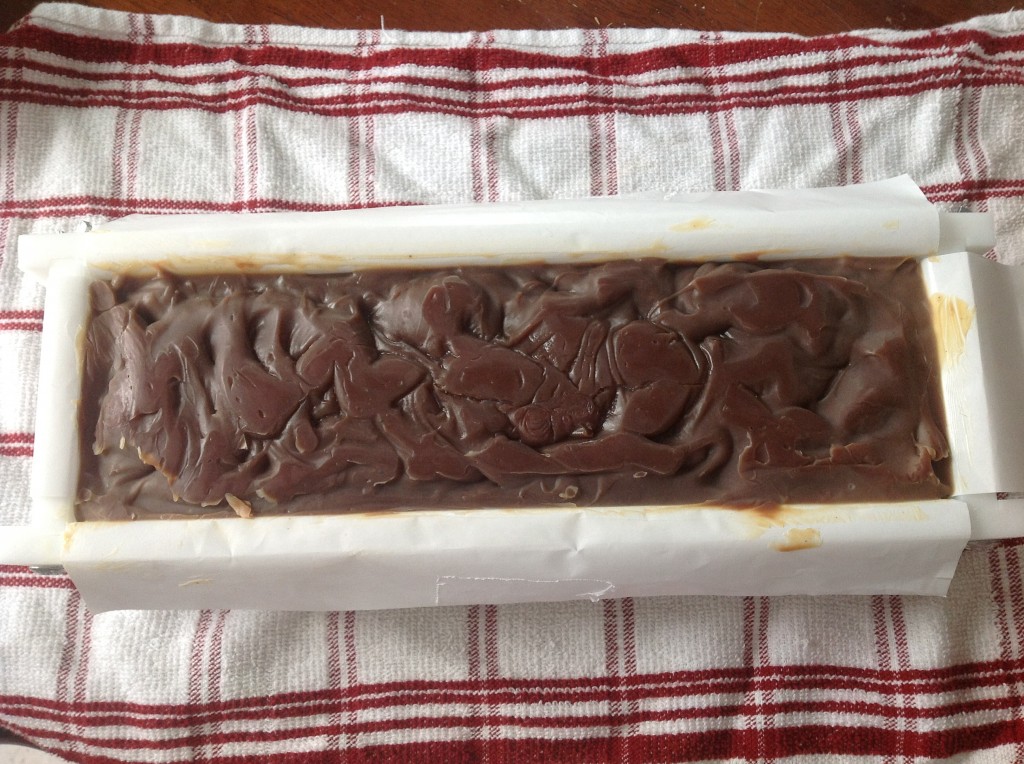
Chocolate Milk Soap in the Mold
Cooled Chocolate Milk soap in the mold

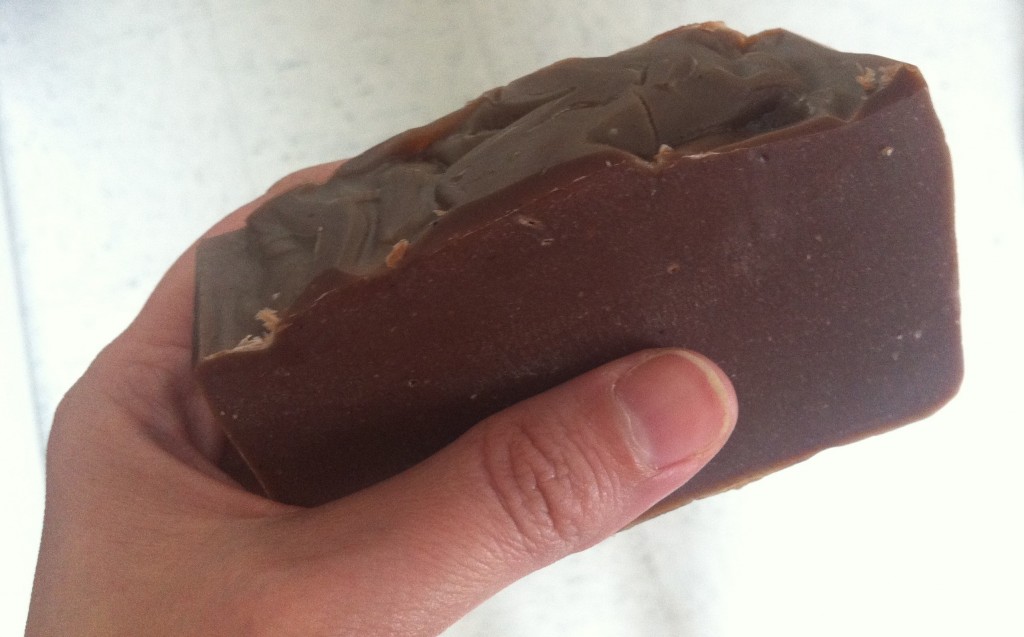
When I cut it into bars, I noticed that there was a sort of dark brown rim around the bar, while the middle was lighter. I think it was due to the fact that the soap isn’t completely hardened yet.

Chocolate Milk SoapA few hours later, the color had darkened to a deeper brown.
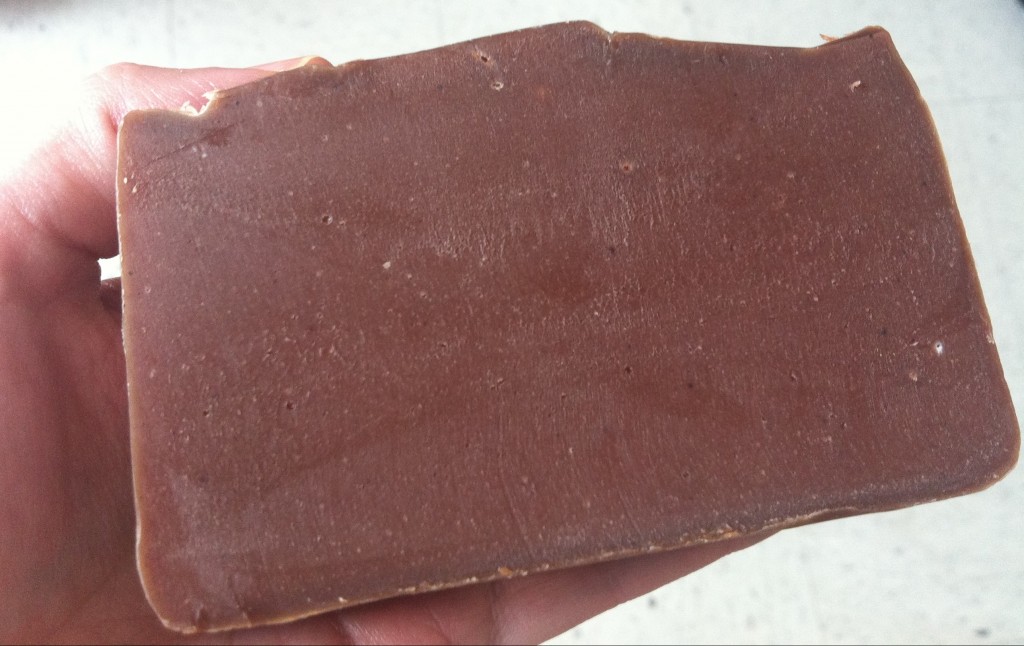
DarkerI noticed a couple of air bubbles, too, but you know, it’s chocolate milk, and who doesn’t blow bubbles in their chocolate milk, right?

It has a light scent that reminds me more of chocolate cake than milk, but my husband thought it smelled like chocolate milk. I lathered up and washed my hands with a tiny ball of the soap I had made from some trimmings, and it has a nice creamy lather. I was worried the chocolate would discolor the lather, but it didn’t seem to. I will have to test it again after some time passes just to make sure.
Yummy!
Yummy!

Creative Commons License

Chocolate Milk Soap by Dana Huff is licensed under a Creative Commons Attribution-NonCommercial 3.0 Unported License.
Permissions beyond the scope of this license may be available at Suds Life: About.

The Best Soap I’ve Ever Used

Lemongrass Sage Soap The first handmade soap I ever used was purchased from Indigo Bath and Body at the farmers’ market in Georgia, where I used to live. I loved the soap. It smelled wonderful (lavender and spearmint essential oils), and it felt amazing. The best thing I’d ever put on my face. Until this week.

I hate to say it because it sounds a bit boastful, but my lemongrass sage soap is even better for my face than the wonderful handmade soap I have been using whenever I can get my hands on it. I even stocked up prior to my move!

I have combination skin. My skin is oily in the T-zone. I rarely have issues with dry skin, but I do use a moisturizer formulated for oily skin in the morning. I have large pores on my nose and surrounding areas, and I have always been embarrassed about them, particularly when I purchased makeup and the helpful cosmetic counter assistants pointed them out to me (as if I didn’t know about them) and tried to steer me toward products that would hide or minimize them. The last salesgirl who pointed out my large pores tried to sell me some kind of mask that costs way more than anything I have ever put on my face, and is certainly more than I can afford. No way. I have tried Clarins’s Truly Matte Pore Minimizing Serum (which was pretty much the most expensive beauty product I’ve ever used on myself). I have tried Mario Badescu’s Silver Powder. I have even tried baking soda and hydrogen peroxide. These things all worked a little bit, but they never had a long-lasting impact, nor did they seem to make more than a small difference.

I had given up and decided that the best I could hope for was simply to mask my large pores under makeup.

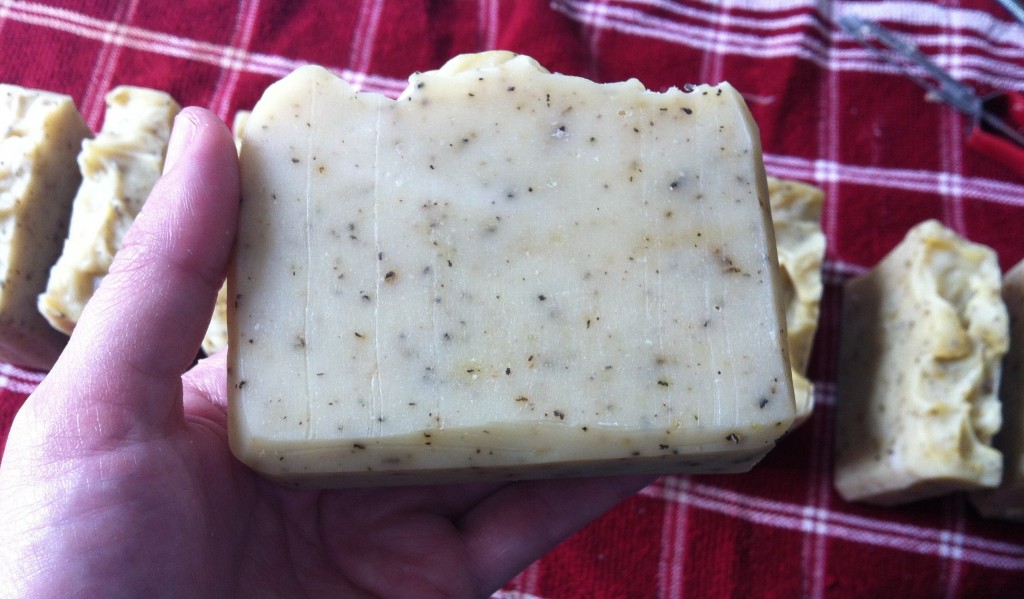
When I made my first batch of lemongrass sage soap, I made too much for my mold and balled up the rest into two large “eggs.” I have been using one of the eggs this week, just since Sunday when I cut my soap into bars.

Incredibly, my pores are smaller. Like, tiny. I can hardly believe it. And it’s definitely the lemongrass sage soap because that’s the only new product I’ve started using—the only variation in my routine. I can’t say that it is necessarily the oils I’m using in the soap—olive, coconut, palm, and shea butter—although these oils make a nice conditioning, cleansing bar. I have wiped a cottonball with astringent over my skin after washing off my makeup with the lemongrass sage soap, and there has only been the barest trace of makeup right around the edges of my face. If I used a washcloth, I’m sure I wouldn’t have even that small amount because I can tell the residual makeup is at my hairline, and it’s just hard to get all of it. I have read, however, that lemongrass is good for oily skin and acne, and I have to wonder if the secret ingredient in my soap isn’t the essential oil I added only for fragrance.

It seems kind of silly to spend so much time extolling the virtues of something I made myself, but I have honestly tried everything there is, and I had just given up. For this reason, if no other, I’m so glad I learned how to make soap.

You will be able to buy my lemongrass sage soap from my Etsy store before the year is out.

How Much Oil Do You Need for Your Mold?

One of the most frustrating aspects of making soap that I encountered as a beginner was trying to figure out how much oil to use to make soap fit in a mold. I knew my soap mold held 3-4 pounds of soap, but what did that translate to in terms of amount of oils? My first batch didn’t have enough, and I wound up with squat-looking soap. My second batch had way too much, and I wound up making a weird looking extra bar (that really could have been two extra bars). It turns out I just wasn’t looking in the right place.

Soap Making Essentials is bar none one of the most comprehensive and helpful websites for beginners learning to make soap. Did you catch that terrible pun? I’m sorry. It turns out they had the answer to my problem on their Homemade Soap Recipes page.  You can figure out how much oil to use with a very simple mathematical formula:

Length of mold X Width of mold X Height of mold X 0.40 = Ounces of oil needed

I just can’t believe this simple mathematical formula is not in every basic soap book. The only one I have found that even mentions is is Anne-Marie Faiola’s Soap Crafting: Step-by-Step Techniques for Making 31 Unique Cold-Process Soaps.

I probably should have paid more attention in math class, or I might have been able to figure out the formula myself, but I’m glad I stumbled on it anyhow. Thank you again, Soap Making Essentials, for the wonderful resource.

So what should you do if you have a round mold? Time to go back to Geometry 101.

The area for a cylinder (which is basically what a round mold is, even if it’s a short cynlinder), is Πr²*height of the mold. If it’s been a while for you, remember that Π is roughly equal to 3.14 and r means the radius, which is half of the diameter—the measurement of of the mold from side to side. So, if you have a cylinder mold that is 4 inches in diameter, then it has a radius of 2. Two squared (the little ² by the r) means multiply 2 times itself, which happens to be 4. Multiply Π and the radius of 2², or 4, and then multiply the product of that calculation by the height of the mold. Let’s pretend the mold is 10 inches. Multiply 4 x 3.14 (Π) x 10, which would equal 125.6 ounces. But wait! Remember we have to account for the water, so multiply one more time by 0.4. 125.6 x 0.4 = 50.24, which means your cylinder mold will hold a recipe using about 50 ounces of oils.

Height of mold X Radius of mold squared X 3.14 X 0.40 = Ounces of oil needed

Note: Be careful that you do square the radius (multiply the number by itself) rather than just double it. It will not always be double. For example, if you have mold with a radius of 3 inches, then squared, it would be 9 rather than 6.

If you have an mold with an odd shape, then it is best to calculate how much oil to use by using a water-volume calculation. You should fill your mold with water and then pour the water out into a measuring cup with volume markers. Then, multiply the number of ounces in the cup by 1.8 to calculate the total number of cubic inches in the mold. Then multiply that number by 0.4. For example, if your irregular mold holds 6 ounces of water, multiply 6 x 1.8, which is 10.8. Then multiply 10.8 x 0.4, which is 4.32. You would use 4.32 ounces of oils to make soap with this mold.

Amount of water in ounces X 1.8 X 0.40 = Ounces of oil needed

A final word of advice: I use grams in all my measurements because I find them more accurate, but these formulas work for ounces. I am sure there are similar formulas for grams, but I have not found a good calculation for metric volume. My advice would be to create a recipe using ounces, and then use the metric amounts given in SoapCalc, which always delivers the amounts in ounces, pounds, and grams for easy conversion. Alternatively, you could calculate your amount of oils in ounces and multiply by 28.35 (the number of grams in an ounce) or use an online conversion tool, such as this one, to calculate how many grams your mold will hold.

Lemongrass Sage Soap

This weekend I made a lemongrass sage soap using my own recipe.

Lemongrass Sage Soap
Still in the mold.

Ingredients

  • 18 oz. olive oil
  • 14 oz. coconut oil
  • 8 oz. palm oil
  • 5 oz. shea butter
  • 2 oz. castor oil
  • 15.7 oz. distilled water
  • 7 oz. lye
  • 2 oz. lemongrass essential oil (add at trace)
  • 3 T sage (add at trace).

I tried a trick I read about in Heidi Corley Barto’s The Natural Soap Chef and infused some of the olive oil with sage prior to using it. I’m not sure I’m going to do that again because I had a lot of trouble straining it. I know part of the problem was that I was just impatient, but unless it imparts some quality I don’t know about to do it like that, it was a little more trouble than it was worth for me. I did mix the sage into a paste with the olive oil. I’m not sure if you have to do that, or what happens if you don’t. I suppose you could experiment and just mix it into the soap dry to see what happens.

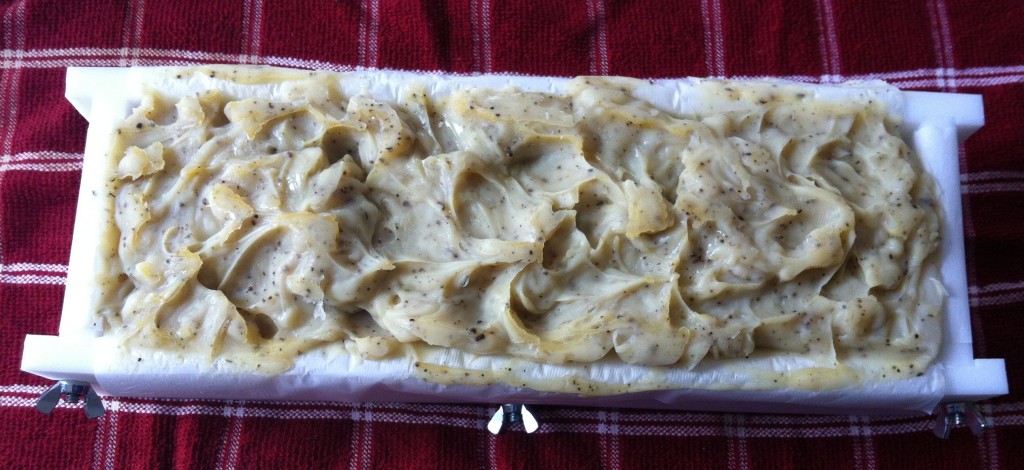
I had a pretty heavy trace when I added the lemongrass oil, and it really made the soap thicken up. I would recommend adding it at a lighter trace. The soap was a little difficult to pour into my mold, and you might have better luck if you add the lemongrass oil earlier than I did. I added in sage at the same time.

When I poured the soap into the mold, I decided at the last minute to try adding some decorative peaks and swirls, as I have seen other soapers do. My daughter Maggie said the resulting soap looked “deformed.” That really made me laugh.

My husband has been saying the soap smells good enough to eat, and here he was laughing about the warnings in soap books about not eating the soap.

Lemongrass Sage Soap
Finished lemongrass sage soap.

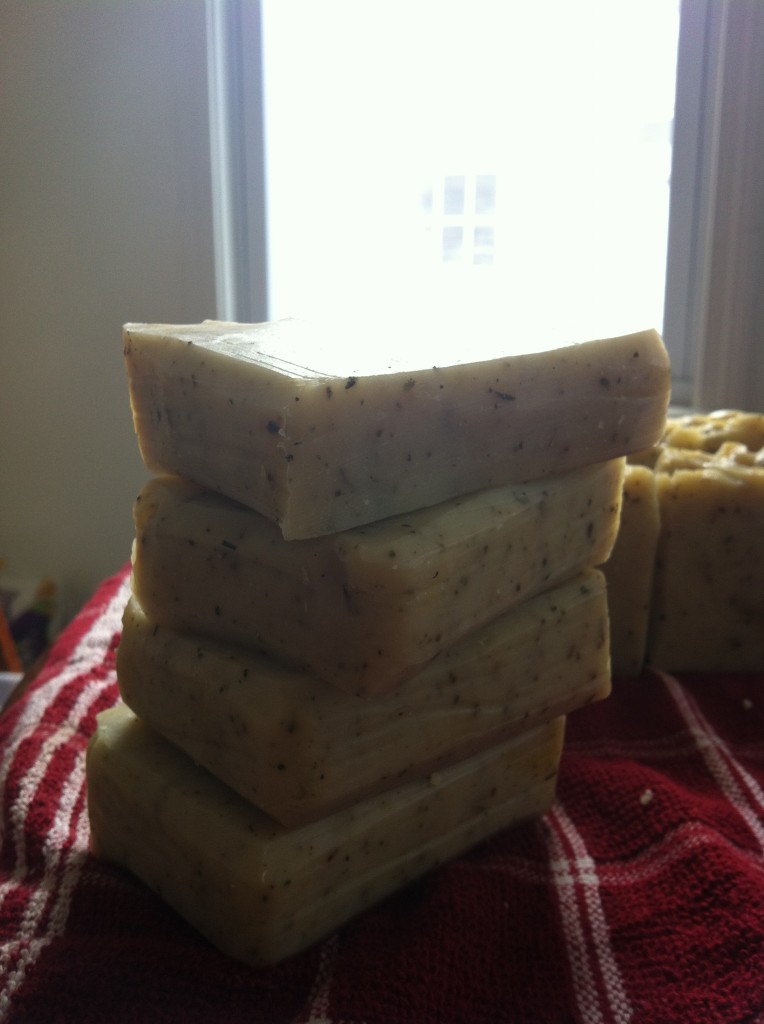
I think I could have stirred the lemongrass oil in a little better. There were some lighter colored areas in the soap, and they were not lye pockets or air bubbles. They are not watery, either, so I don’t think it’s an issue with separation. They are the same color the soap would be if the lemongrass oil hadn’t added a yellowish tint. I think I just didn’t mix the lemongrass and sage completely. Given that I did have some trouble at that stage, I think I understand how it happened and how to prevent it in my next batch. Also, I discovered that lemongrass oil doesn’t like to mix well with soap, so it seems likely that I just didn’t stir it enough. It was getting so thick so fast after I added the essential oil, however, that I was afraid to wait too long to pour it into the mold. Next time, I will add the oil at a lighter trace. Or I might even try a fragrance oil instead of an essential oil. The fun is in experimenting and seeing what happens! However, I should mention that lemongrass oil is supposed to be good for acne and oily skin, so that’s one reason to go for the essential oil over the fragrance oil.

Stack of Lemongrass Sage

The soap still came out pretty enough that several of my Facebook friends who saw the picture of it that I posted requested some. Also, I have decided I like making soap enough to open an Etsy store, especially because 1) I should recoup some of the money I’m putting into it, and 2) if I make soap every weekend, I’m going to have too much, even if I give it away. But given that I have only been soaping three weeks, it will likely be months before I have enough stock to sell.

I ordered a crinkle cutter from Bramble Berry for my next batch of soap. I’m so looking forward to making the Chai Tea Soap in Heidi Corley Barto’s book. The recipe is not mine to share, but I will photograph the results.

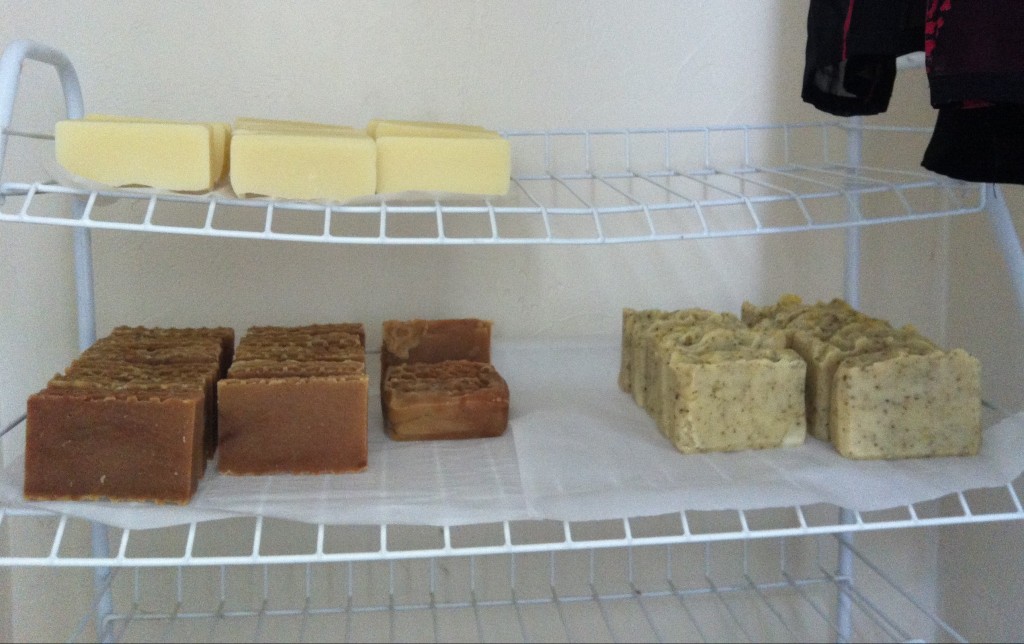
I used my husband’s old shoe rack and created a soap curing rack in one of our closets.

Soap Drying Rack

It’s out of the draft and light (when the door is shut, and I’m not checking on my soap). I had the idea after seeing this amazing soap curing cabinet that another soaper’s husband made for her.

Creative Commons License

Lemongrass Sage Soap by Dana Huff is licensed under a Creative Commons Attribution-NonCommercial 3.0 Unported License. Permissions beyond the scope of this license may be available at Suds Life: About.

The Natural Soap Chef, Heidi Corley Barto

The Natural Soap ChefAs I have been learning how to make soap, I’ve been on the lookout for helpful books with lots of beautiful pictures—not just for instructions, but also for inspiration. I have seen several reviews of Heidi Corley Barto’s new book The Natural Soap Chef. It’s a gorgeous book with lots of great tips for additives. For instance, Barto uses baby food instead of pureed fruit, which would be a great time-saver. She also explains exactly how to use liquids other than water (such as goat milk or tea).

The recipes are mostly variations on the same four ingredients: olive oil, shea butter, coconut oil, and palm oil. Those ingredients are the staples of good soap. I think I might have enjoyed seeing a few different types of oils discussed, but it wasn’t a huge deal because of the large variety of ideas. I liked thinking about how many ways I could use the same ingredients to make very different soaps. Also, I think it’s great for beginners to master a basic recipe and still have a chance to experiment within those confines. I had a quibble with Catherine Bardey’s Making Soaps and Scents because she also used the same basic three-oil recipe for almost all the soaps in her book, but frankly, I think what bothered me was that one of Bardey’s ingredients was shortening. I know it can be used in soap, but it just doesn’t seem right to me. I just don’t like the idea of using Crisco® in my soap! However, olive oil, shea butter, coconut oil, and palm oil—I can get behind. They may or may not be more natural than shortening. I honestly don’t know. But they seem more natural, and if I were buying handmade soap, I’d rather see them on the list of ingredients than shortening.

I am confused about one thing. Barto recommends putting the soap into the refrigerator after you pour it, but everything else I’ve read seems to indicate soap needs to cool slowly, and that you should wrap it in towels to keep it warm until it sets a little. I guess I’m having some cognitive dissonance here, and now I’m not sure. My own experience with the first two batches is that wrapping them and keeping them warm works well for me, so I’m not sure I will follow that particular advice. I suppose there are just many ways to make soap, but I admit I am curious as to why Barto does things so differently after the soap is in the mold.

I love some of Barto’s ideas. I had already created my own lemongrass sage recipe, but hers looks good, and I plan to infuse half of my olive oil with sage just like she did, which was something I had not thought of doing (I’m making the lemongrass sage this weekend). Also, thanks to Barto, I now have a good chai tea soap recipe that looks easy (and I already have the chai teabags I need! score!), and I love her idea for creating tissue paper tea bags to wrap those soaps in. Clever!

This is a great book, whether you’re a beginner like me or a more advanced soap maker looking for ideas. Christmas is taken care of this year!

Why Soap?

When I tell people I started making soap, they ask me why. It’s a funny question for a crafter. No one asks why someone takes up knitting or painting or woodworking. I suppose making soap isn’t something that occurs to many people, though, so it’s an understandable question.

I decided I wanted to learn to make soap when I started buying soap from Indigo Bath & Body at the farmers’ market where I used to live in Georgia. They make a soap that is just the best thing I’ve ever put on my face. My skin looks so great when I use this soap regularly. I wash my face with it every morning and evening. The bars last forever as long as you follow their directions and wait two weeks (at least) before using them. All of their soaps are so pretty and just plain interesting. I decided I wanted to try.

I started pinning recipes and ideas to Pinterest and reading blogs. My first batch of soap was a basic recipe, and for a first batch, it didn’t turn out bad. My second batch turned out wonderful, and I think that’s what hooked me for good. I loved everything about the process: I loved mixing the oils and lye and watching the soap thicken. I loved checking on it every hour or so to see how it was coming along. I loved how it turned into soap. The chemistry feels almost like a miracle—you combine a few oils with water and lye, and 24 hours later, it’s a solid hunk of soap. How does that work? That’s amazing! I also liked the idea that it wasn’t hard to do and that I could create my own recipes. I just fell in love with the hobby.

I decided to make soap because I was curious, but now I’m hooked. I love the idea that I can make something useful and beautiful with my own hands.

Honey Cinnamon Oatmeal Soap

This was my first personal recipe, and the soap turned out great!

Ingredients

  • 19 oz. olive oil
  • 14 oz. coconut oil
  • 6 oz. palm oil
  • 5 oz. shea butter
  • 2 oz. grapeseed oil
  • 2 oz. castor oil
  • 1.35 oz. sweet orange essential oil
  • 0.7 oz. cinnamon bark essential oil
  • 3 T finely ground oats
  • 1 T honey
  • 16 oz. distilled water
  • 7.2 oz. lye

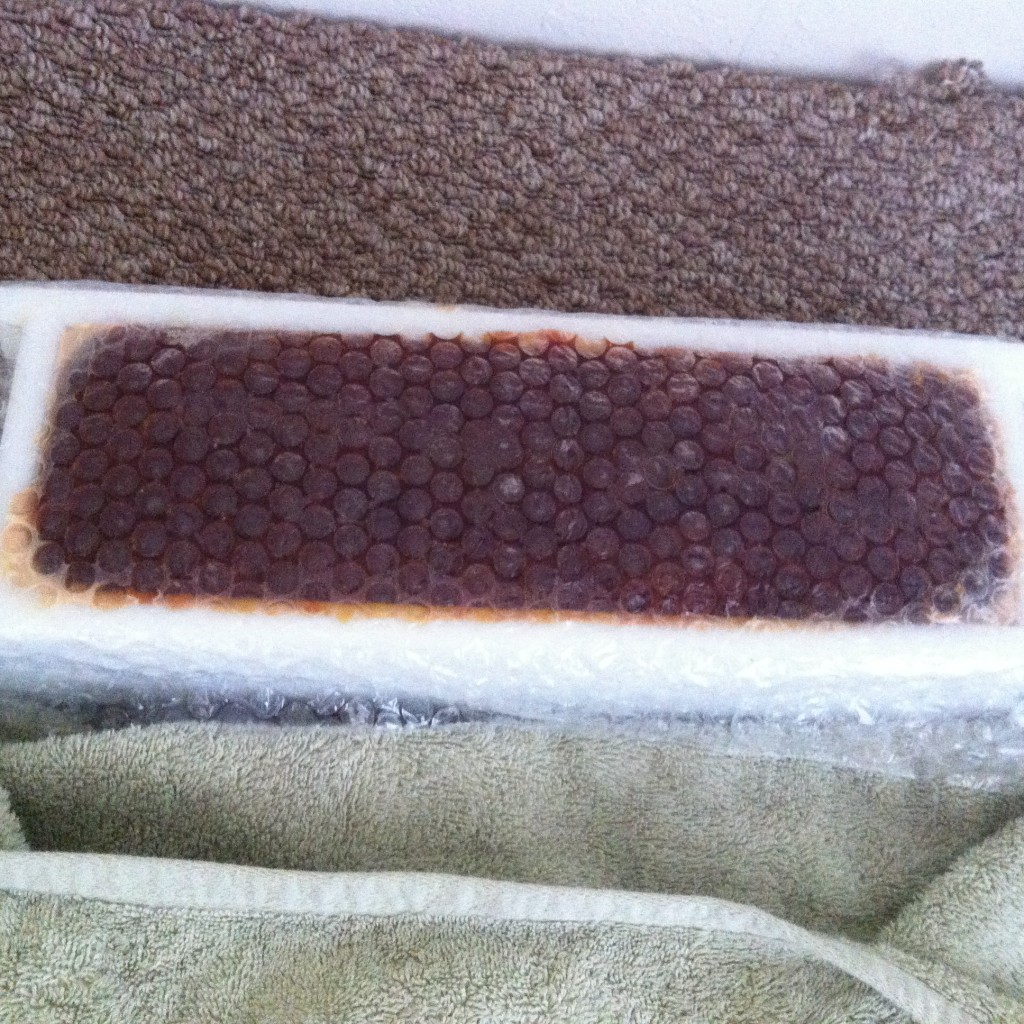
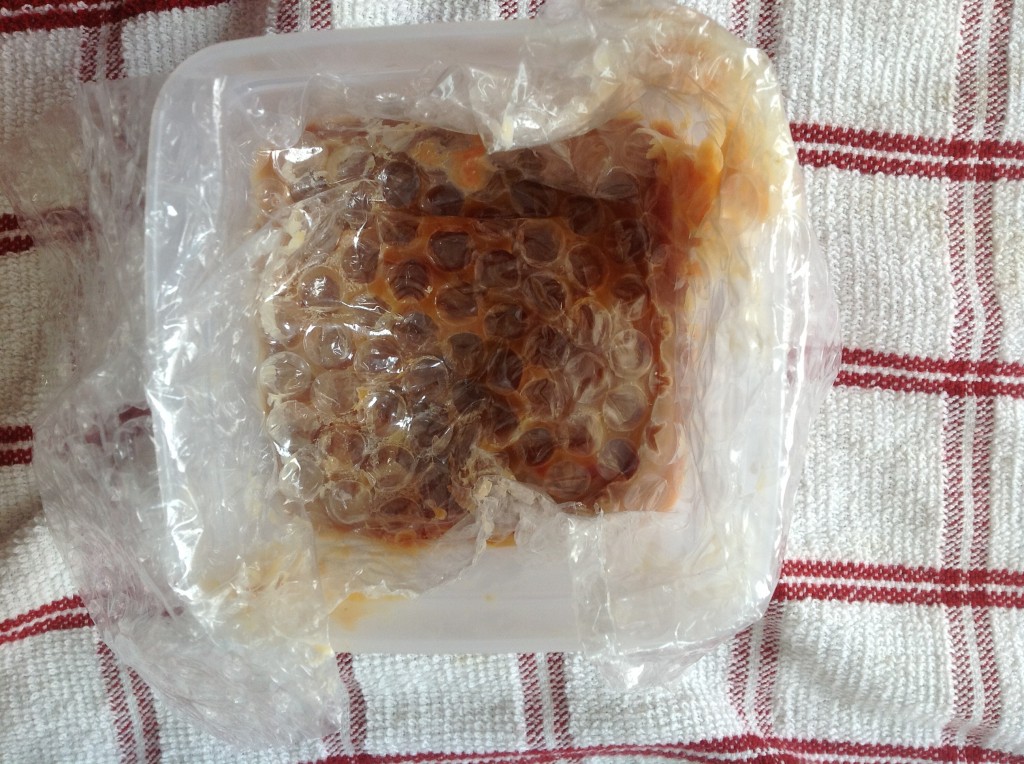
First, I lay bubble wrap in the bottom of my mold so the soap would have a honeycomb appearance on the bottom. I wish I had lined the mold with parchment paper, too. Despite the fact that my mold’s manufacturer said lining was unnecessary, it was terrible trying to remove the soap from the mold. I had to pop it in the freezer for an hour, and even after that, I had to wedge it out with a knife, which kind of made my soap less pretty. Lesson learned. Always line!

I didn’t want to fiddle with the essential oils and oats when my soap was tracing, so I went ahead and measured them first, then combined them into one container and set them aside. I ground my oats with a coffee grinder, put them in another container, and set them aside. Then I went ahead an measured out the tablespoon of honey and set it aside, too.

I poured 16 oz. water into a container, set it aside, and carefully measured 7.2 oz. of lye into a new container. Then I slowly added the lye to the water, stirring all the while. I kept stirring until the liquid was clear. Then I stuck my thermometer into the lye so I could watch the temperature.

I know there are different schools of thought on warming oils. It was hot here in Massachusetts yesterday, so my coconut oil was already melted, but if it hadn’t been, I’d have melted it in the microwave. I did melt the shea butter in the microwave. Sue me. Despite the fact that I did not take care to make sure the oils were the same temperature as the lye, the soap turned out well.

I measured out my oils into different containers, then combined them into one big plastic bowl and kept stirring. A note for beginners like me: use a scale to measure everything. Don’t try to use a measuring cup and do it by volume. You could be a little off that way. I was a little worried that my shea butter was starting to solidify again while I waited for the lye to reach 100°F. I could see little tiny solid pieces, miniscule really, but I prayed and kept stirring. For all I know, that’s not a bad thing. I’m a newbie.

Once the lye reached 100°F, I carefully added it to the oil mixture and stirred for a few moments. Then I used my stick blender to speed up the process. At a light trace, I added the honey. I guess I should have diluted the honey. My finished soap had some brown spots.

Dark Spots
You can see the dark spots in the corner and sides.

According to one online troubleshooter (dead link removed—sorry!), this can also happen when your soap goes through a very hot gel phase. Like mine did.

Gel Phase
Ay chi wawa! That was hot!

I had read that honey does funny things. Perhaps I didn’t need to cover the soap with a towel. However, I did read that the dark spots might go away once the soap is cured, and also that the soap is still fine to use. Whew! I think they sort of give it character.

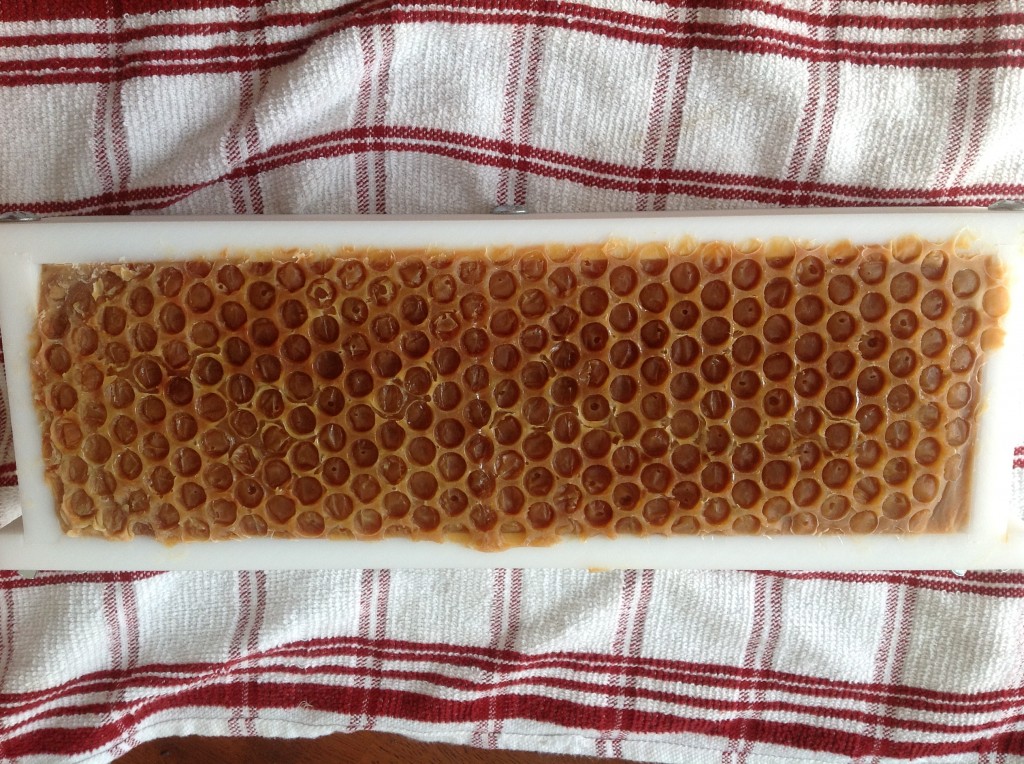
At trace, I added the essential oils and ground oats and stirred thoroughly to mix everything in well. I covered the top with bubble wrap for the honeycomb effect, then put my soap to bed.

I actually made a mistake in my recipe. I added 20 oz. of olive oil instead of 19. I’m not sure what it did to my batch, aside from make more soap. I’ll have to wait and see if there were any unintended effects, but the soap looks just fine.

Finished uncut soap
Pretty! But stuck in the mold!


I have a mold that comes with a cutter, so once I finally wrestled my soap out of the mold, I sliced it into bars. They’re kind of quirky and not all the same size.

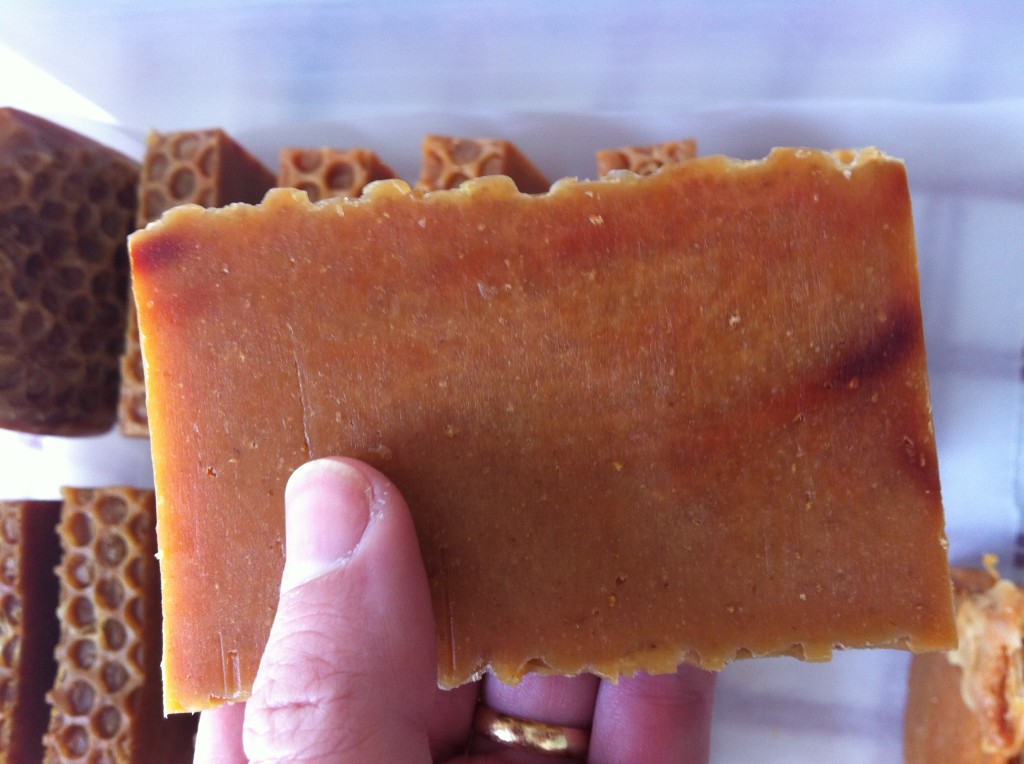
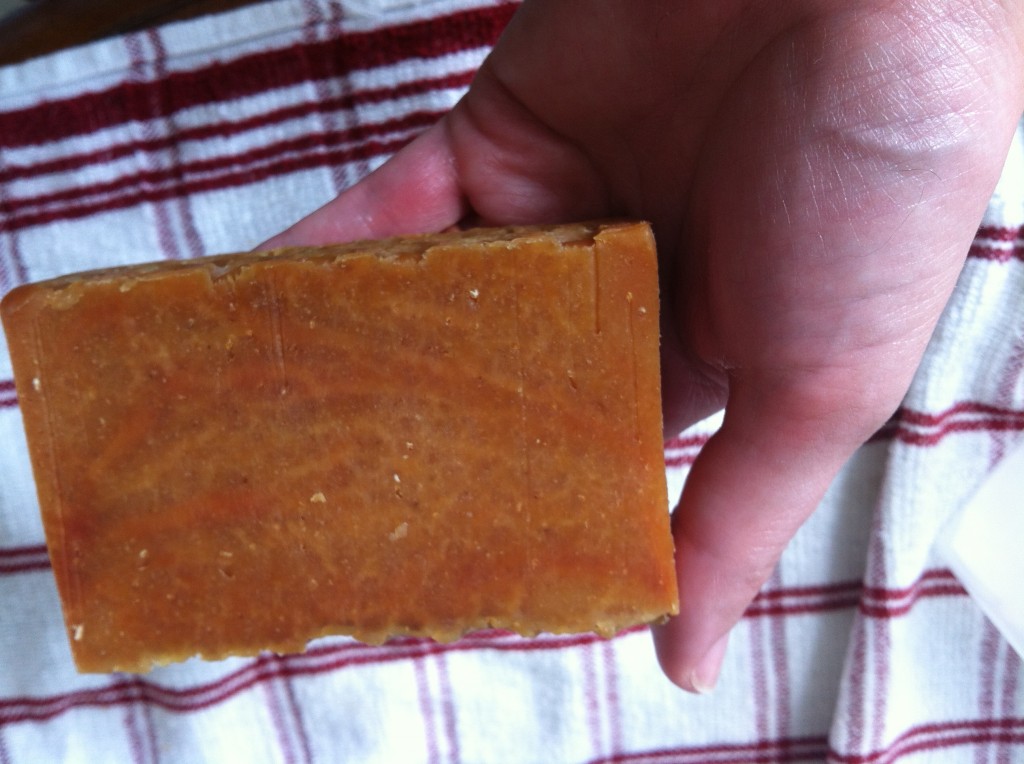
Bar of soap
This one looks nice.


But like I said, I learned my lesson about the lining, which should prevent some of the odd looking bars next next time.

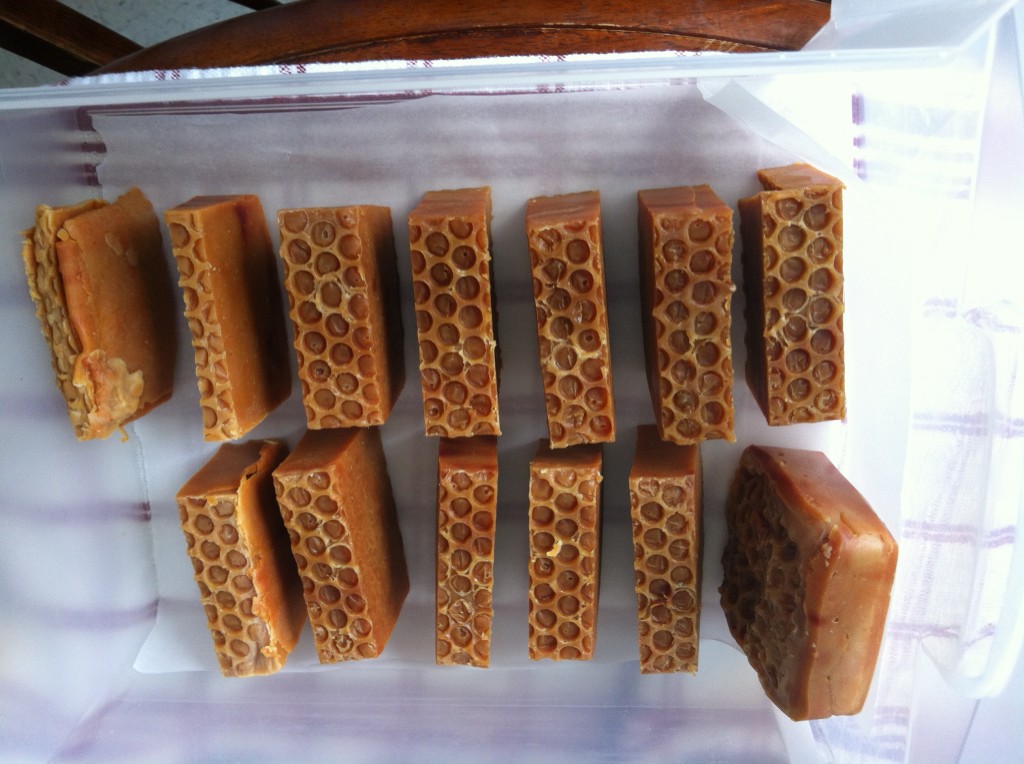
Finished bars
Let’s cure this soap!


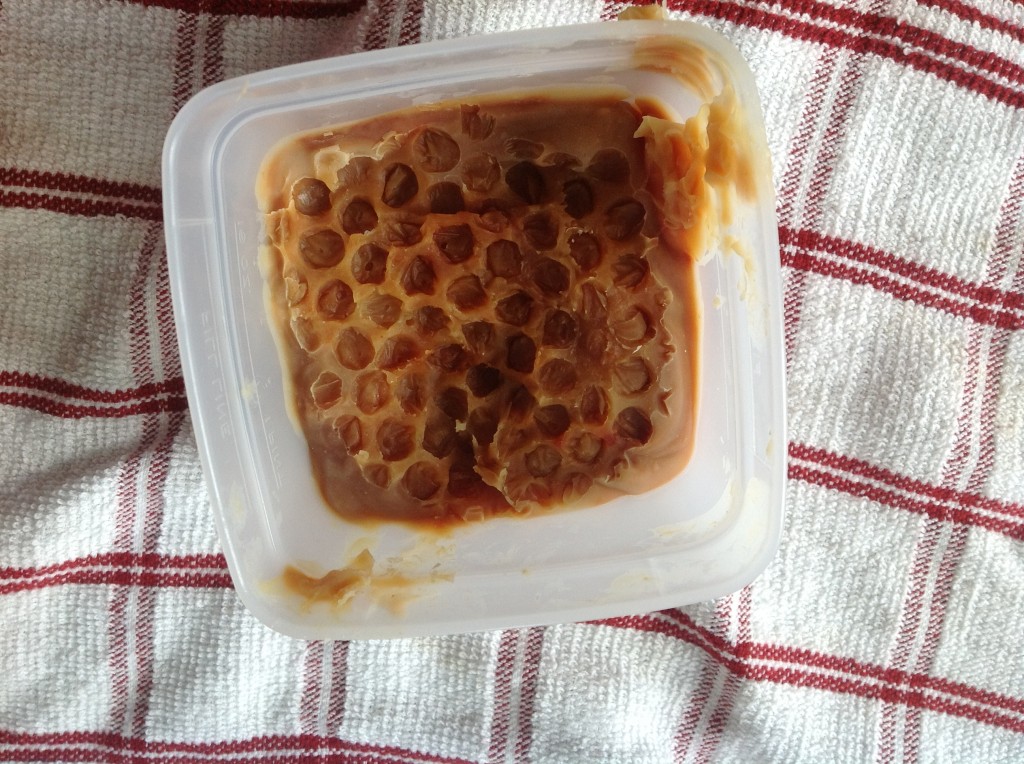
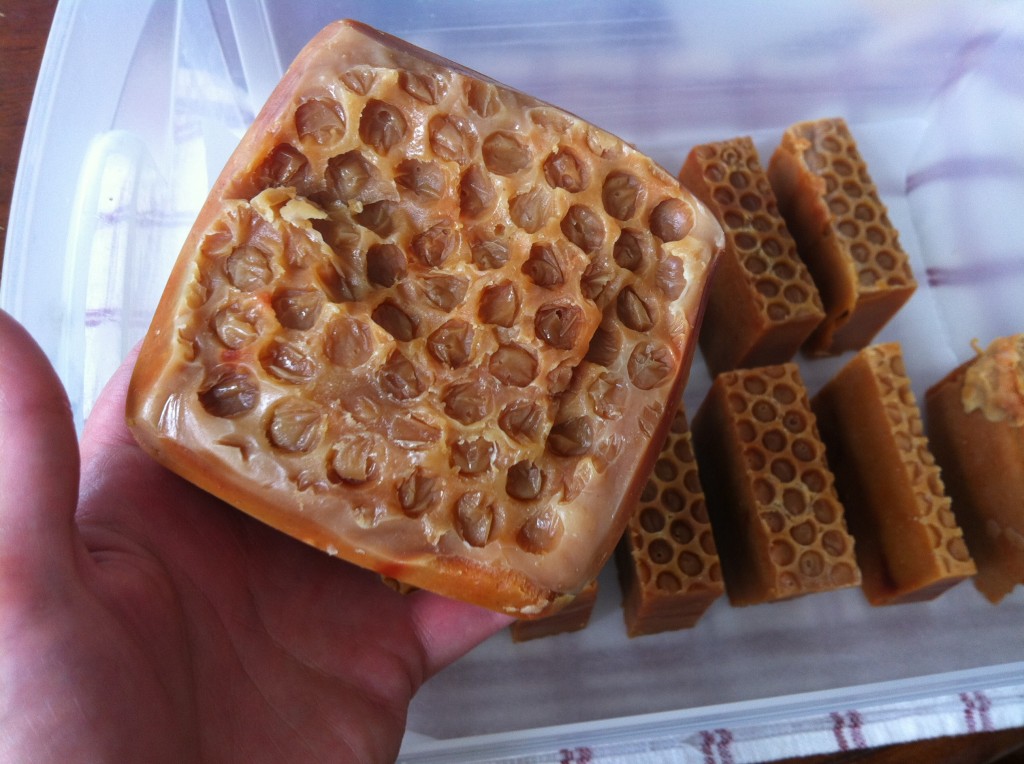
You’re probably wondering about that huge bar of soap on the far right. Right? It may be the result of adding the extra ounce of olive oil, or it could be that I’m a newbie and can’t figure out how much oil will make the exact right amount to fit my mold, but I had that much soap left over after my mold was full, so I poured into a plastic container, and put bubble wrap on it, too.

Funny leftover bar
Funny leftover bar of soap.


And it came out pretty well.

Finished funny bar
Finished leftover bar in the mold.


It was a little easier to get out of the mold, but it still gave up a little fight. I used a peeler to make it look a little nicer around the edges.

Funny soap edged

That is one huge bar of soap.

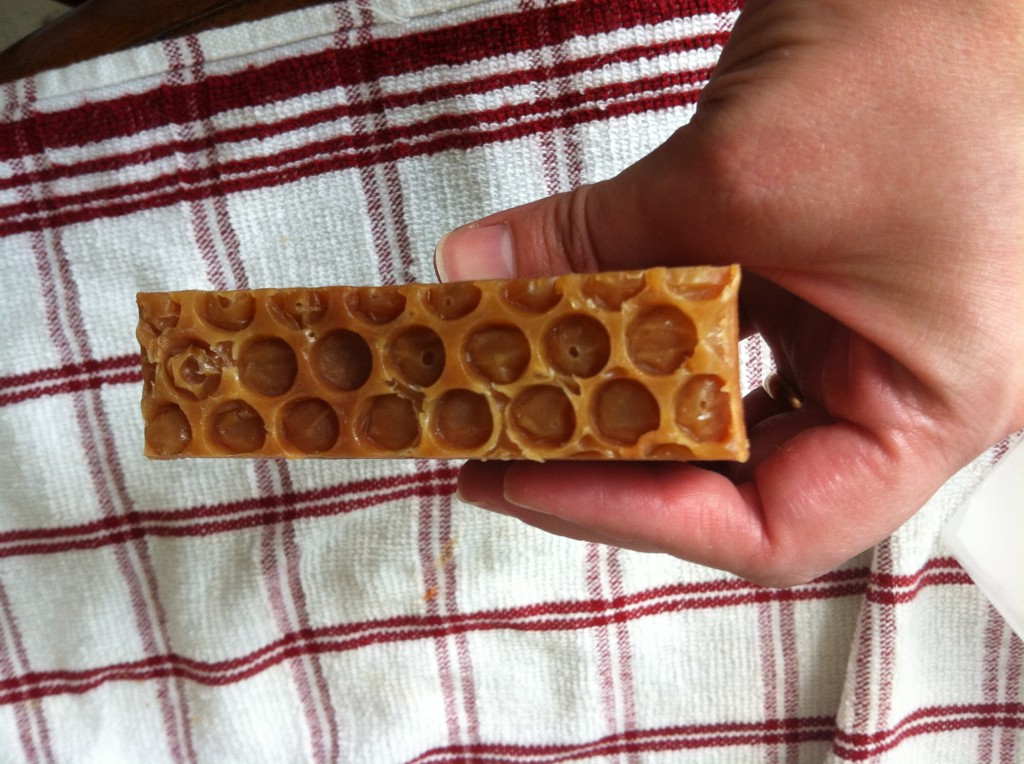
Still the honeycomb effect turned out well.

Honeycomb
Honeycomb!

Overall, I’m very pleased with how the finished soap looks, despite the brown spots. I was working with honey, which can be kind of cranky, and I was using a recipe of my own, so who knew what would happen? It smells absolutely divine, by the way. The combination of the honey and essential oils is amazing.

By the way, this soap had an INS value of 155, which is close to Dr. Bob’s ideal of 160. So that’s good? I guess. Also, the calculator I used to create the recipe predicts the recipe will produce soap with a medium hard bar, very good cleansing, great conditioning, good foam, and average stable lather. I wasn’t sure whether to worry about lather stability over much or not.

Washing up my supplies told me that the soap lathers up really well and feels good on my hands. I can’t wait to use it.

Creative Commons License

Honey Cinnamon Oatmeal Soap by Dana Huff is licensed under a Creative Commons Attribution-NonCommercial 3.0 Unported License. Permissions beyond the scope of this license may be available at Suds Life: About.
Hello Soap!

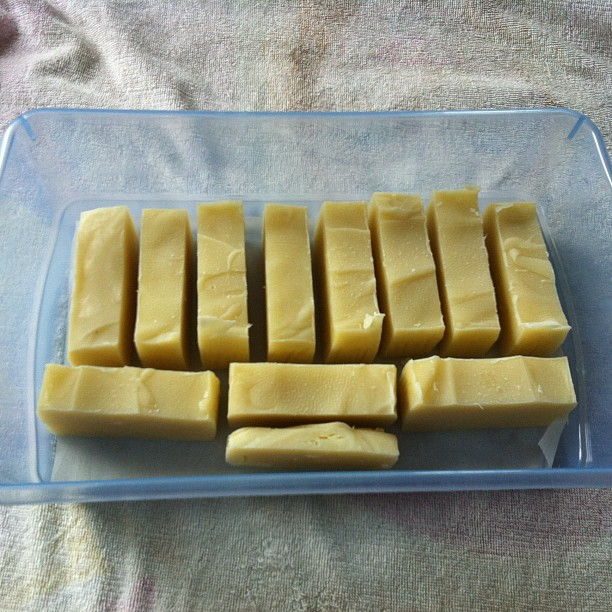
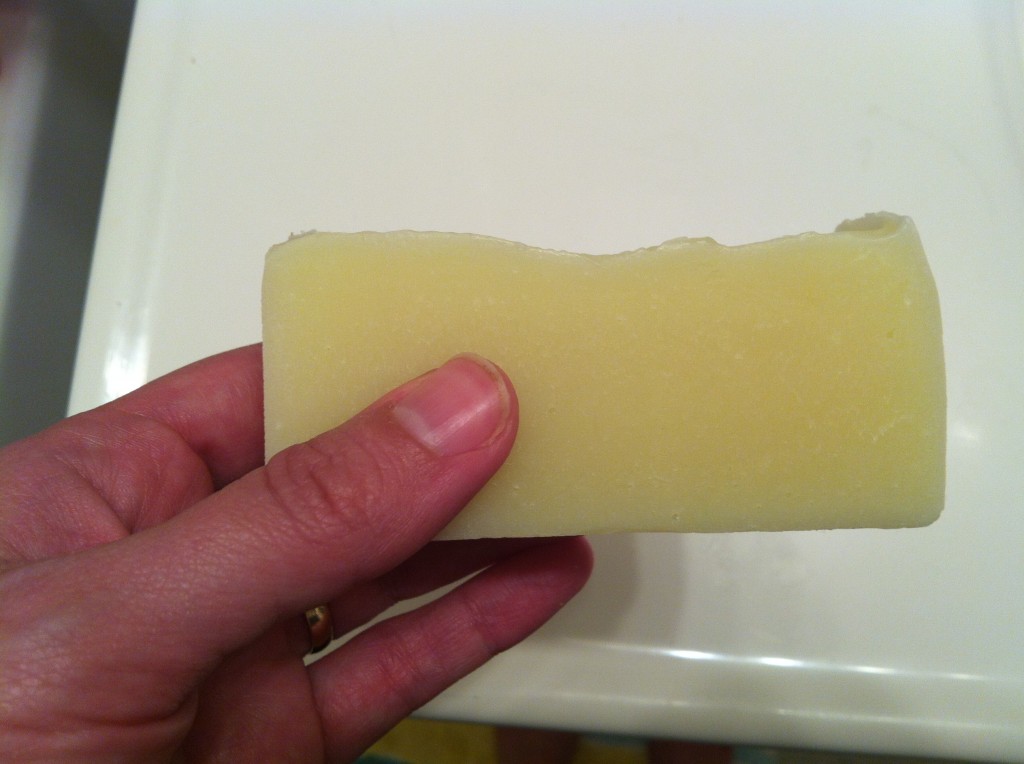
I made my first ever batch of soap last weekend, and it didn’t turn out very pretty.

It was a recipe from Elizabeth Letcavage and Patsy Buck’s Basic Soap Making, which is a book I highly recommend for beginning soap-makers. This soap is a basic four-oil recipe—olive, canola, coconut, and safflower.

The trouble I had was that my mold was bigger (3 pounds) than the recipe called for, and being inexperienced, I wasn’t sure how much to change the recipe so that the soap would fill the mold. I also wasn’t sure whether to expect the soap to expand. As a result, the bars are nice and thick, but they’re sort of squat.

Still, for my first ever batch, I have to say I’m pleased. The soap has been curing for a week, and it will be ready to use in about three more weeks.

The recipe I used isn’t mine to share, but it’s the Basic Four Oil Soap Recipe from Basic Soap Making, with the addition of (not enough) lavender essential oil and sweet orange essential oil. I’ve since discovered I really need to add more essential oil than I initially thought.

Still, it was a great learning experience, and I’ll be interested to see what the soap is like to use.